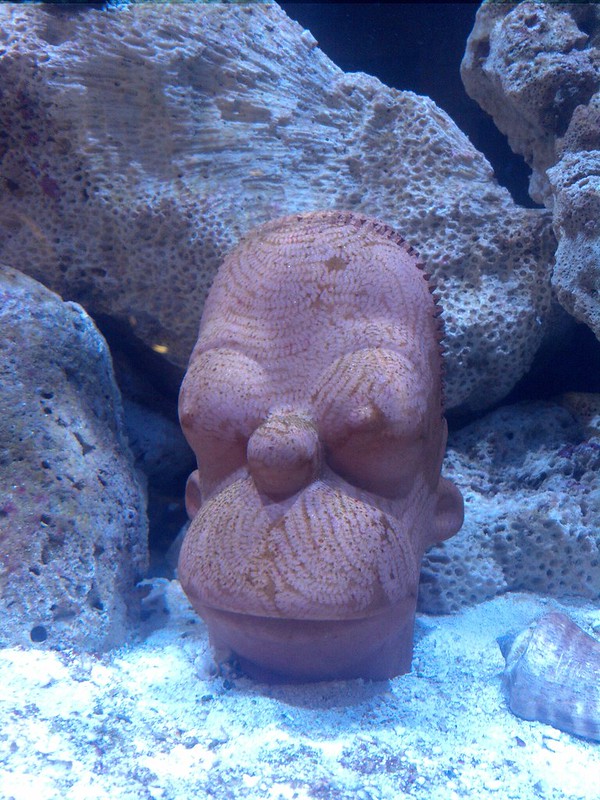
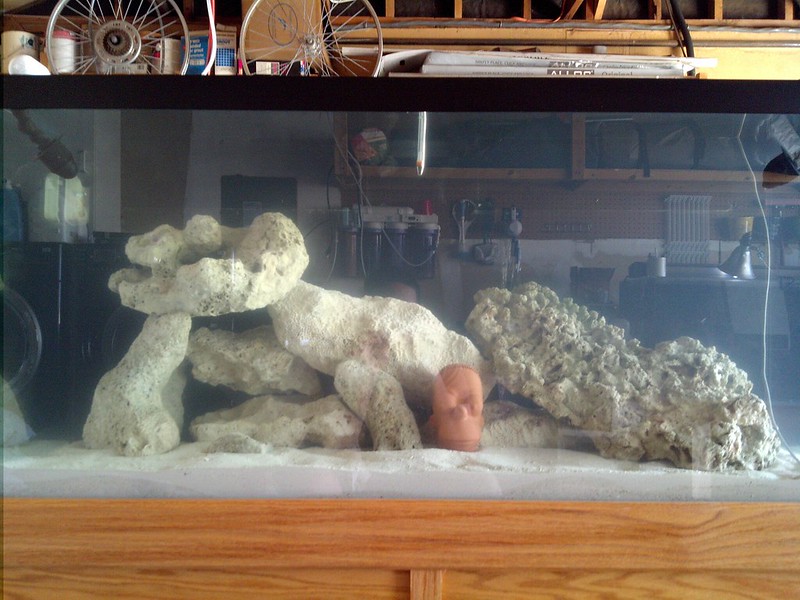
Are you going to grow green star polyps on Homers dome?
That's the plan. I'll need to join up with BAR to participate in the GSP DBTC. Homer will need a transplant, artistically placed in the direction the hair grows.

Are you going to grow green star polyps on Homers dome?


 )
)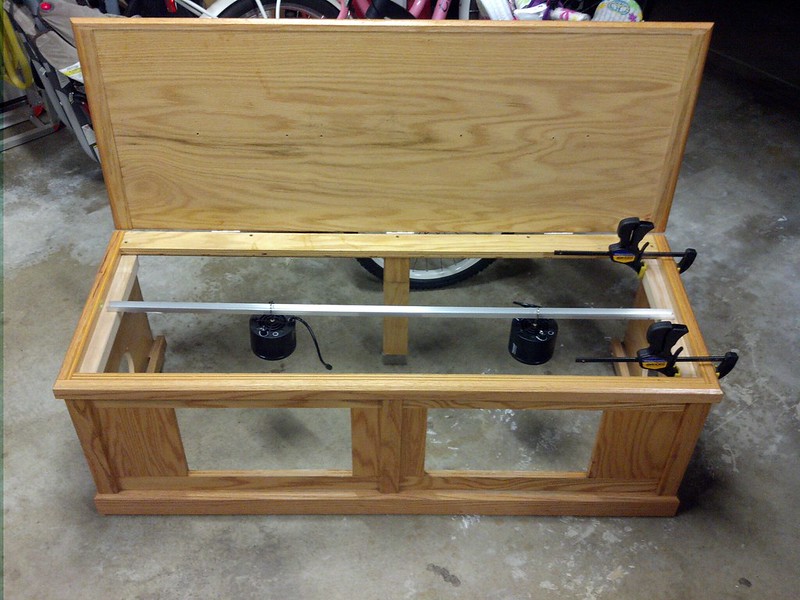
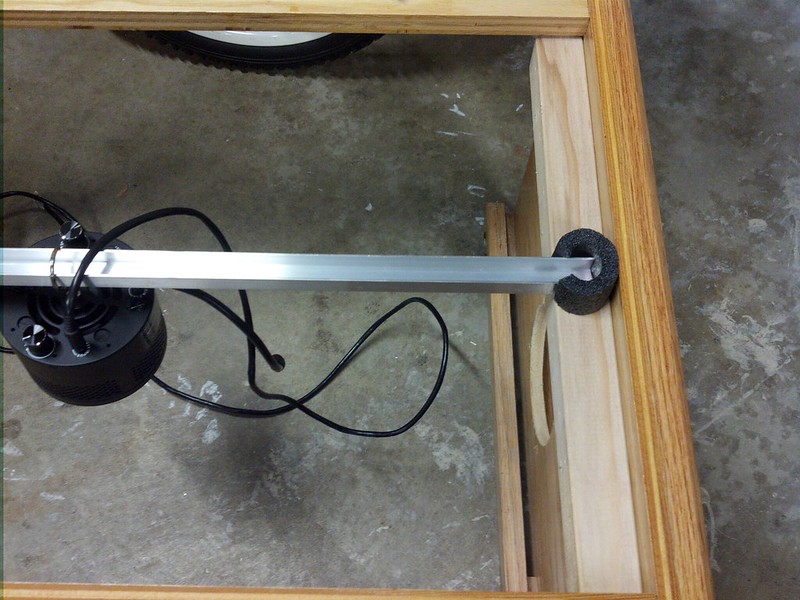
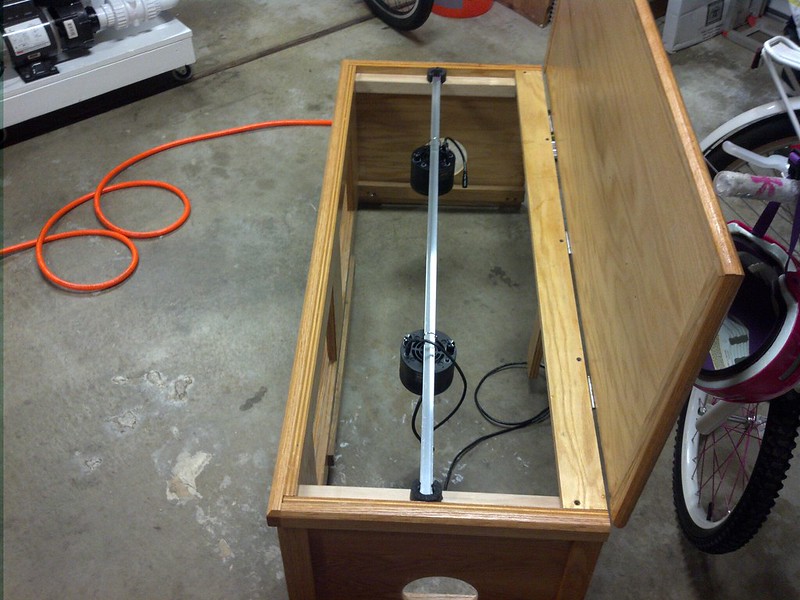


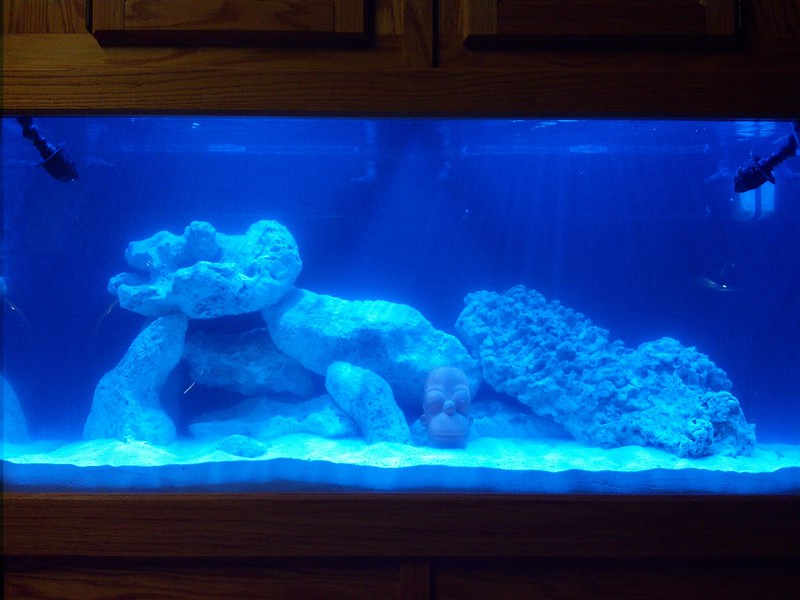
Wired up and mounted.
BUT, now I have a heavy "V" shaped shadow being cast down from my center brace.
Has anyone come up with a fool proof way to remove/replace the center brace on older glass tanks?
I have a clip in brace on my crappy tank and once I snapped it off (tank was full of course) and that was one of the scariest experiences I had with my tank; the front panel literally popped out at least 1/4" the second the brace let go and this is on a bow front with curved corners so the front panel wraps around the sides I was ready to hear a crack but fortunately nothing happened and I quickly pushed the glass back to where it was & snapped the brace back into place. I'm never touching it again.
I will never buy a tank that has a black plastic center brace.
I've tried both several small and one large water change, no dice. Started to think I had a faulty kit, but my established tank tested 0ppm nitrite. I'm at a loss. Not sure what to do at this point. I've emailed Dr. Tim, but have not yet received a response.