Reef nutrition

Felicia's 30 Gallon Seahorse Tank - Seahorses have arrived!!!

The acrylic has been cut!!!
omgomgomg.gif


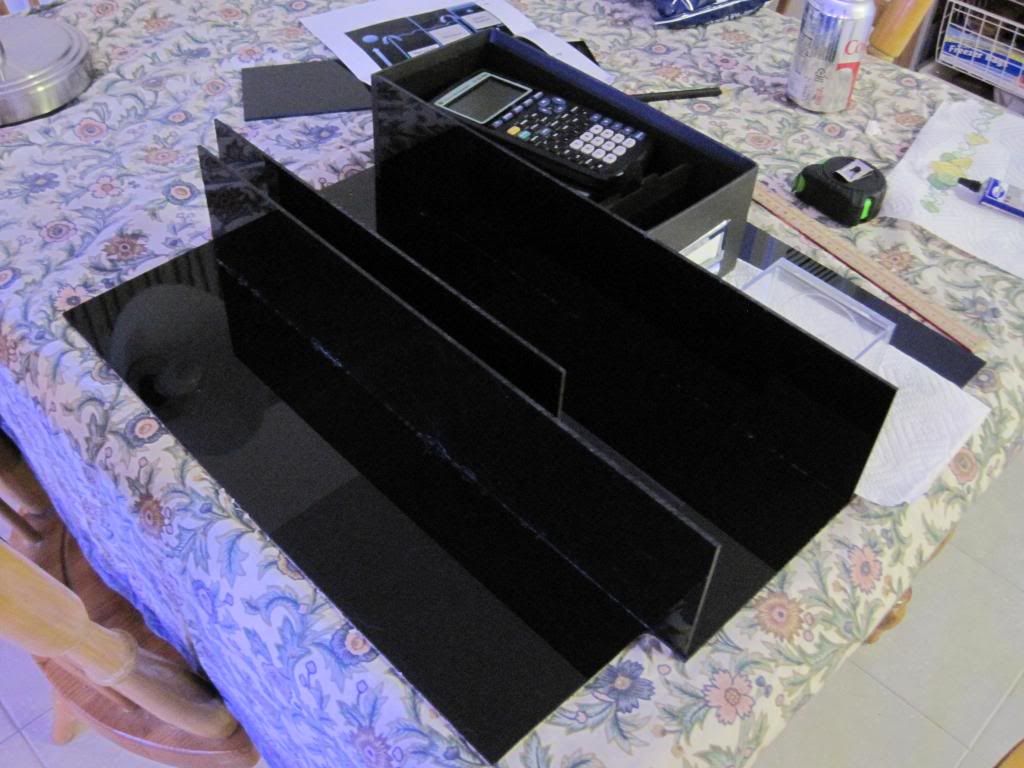
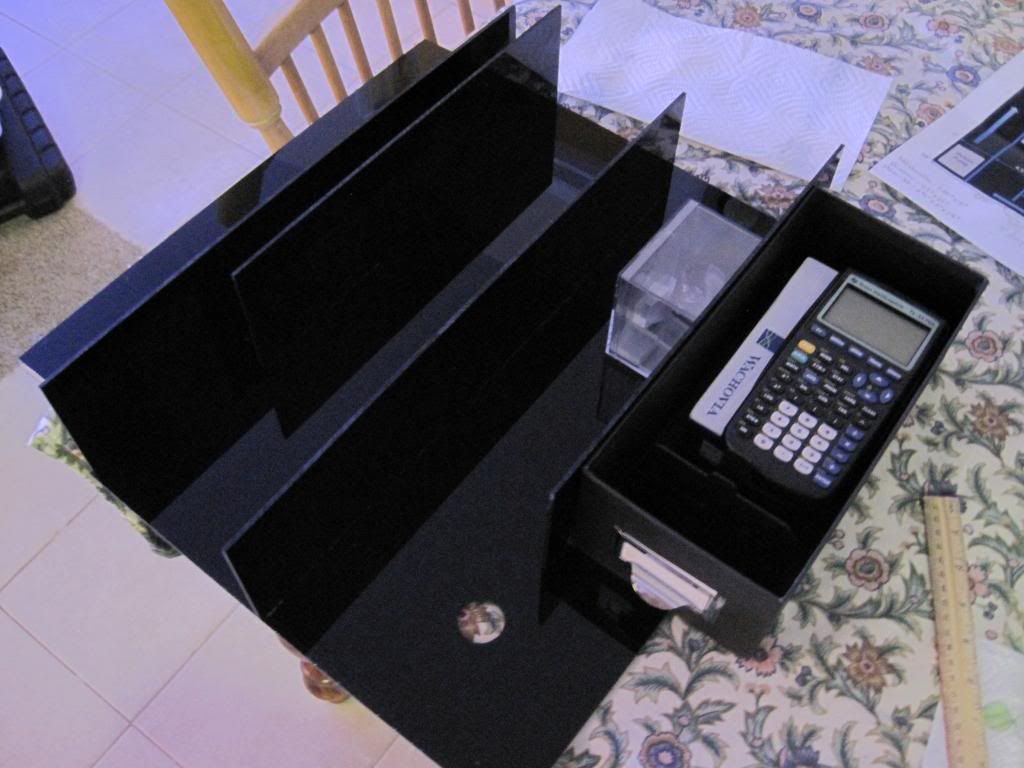
I went to TAP plastics after work and just got home with all the acrylic. It ended up costing me $55 for all the acrylic and cutting. Now I just have to glue it together and then silicone it into the tank. So excited to get going on this. I love DIY!

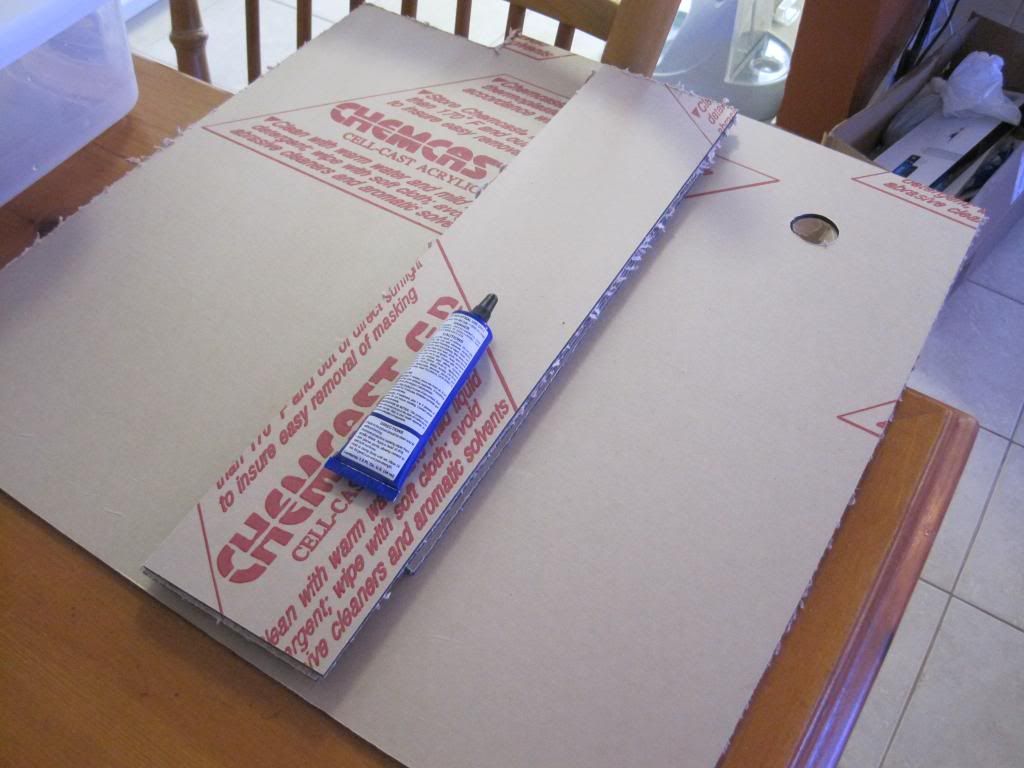
Pile of acrylic and the Weld-On (aquarium safe) to bond the acrylic pieces together. Silicone doesn't bond well to acrylic so to stick the pieces of acrylic together, I'll be using this stuff. Then to attach the acrylic to the glass is where the silicone comes in.
IMG_3307.jpg


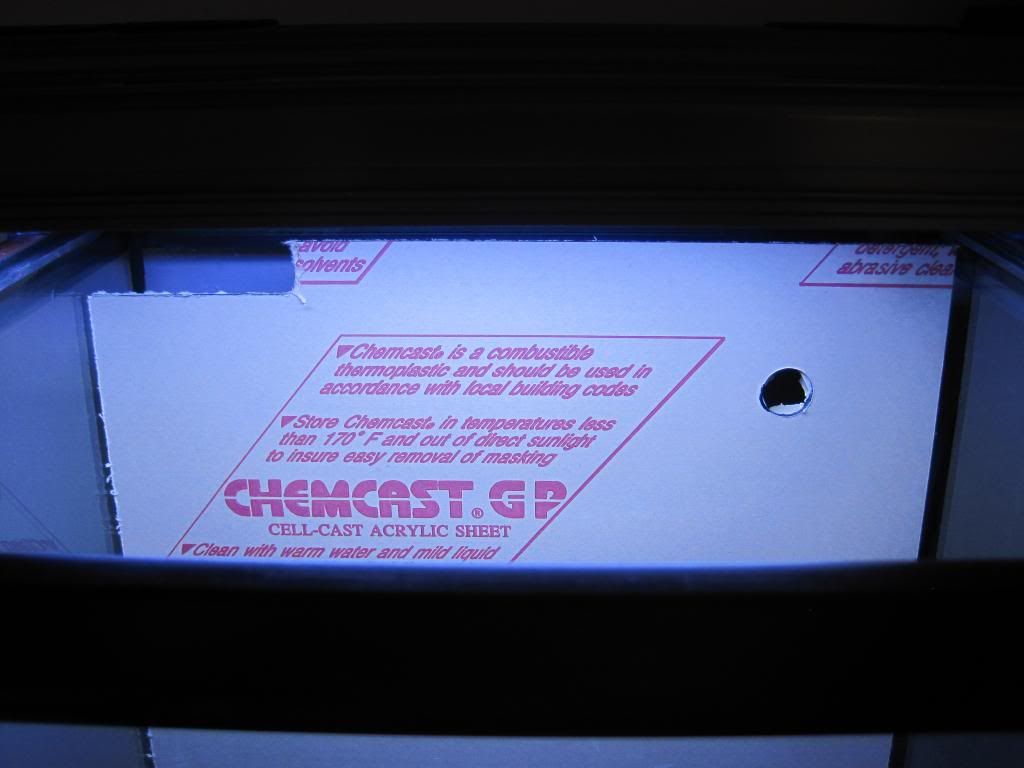
The partition fits nicely in the tank.
IMG_3299.jpg


Overflow and hole for the return bulkhead.
IMG_3301.jpg


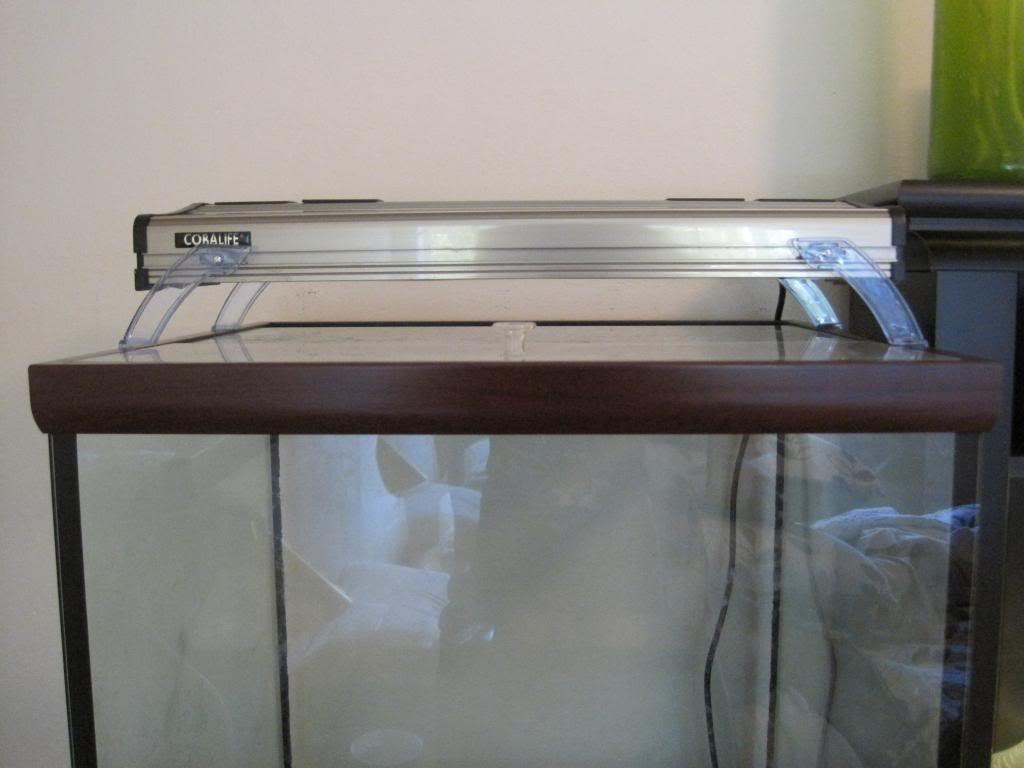
Also, the new bulb and mounting legs came for the light fixture today. I took the entire light fixture apart and gave it a really good cleaning before attaching the legs and putting in the new bulb. You should have seen the balls of dust that had built up in the cooling fans. Its all clean now and looking nice. Also, with the new bulb in it, the light color looks great. I compared it to the main tank and it looks to be about the same color, which is awesome because I fine-tuned the white to blue balance on my main tank to exactly what I like. I can't change the balance on the power compact fixture, but its already just right! Yes!

IMG_3283.jpg


IMG_3295.jpg


IMG_3291.jpg


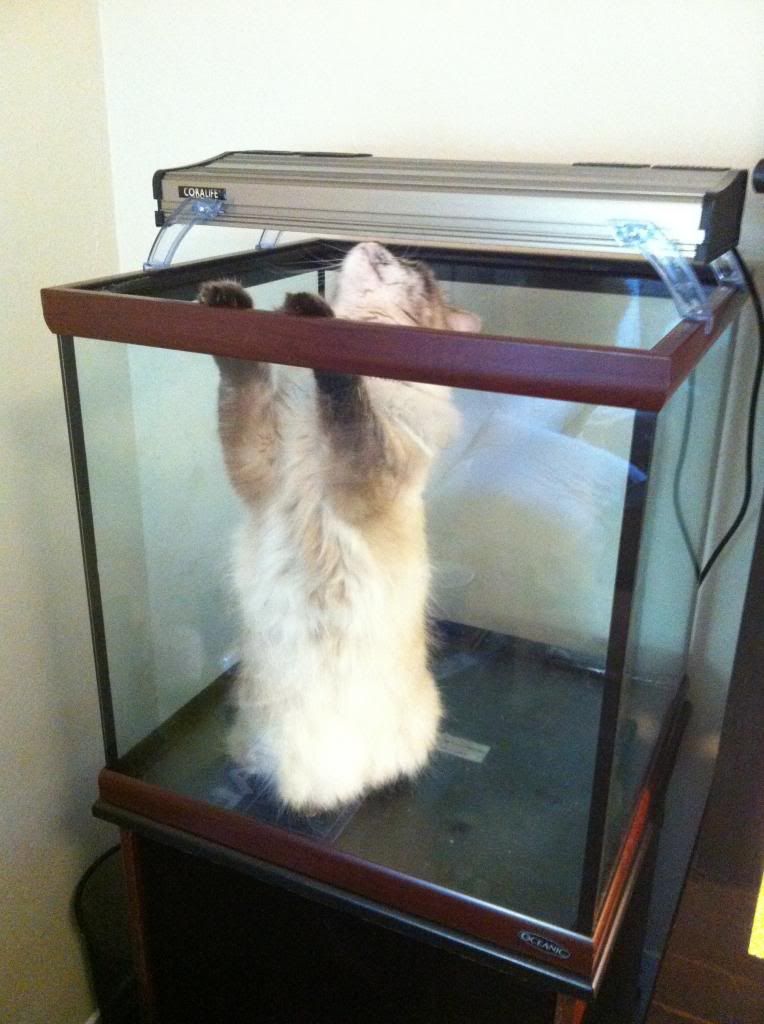
While I've been typing this post, I heard a loud thud in my bedroom. I got up and walked in there and Lily was in the new tank. I placed her in there for the photos I took earlier, so apparently now she's decided its fun to hang out in there. Here she is being cute.

"Well hello! You got this new toy for me right? So why do you seem annoyed that I'm in here?"
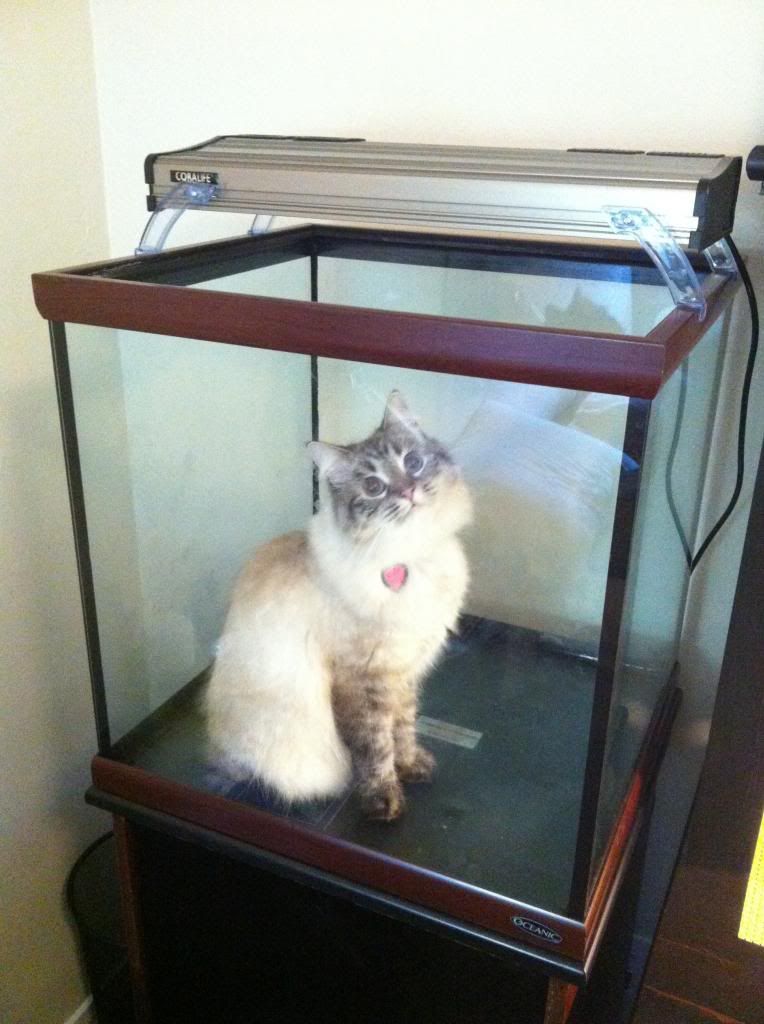
photo40.jpg


"See, its a fun new toy!"
photo42.jpg
 
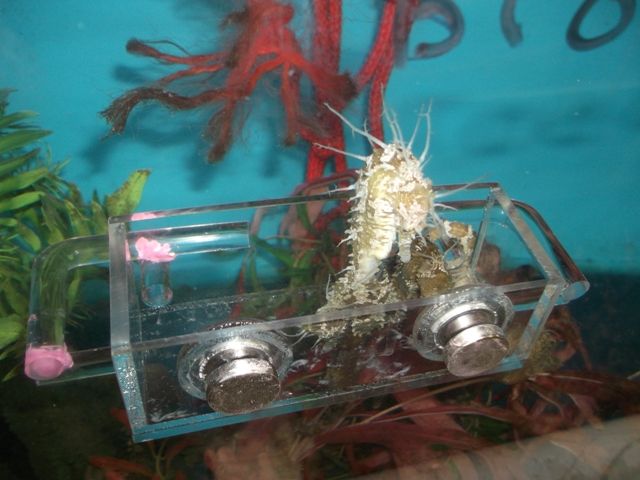
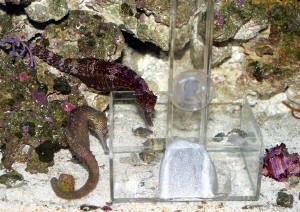
Oh, I also got the supplies to build a seahorse feeding station. I want to try using one because its supposed to be convenient and less messy for feeding. Mine will be a combination of these two designs:

dscf2447.jpg

station_2.jpg


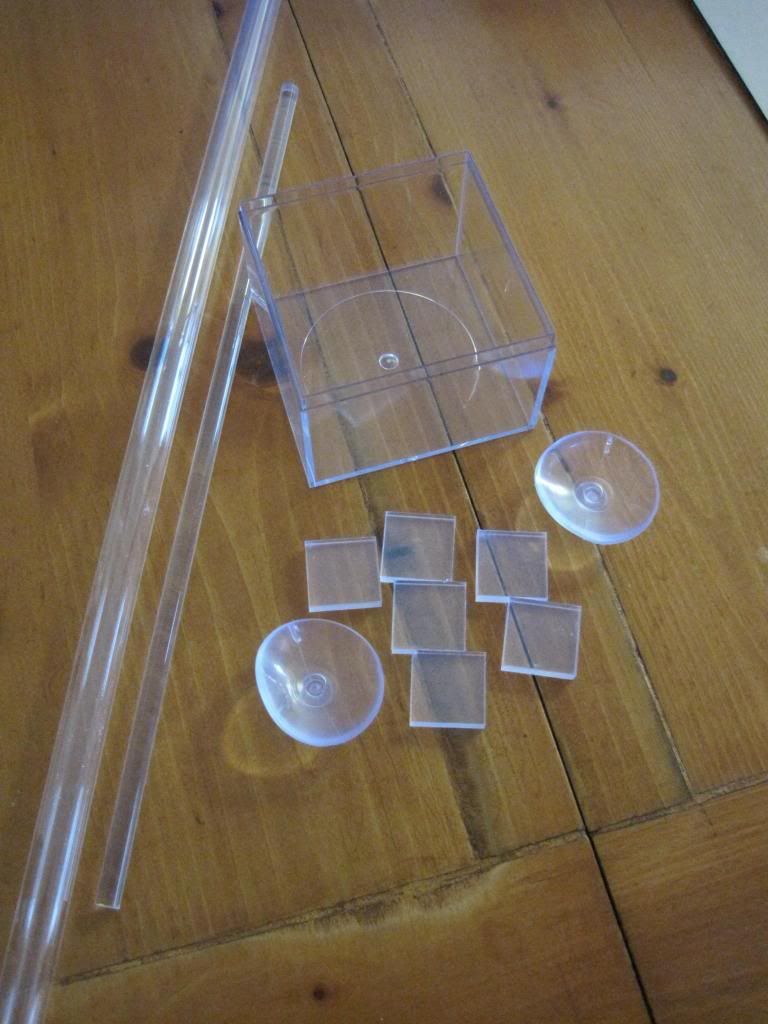
Mine will be a clear box that will attach to the tank glass with suction cups. It will have cylindrical rails on 3 sides for the seahorses to hitch to while eating like in the first photo. I bought a 2 foot long hollow rigid tube like in the second photo to deliver the mysis shrimp down into the feeding station. Here are my supplies for building the feeding station:
IMG_3306.jpg
 
I figured TAP plastics would have laser cutting equipment. That bums me out for my pieces.

How would you rate the cuts from 1-10? 1 being cut with a banana and 10 being laser cut
 
I figured TAP plastics would have laser cutting equipment. That bums me out for my pieces.

How would you rate the cuts from 1-10? 1 being cut with a banana and 10 being laser cut

I've had them cut a lot of different things for me and they go a good job. I'd give the cuts like a 7 on that scale. You can pay a little extra to have all the cuts smoothed out for you. I don't think they look bad as is, so I just left them the way they cut them and they look pretty nice. I'm happy.
 
I suggest using a file to smooth out the top corner of your overflow cutout. Whenever I reach my hand into my sump, the sharp corners scratch up my arm.

Also, the top edge along the length should also be smoothed over so if your hand reaches in, it won't scratch you up.

The top edge you can use a flame torch lightly to smooth it.

The top corner of overflow will need to be file smooth/filleted.

Its really not very rough, but I will be using a file to smooth the edges once its all done. Definitely that top corner of the overflow will need to be filed. I have that stuff on my list for my shopping trip to Home Depot this weekend. Thanks!
 
Felicia,
What type of return pump are you using?
I was reading up on seahorses and it suggests 3X turnover.

I would be worried of your overflow sucking in any future "babies". Just a thought, but maybe you can make your overflow section still where it is, but maybe make a "thin coast to coast overflow box in front" that runs the length. This way, you will get a thinner layer of water per length, meaning thinner skimming layer (not sure this means slower water velocity particles.)

Of course it means you will have more food left in tank instead of in refugium.

I ordered a Maxi-Jet NJ1100 (294 gph) so its right around the 3X turnover. I went with that lower power pump because of the seahorses not doing well with high flow. I'm hoping that the flow won't be too strong with the way I have it set up and my overflow cut-out will be covered with some mesh. I ended up deciding to use a little piece of the BRS clear netting to cover it. That way, no seahorses or other fish can get sucked into the overflow. I'll do a water test once its all put together and see how the flow looks. If it ends up seeming too strong, then I'll have to look into adding the coast to coast overflow box. I'm hoping to stay away from that since its more equipment that you actually see in the tank.
 
? 30 gallon, 294gph? ;)

Woops! Wow I was totally thinking 10x the whole time. Haha! I can do math...I think the acrylic glue fumes have gone to my head (I'm using Weld-On in my apartment right now). Yeah, its going to be like 10x turnover through the chamber, sorry. I spoke extensively with the member on NR that has a 30 gallon tank with H. Erectus and he's got quite a bit more flow going than I would have thought would be ok. He's got 675 gph in powerheads and several hundred at least from the return. He said the key is just to angle the powerhead and return so that there are high flow areas, medium flow areas, and low flow areas. His ponies will actually swim directly in front of his powerhead for short times, they just need low flow areas to be able to rest. I'll see how everything looks when I do the water flow test. I was just thinking if I went much lower on flow through the chambers that water wouldn't move well enough through all the different sections.
 
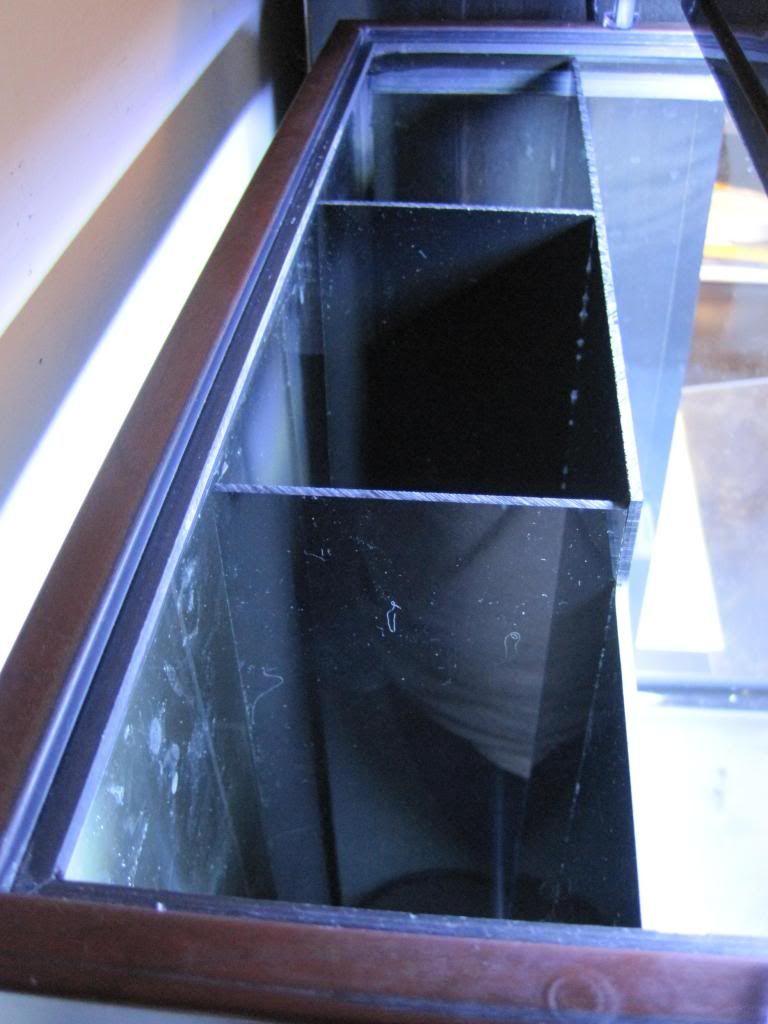
The chamber set-up fits nicely! Now I just have to polish the tank and then I can silicone it all. Well I have to wait for the silicone to arrive from BRS first. My BRS package is supposed to get here next Tuesday.

IMG_3323.jpg


Overflow and hold for the return
IMG_3320.jpg
 
Hot damn, that turned out sweet! Has me excited for mine. Did you compensate for original silicone when measuring everything up?

Thanks! I really like how it looks. Very clean. Should fit all my equipment nicely :) I tried to compensate for it, but I was a tad bit off on the bottom of 2 of the baffles. I'm just going to file those down a tad bit to make it sit right. I have to file other parts smooth anyway, so that's no big deal at all.
 
Can you tell me the Weldon you went with?

Sure. TAP sells two kinds. One that's in a metal jar that's super runny and cures REALLY fast. I find that one hard to work with. I got the thicker one in the squeeze tube that give you 30 seconds or so of working time. Its Weld-On #16. I googled and its seems plenty of people use it in building acrylic pieces for aquariums. The off-gassing from it is what's toxic, so most people recommend waiting like a week before you add any water.
 
Weld-on 16 is good. Slow enough to work with.

Felicia,
Are you worried about any clogging causing any water to "flow over"?
I was thinking maybe you need to trim that backwall a bit lower in the non-overflow section so any clogged water areas can spill over into main display tank area.
 
Back
Top