Jestersix

George's 40 upgrade

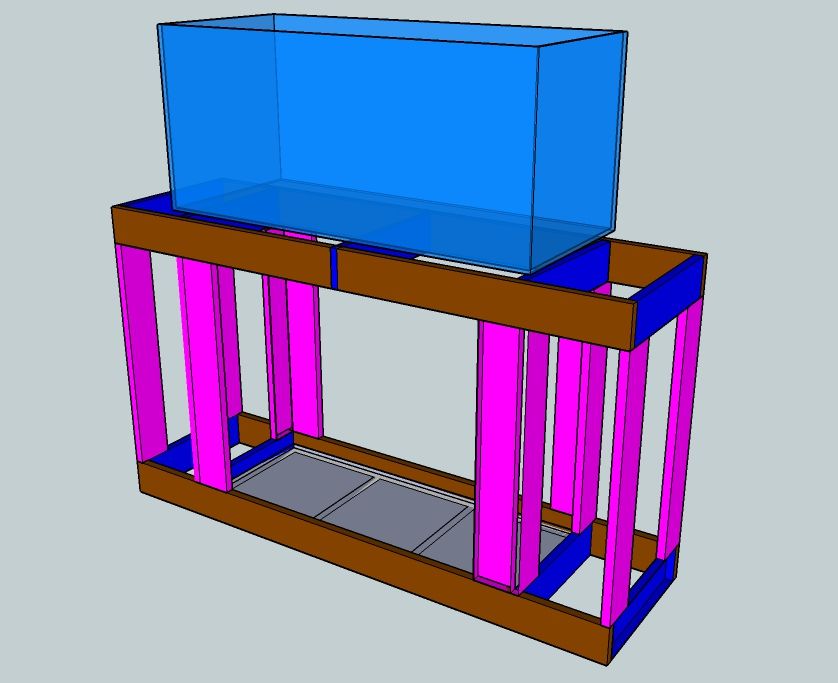
Hi all, bought a tank at the BAP gear swap - Truvu 36X15X16 (37.4 Gallon). I've been wanting to get a bigger tank for a while vs. the 29 that I have currently. The tank I picked up met a desire to have a little wider tank (15" vs. current 12"). Still working through the details, but 1st order of business is to design the stand.

I downloaded Sketchup, still working up the learning curve, as I've never used any sort of design program before.

Here's what I'm thinking for a stand.
  • 52" total length (constrained by the nook in our living room)
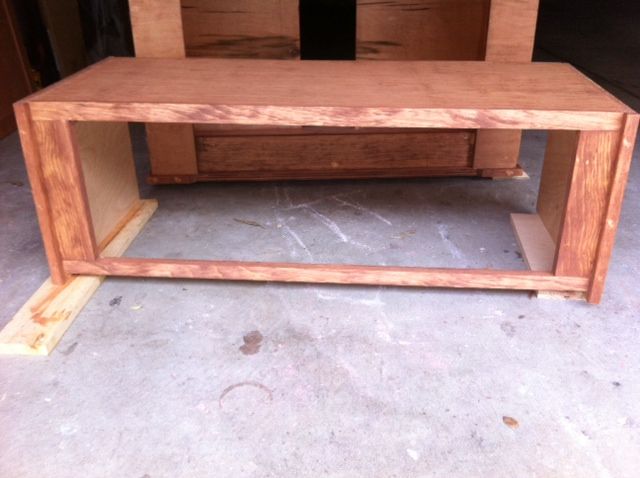
  • Frame: 1X4s - based on research on RC, for an aquarium this size, I should be ok not using 2X4s and this gives an extra 1.5" in width underneath.
  • Sides: I'll skin the sides and back with 1/2" ply
  • Top: 3/4" ply
  • Inside: I'll build an insert in the stand and caulk the seams, and then paint with some sort of waterproof paint (epoxy?) that will be the base for my sump. Will also do a few coats of paint or polyurethane for the rest of the inside
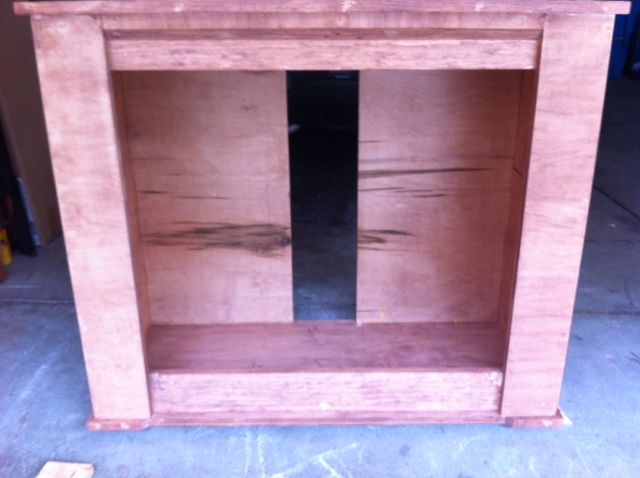
  • Front: I've never built furniture before. So, still trying to figure out how to do the doors.
  • The main section under the stand will have my sump. One side will hold the electrical and the other likely to store testing kits and other small supplies.
Here's a 1st draft at the framing for the stand.

FishTankStand_zps175c7a4d.jpg
 
Thanks Mike. I might take you up on that. What kind of overflow would you recommend?

I was going to buy a glassholes because I don't have experience fabricating acrylic. Wouldn't mind doing DIY if it's not too hard and provides better options.
 
i'd like to build one myself. but the space i have to actually put it together prevents me from trying. That and trying to make perfectly flat cuts from 2x4s
 
Mike was selling a truvu sump at the swaptoo. did you see it? I am sure he still has it if you are looking for one.
 
Suggestions on stand:

Using 1x4 is probably ok, as long as you get good quality wood. But a few knots could ruin the strength.
Something like poplar would be good.
But: Consider 2x4s (or dual 1x4 glued together) on the top lengthwise supports at least.
Those are key, and saving space there should not matter.

I assume the center cross support going through the lengthwise ones is a sketchup oops.
That one is not all that useful structurally anyway, since the joint is all in sheer.

For the inner two vertical supports on the front (pink), shift them outside the sump area.
So you have full room to get to sump when doors are open. Structurally almost identical.
 
thanks for the replies all

Suggestions on stand:
Using 1x4 is probably ok, as long as you get good quality wood. But a few knots could ruin the strength.
Something like poplar would be good.
But: Consider 2x4s (or dual 1x4 glued together) on the top lengthwise supports at least.
Those are key, and saving space there should not matter.

If I use a 2X4 on top, wouldn't I need to use 2X4 for the vertical supports as well?

I assume the center cross support going through the lengthwise ones is a sketchup oops.
That one is not all that useful structurally anyway, since the joint is all in sheer.
Definitely a newbie sketchup oops. I wasn't sure if adding the middle cross support would reduce the chance of bowing/flexing of the horizontal supports.

For the inner two vertical supports on the front (pink), shift them outside the sump area.
So you have full room to get to sump when doors are open. Structurally almost identical.
If you're talking about the two in the front middle of the stand, I thought the vertical supports needed to be underneath the bottom of the tank from a load bearing perspective. Otherwise, there might be a higher likelihood that the top lengthwise support to bow?
 
i'd like to build one myself. but the space i have to actually put it together prevents me from trying. That and trying to make perfectly flat cuts from 2x4s
Luckily, there's a woodshop at my in-laws that I can use to cut the pieces for the stand. Unfortunately, it's across a bridge and tunnel over in East Bay. So, it might be a while.
 
I usually recycle overflow boxes from hang on back skimmers or crappy non permanent overflow setups and drill a hole through it and the back wall of the tank and throw a bulkhead through them both with an extra o-ring between the box and the back wall of tank. Cheap and works like a charm. I'd go 1.5" bulkhead for that baby. Let me know if you want help. Getting a box from glass holes or bulk reef supply works too. Just get the box though and don't waste money on anything else.
 
...

If you're talking about the two in the front middle of the stand, I thought the vertical supports needed to be underneath the bottom of the tank from a load bearing perspective. Otherwise, there might be a higher likelihood that the top lengthwise support to bow?

Yes, those.
Structurally it would be very slightly better, sure, but only a few inches, so hardly noticeable.
Those few inches will make a big difference to sump access though.
If worried, double up that lengthwise beam. Wood is cheap.

This is the top on my stand. (upsidedown)
I used leftover plywood for some of the beams.
Each are two 3/4 inch plywood strips glued together. Very strong, and leftover wood from top.
stand_0.jpg
 
Regarding doors:
If you want something truly cabinet quality, and do not have experience/tools, it is WAY
easier to just buy unfinished cabinet doors.
A good door is only $20 or so. You can stain/paint it to match cabinet.
 
So, it was a busy winter and finally made it out to East Bay (mother-in-law's with a wood shop in the garage) last month to build a stand and hood. Had to bring down the scope a little in order to make it fit in the back of the car (with kids in tow). I ended up going with a simple 36" long stand using 3/4" maple ply to build a box and top and framing out the front of the stand. Stained it today and will add a few coats of poly and then fasten on the doors.

The only issue I had was making the opening a little too small for the 20L that I planned on using for the sump. I'll probably end up using a 20H instead.

Here are pics of the build so far.

stand_zps2b973d3d.jpg


hood_zpsef46e2dd.jpg
 
One other update - I've been slowly collecting parts for the new tank and wanted to share a recent DIY project: My ghetto DIY Apex Breakout Box.

I found a bunch of DIY instructions on RC, but some of them ended up close to the cost of an OEM Apex box. I wanted an easy way to connect up my float switches that just came in the mail, but keep cost at a minimum. Also, not all the wire color coding matched up online depending on where you buy you cable. Here's my version with reference part information:

  • Screw wiring block for easy connection: 8 position double row screw terminal (Amazon ASIN B005I03WOI) 2 for $6.27
  • 8 pin mini-din: 6ft MDIN8 M/D 1:1 Cable - Beige (Monoprice Product ID 534) $1.86
  • Total cost: $8.13
If you really want to go cheap, you can just buy the mini-din cable and connect up the wires without a wiring block.

Here's the finished product (only 4 connections on this wiring block. I'm probably going to wire up the other one too even though I don't need the connections yet).
  • Snipped off the end of the mini-din cable, stripped off a few inches of insulation to bare the individual wires
  • Stripped 1/2" of insulation off the individual wires
  • Tested the wires to figure out 1-6+ ground by with the following process of elimination method:
    • Connected cable to my Apex
    • Held all the bare wires together (will cause all switched to show closed status)
    • Started pulling off one wire at a time to see which switches open up (or if all, then the ground has been pulled)
  • I connected wires 1-4 (brown, red, orange, yellow) on alternate screws of the wiring block
  • Connected the ground to the end of the block and used some spare wire to connect the ground screw next to each of the other wires.
  • I'm going to mount the wiring block to a piece of wood.
  • Now, all I have to do is screw in the wires for each of the float switches (tested the block and it works).

bob_zps4d05b878.jpg


Here's the color coding for the minidin cable I purchased from Monoprice (seems to vary depending on where you buy)
brown - 1
red - 2
orange - 3
yellow - 4
green - 5
blue - 6
black - ground
purple - not used
 
Last edited:
Back
Top