You are using an out of date browser. It may not display this or other websites correctly.
You should upgrade or use an alternative browser.
You should upgrade or use an alternative browser.
Jeff's 120
- Thread starter zambavi
- Start date
zambavi said:The change over to the new site has jacked up all the pics in my tank journal... will try and fix them as I can.... really when I have absolutely nothing else to do.
I have the same problem, and the real issue is I can't figure out how to size them so they fit in the new softwares borders
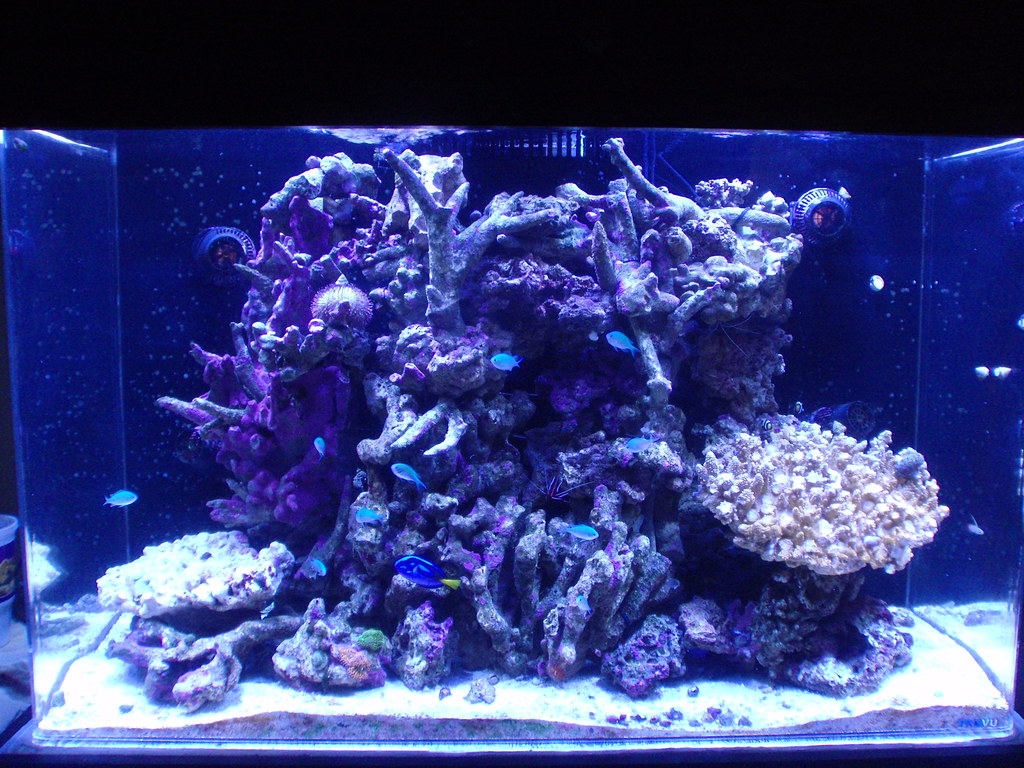
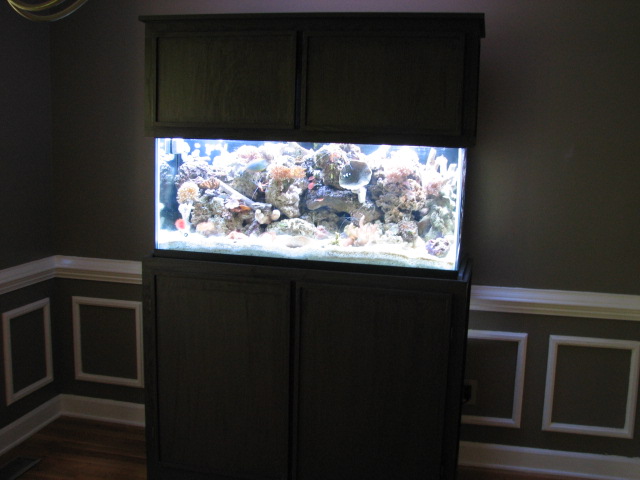
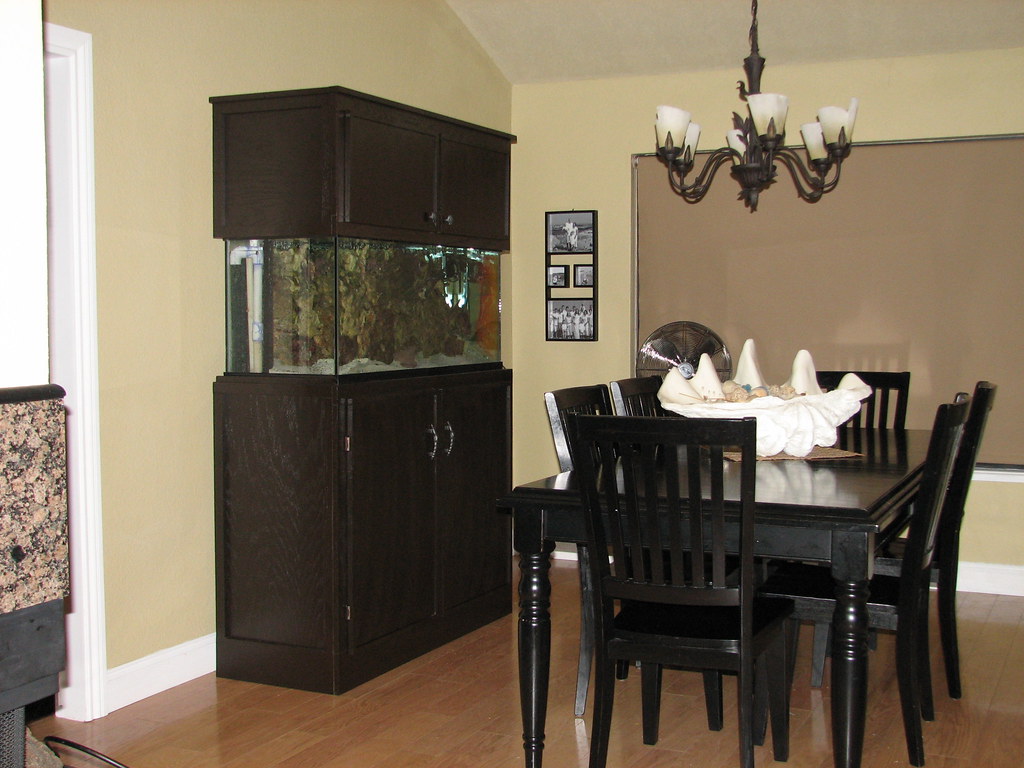
Here is my tank as it sits today. You can see why I am wanting to upgrade the tank itself; visible overflow and glass color.
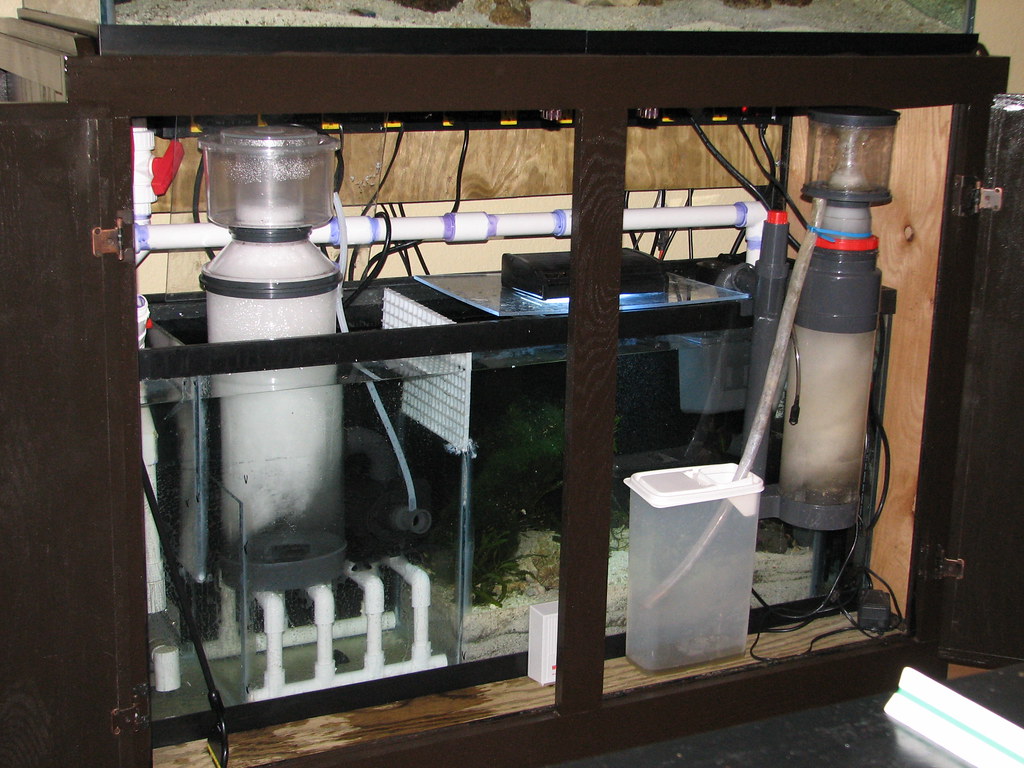
For the first month I have been running a new ASM G-3 rated for 250 gallons and a Coralife Superskimmer rated for 125 at the same time. The ASM G-3 is skimming very nicely now and the Coralife Superskimmer I removed last night since it was no longer needed.
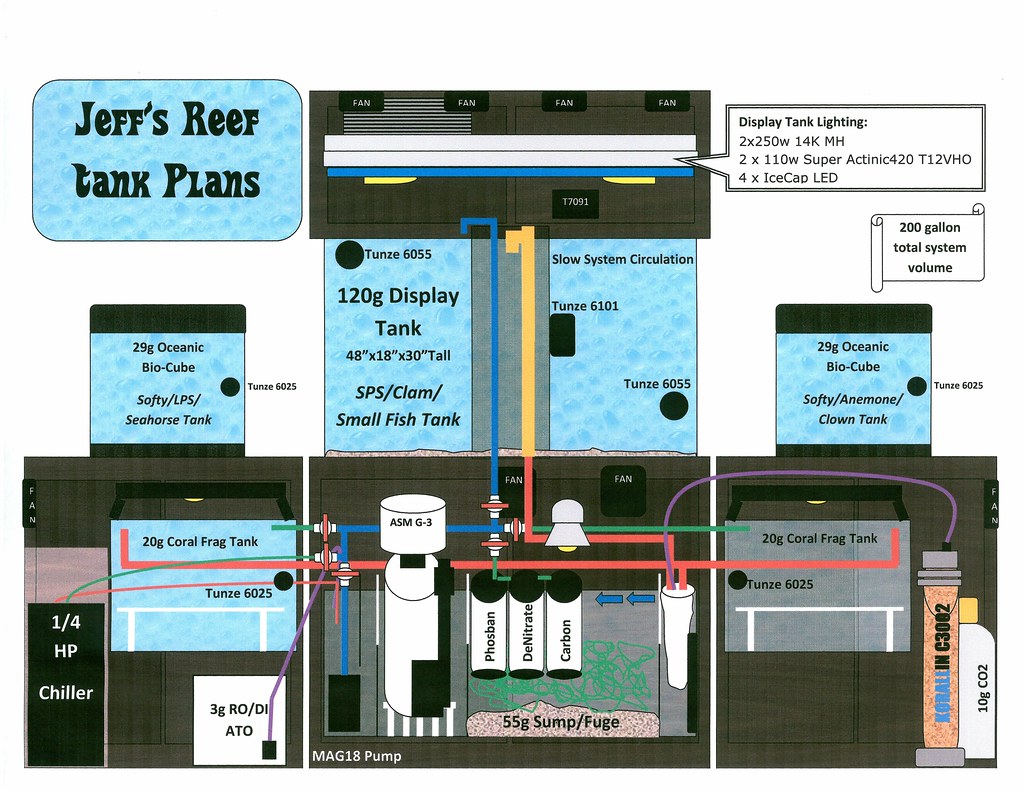
For lighting I am running 2 x 250w 14K Metal Halides and 2 x 110w Actinic T12VHO's. I am also using 4 Icecap LED's that give the tank a very strong blue during the evenings.

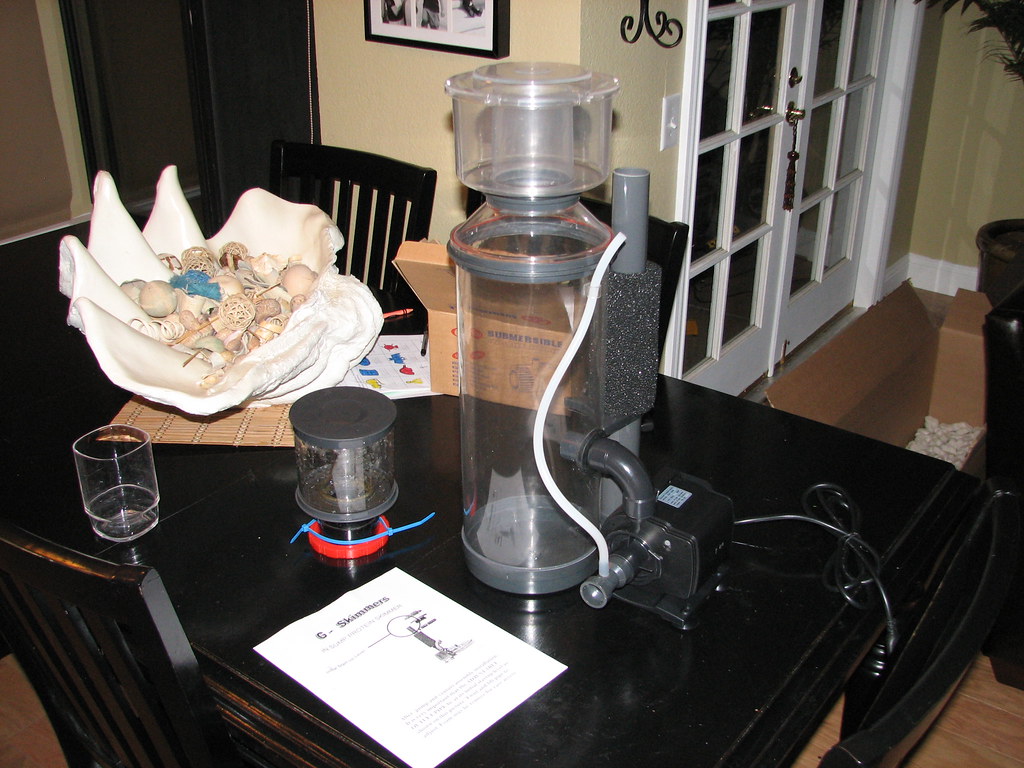
The new ASM G-3 Skimmer...
The Stand is made of 2" L-Bar Steel and the Skirt and Canopy I made myself out of Red Oak Stained Ebony with 4 layers of Poly over it for a nice protected finish. Before setting it back up I spent two days refinishing both the skirt and canopy to look like new again and added hardware for aesthetics.
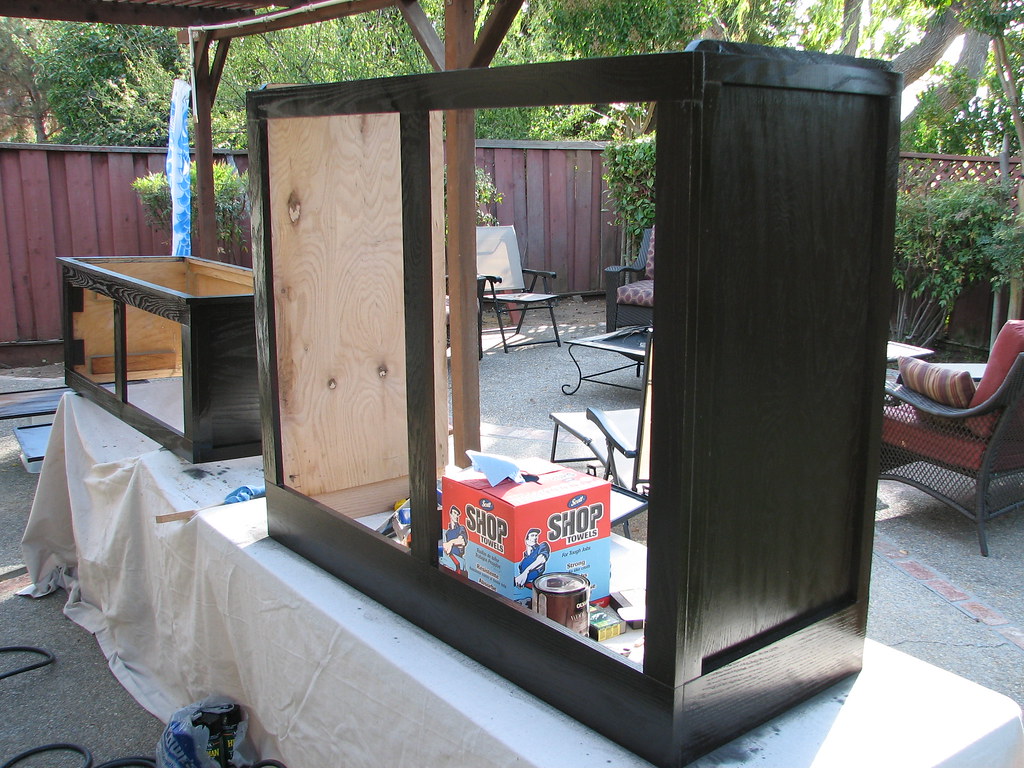

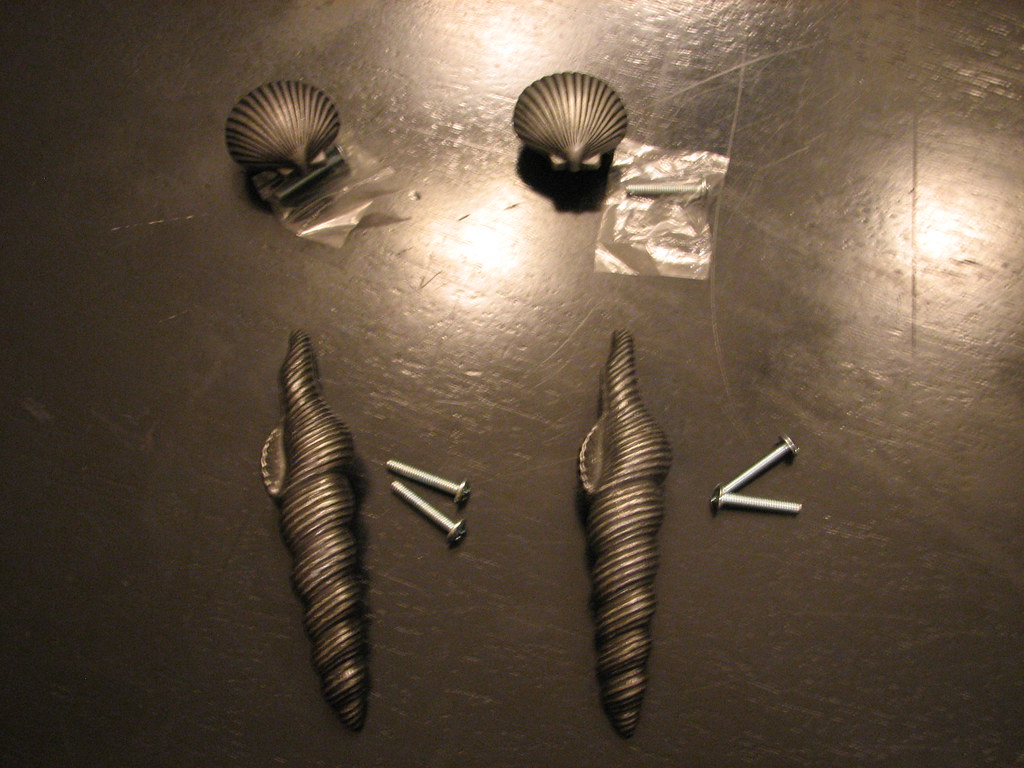
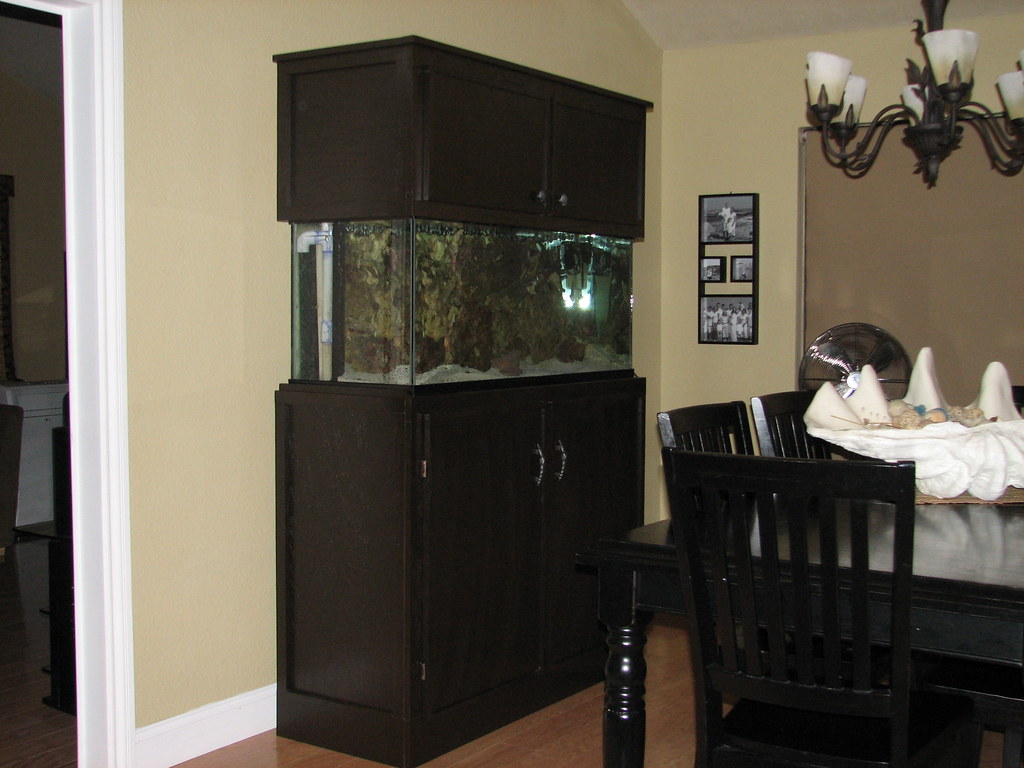
It's just the beginning...

For the first month I have been running a new ASM G-3 rated for 250 gallons and a Coralife Superskimmer rated for 125 at the same time. The ASM G-3 is skimming very nicely now and the Coralife Superskimmer I removed last night since it was no longer needed.

For lighting I am running 2 x 250w 14K Metal Halides and 2 x 110w Actinic T12VHO's. I am also using 4 Icecap LED's that give the tank a very strong blue during the evenings.

The new ASM G-3 Skimmer...

The Stand is made of 2" L-Bar Steel and the Skirt and Canopy I made myself out of Red Oak Stained Ebony with 4 layers of Poly over it for a nice protected finish. Before setting it back up I spent two days refinishing both the skirt and canopy to look like new again and added hardware for aesthetics.


It's just the beginning...
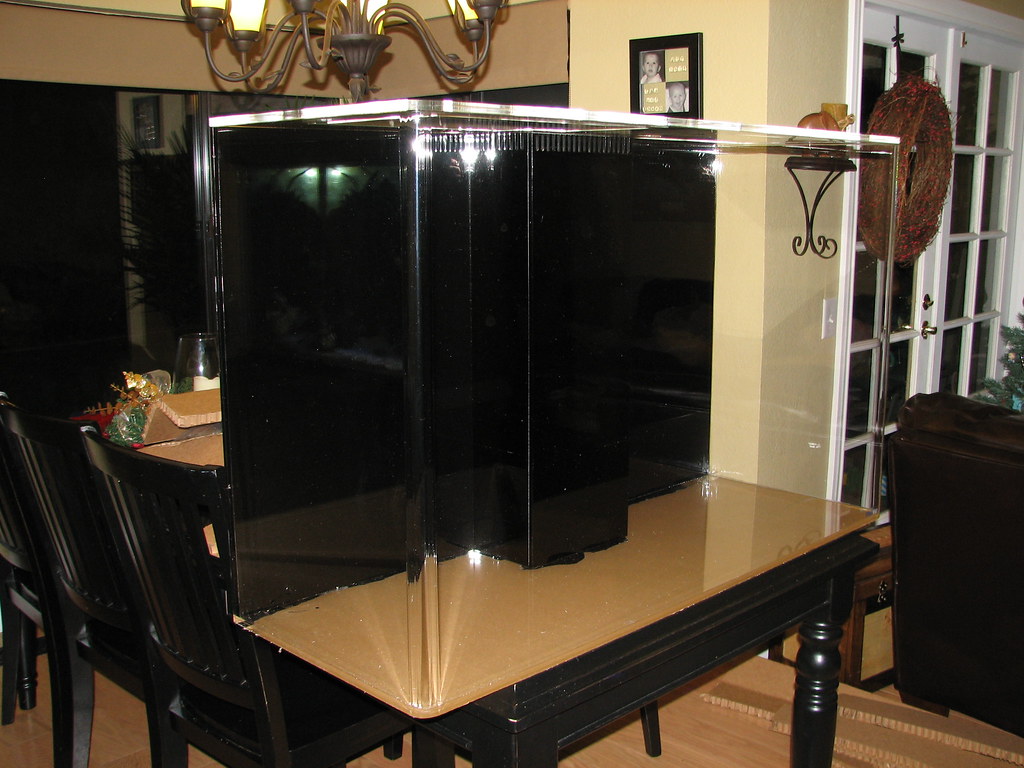
So I got the new tank in today... As an update it is a 120 Gallon Tall TruVu Tank 48"x18"x30". Yes, it is taller than it is wide, which many frown upon, but for the footprint that my wife will allow it is the largest gallon tank I can get!  Also... I will have the 55 Gallon Sump Fuge working with this that increases my surface area nicely. This will give me a total system volume of about 160-165 Gallons with a surface area of 1440 sq. in. or equivalant to a tank that is 48L"x30W"x26"Deep... at least that's the way I like to think of it. 8)
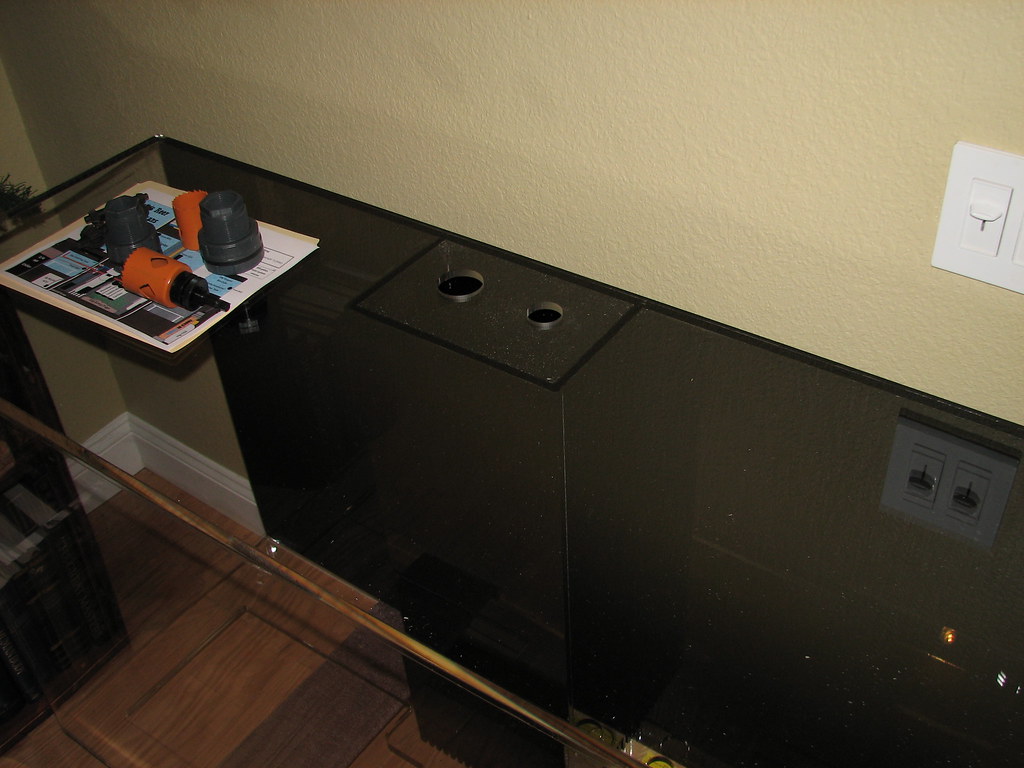
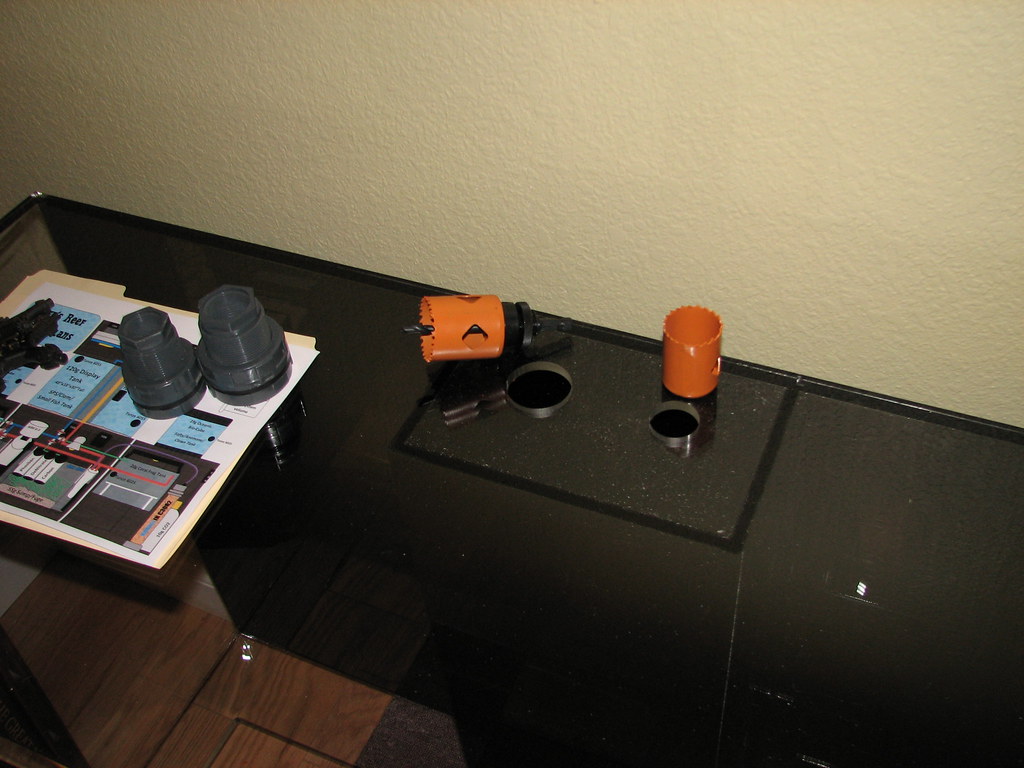
So I got the tank home and everything looked great until I looked at the two holes drilled in the overflow area. I will be doing a 3/4" return and a 1" drain, both with schedule 80 bulkheads. Unfortunately the 3/4" return requires a hole that is drilled at 1 5/8" but they made a mistake and drilled it at 1 3/8"; they were probably thinking 1/2" schedule 80. Also the drain which needs a 1 7/8" hole is drilled a little rough and will require some sanding to get the bulkhead through it without forcing it. Other than that, the tank is built very nicely. It is clean, nicely finished and very hardy in its look and feel. So I was going to start this project this weekend but it looks like It will be pushed out a little. I put a call in to see how they want to handle correcting the sizes on these holes.
I've got plenty to do in the mean time as I gather plumbing and building supplies to improve my plumbing and beef up my stand a little for the extra weight of 50 gallons. Until next time, here are a few pictures of the new tank.
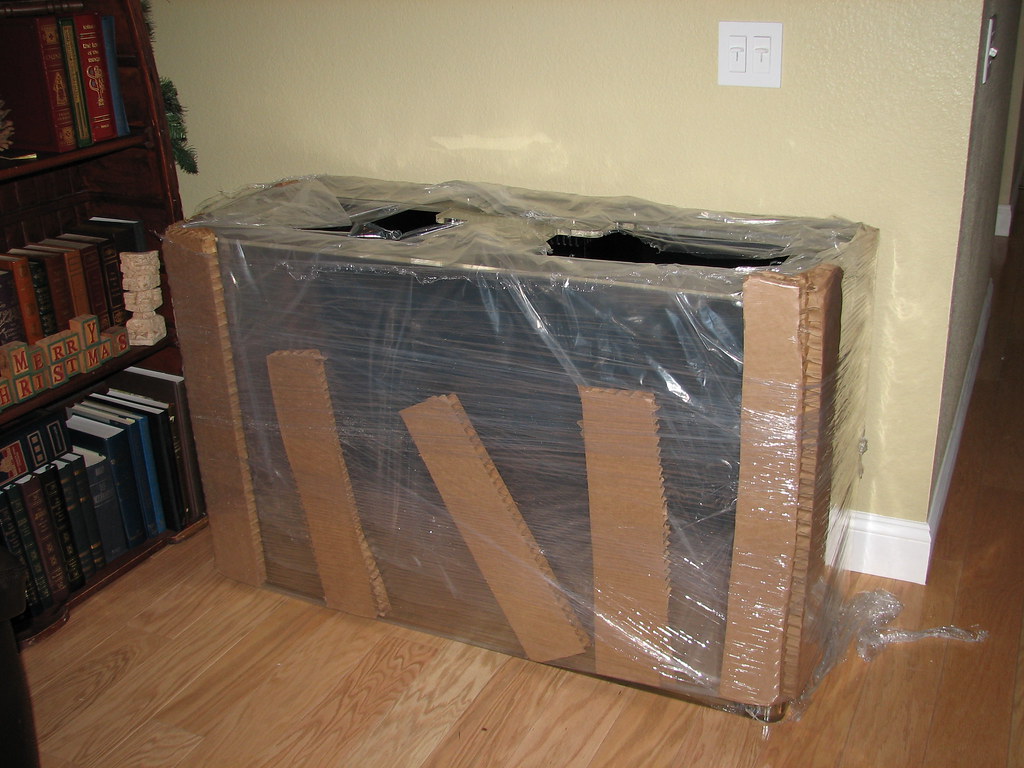
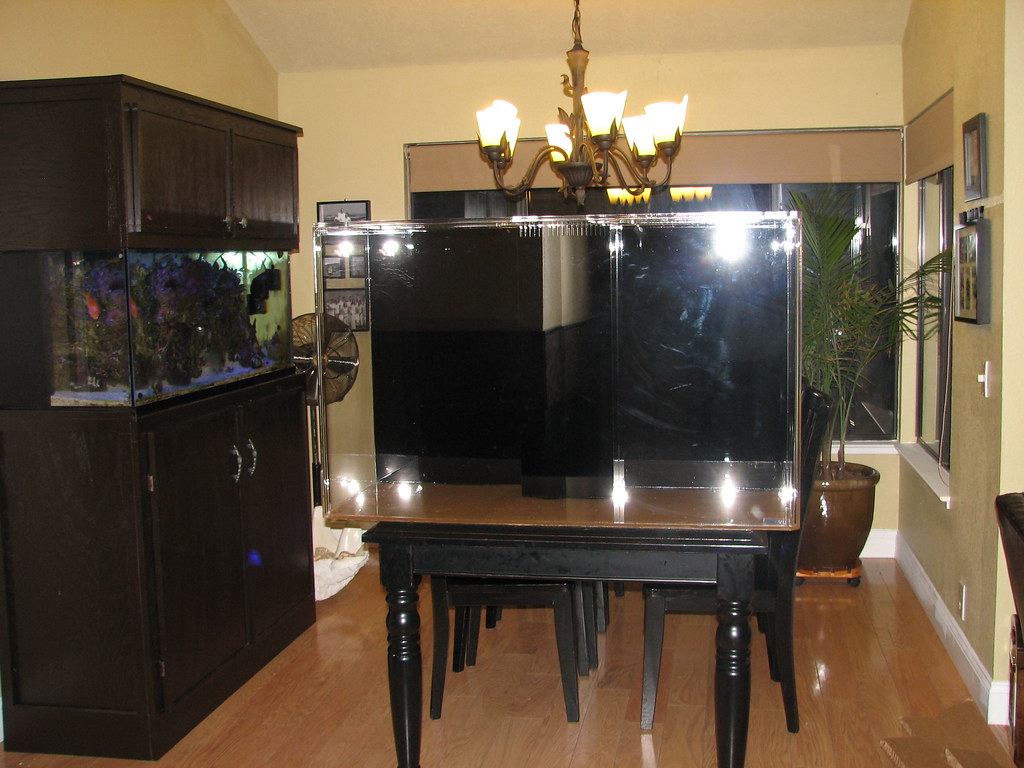
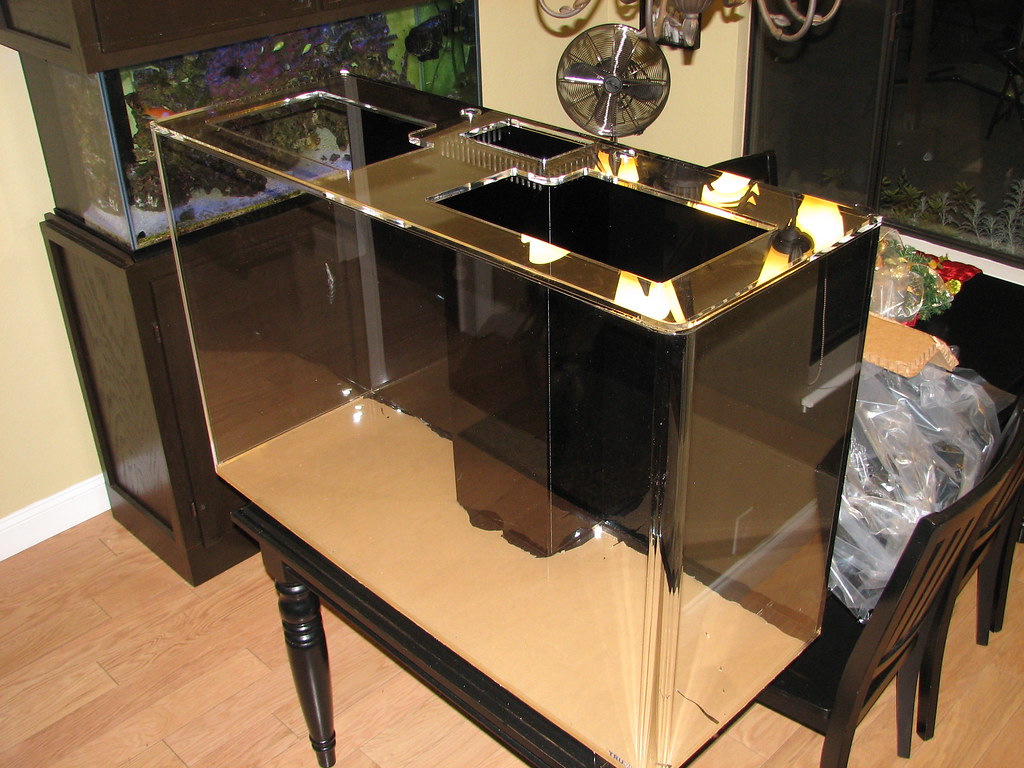
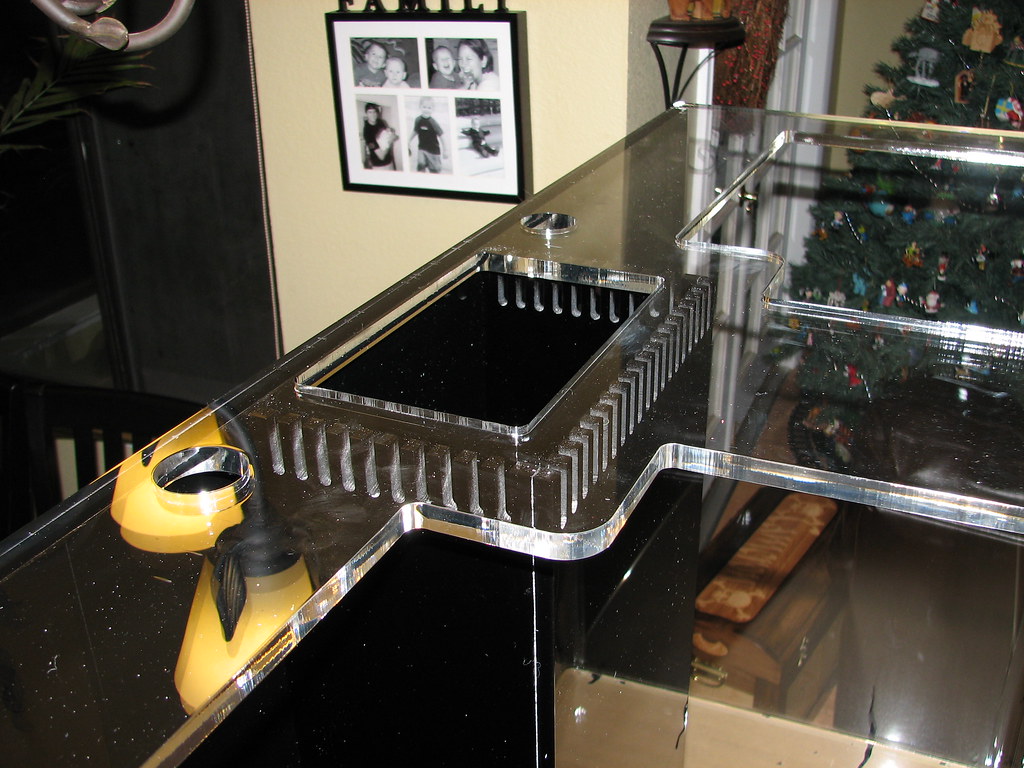
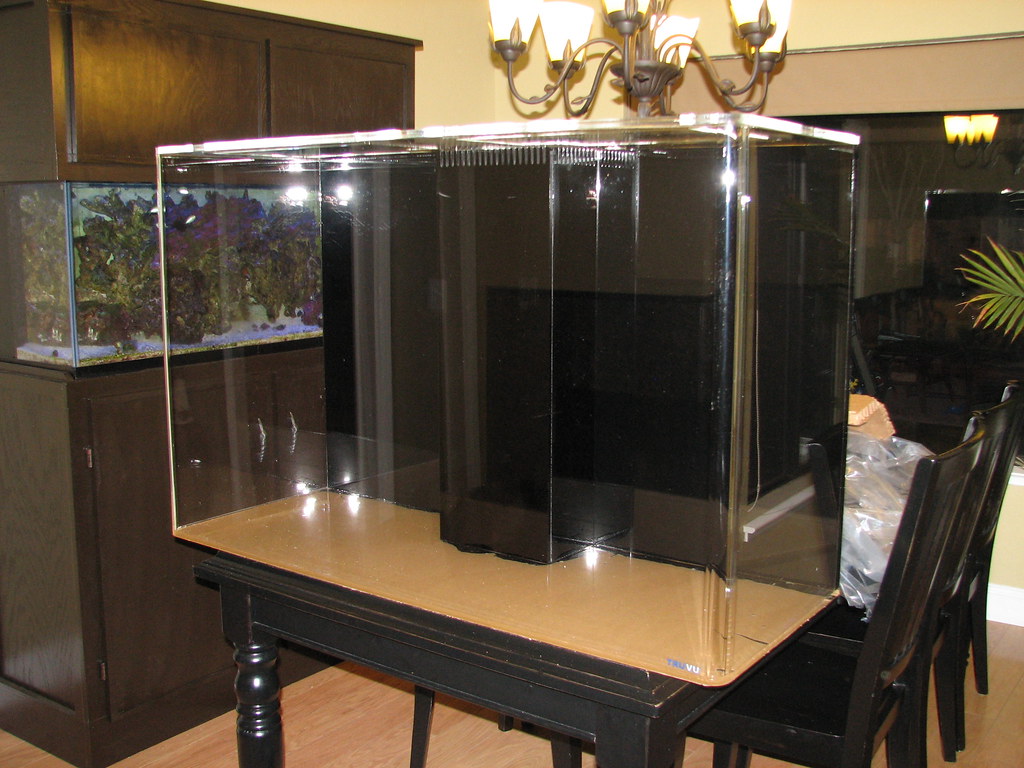


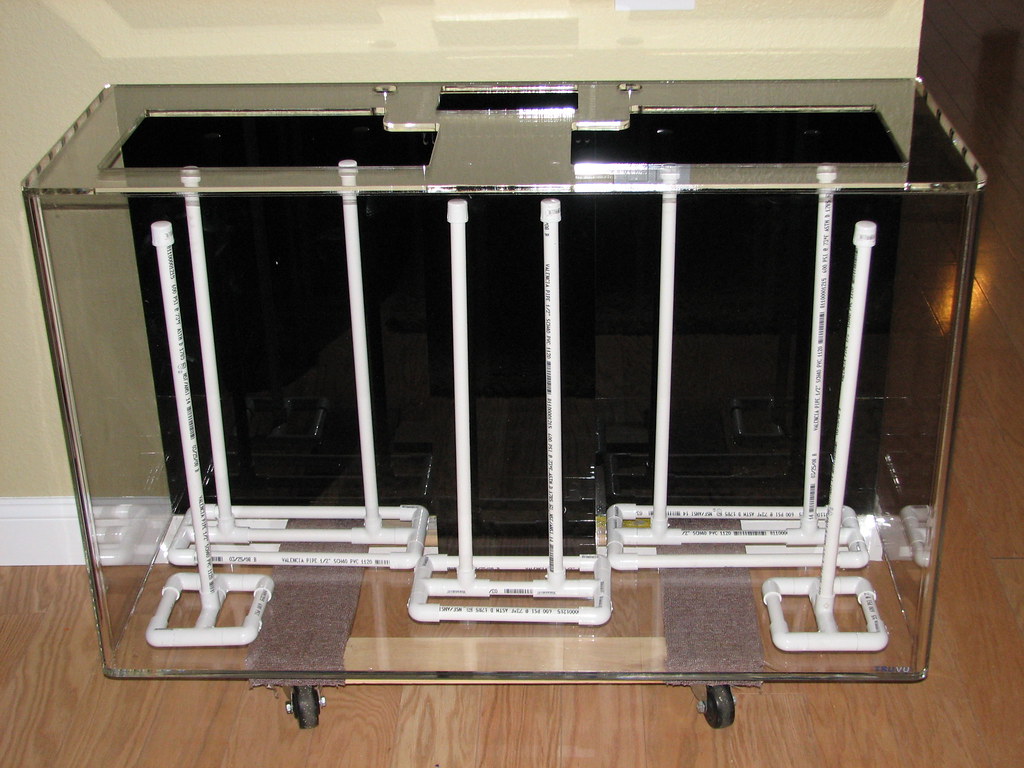
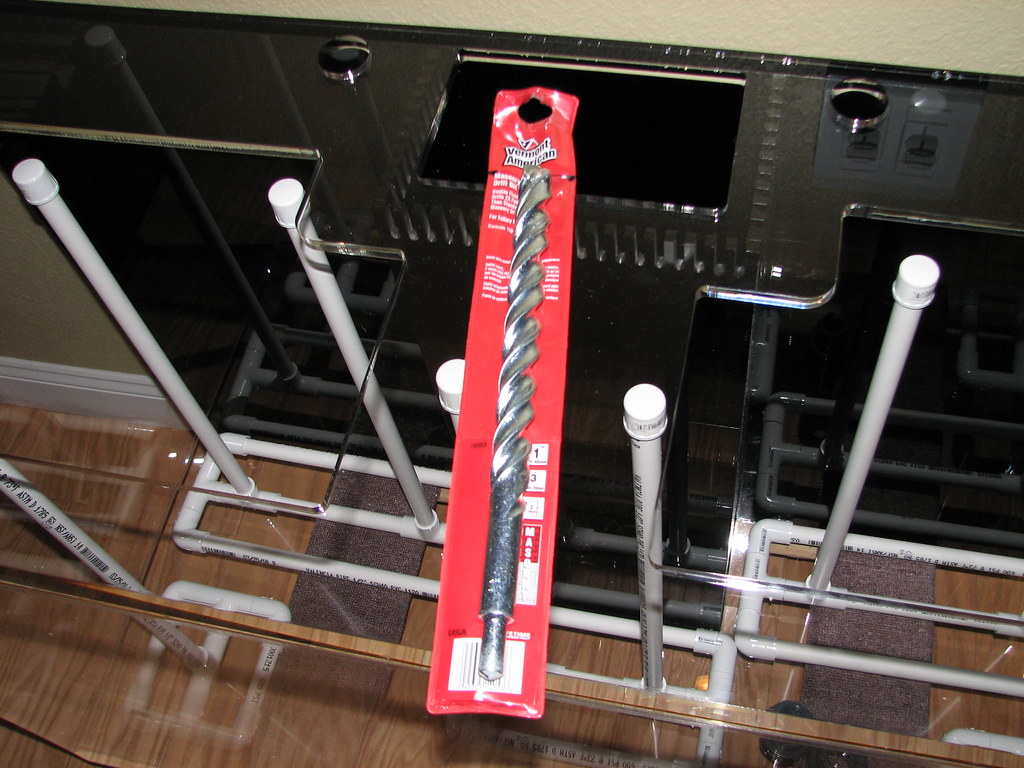
The holes are looking great. I spent some time putting together the 1/2" PVC stands this evening that will act as a framework for my live rock. I will be doing a mixture of drilling my rock to slide over the 1/2" PVC and smaller drilling of the rock to zip tie to the PVC. I haven't determined what the heigth of everything will be yet but will determine once I get into the aquascaping itself. I picked up a 1" masonry bit to drill my rock with.



The new location for my RO/DI system. I have been carrying it back and forth from my gargage to the kitchen sink and running a garden hose into the house to feed it. Recently read a post here on BAR where someone did a Y off of there Washing machine line to hook up their RO/DI and ran the drain line down the washing machine drain line. I liked the idea a lot and picked up the parts today to do it. This is what it looks like now. My wife is certainly happier with it. added a shut off on the feed line of the RO/DI to make it all work.


The 40 Gallon Breeder I came accross for $50 this week. 36"L x 18"W x 16"H. A pretty fair deal and a good frag tank I think. This will be my SPS frag tank that I will have looped into the sumpfuge that will be running my 120G Display. Should give me a total system volume of about 200G.


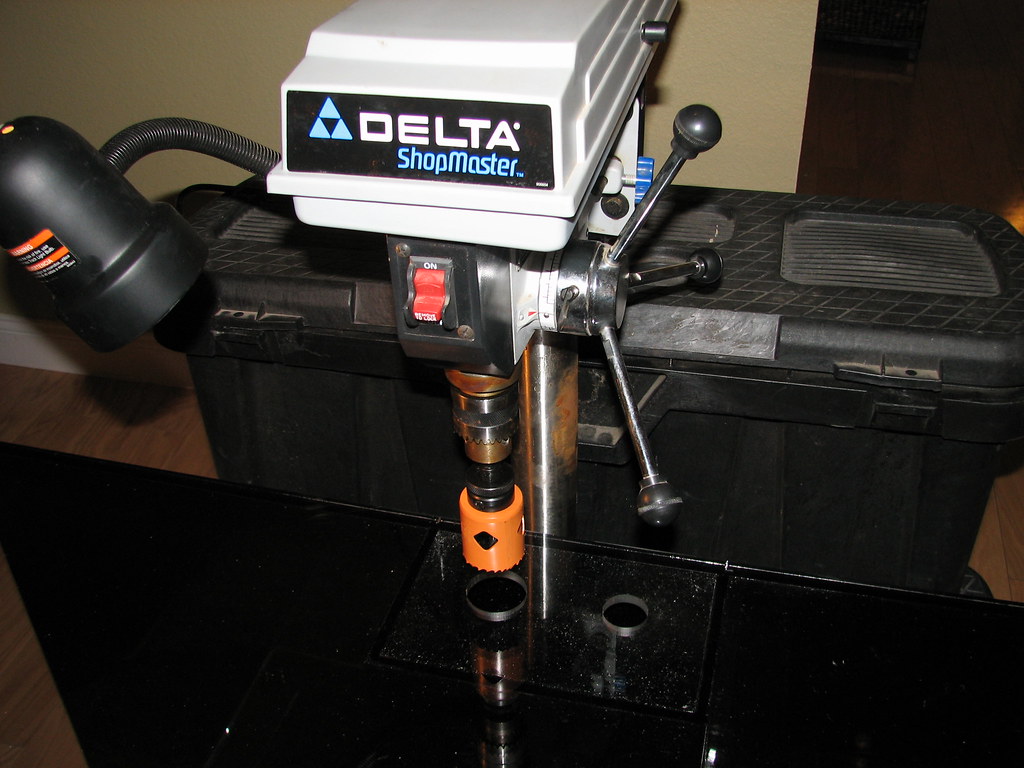
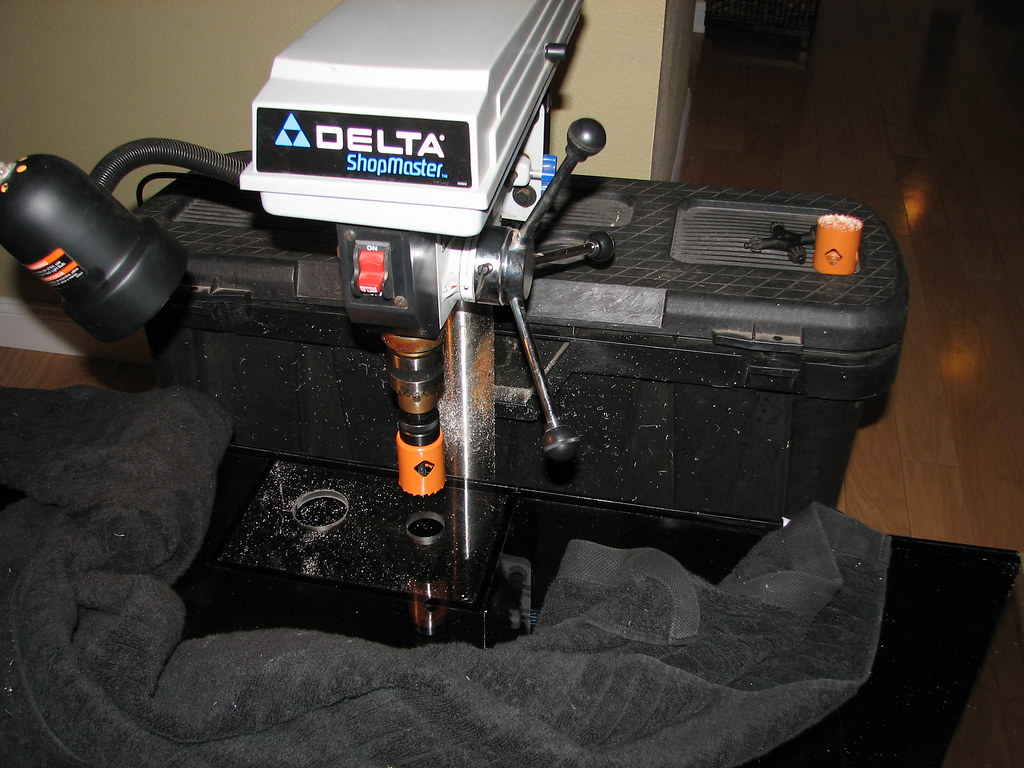
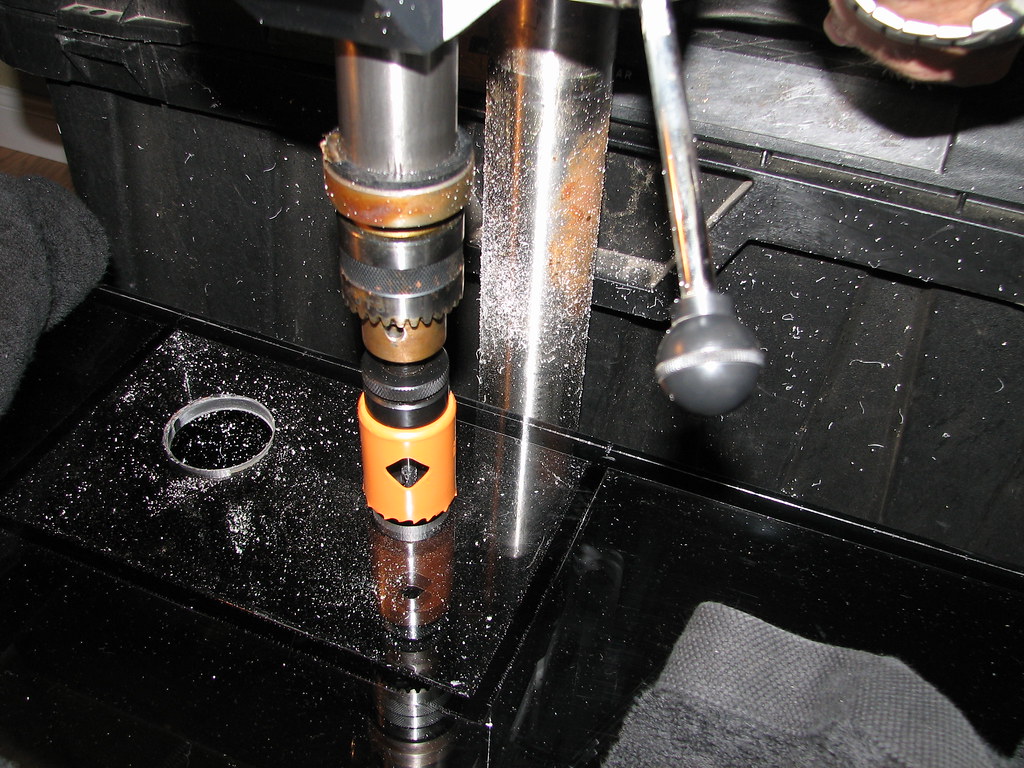
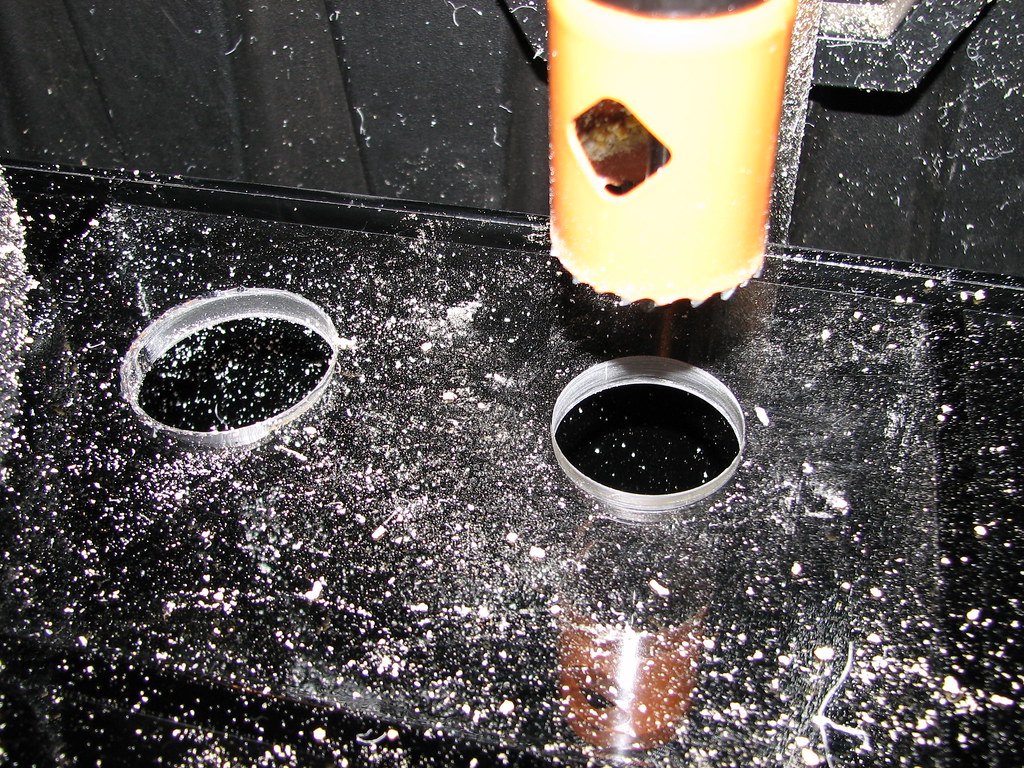
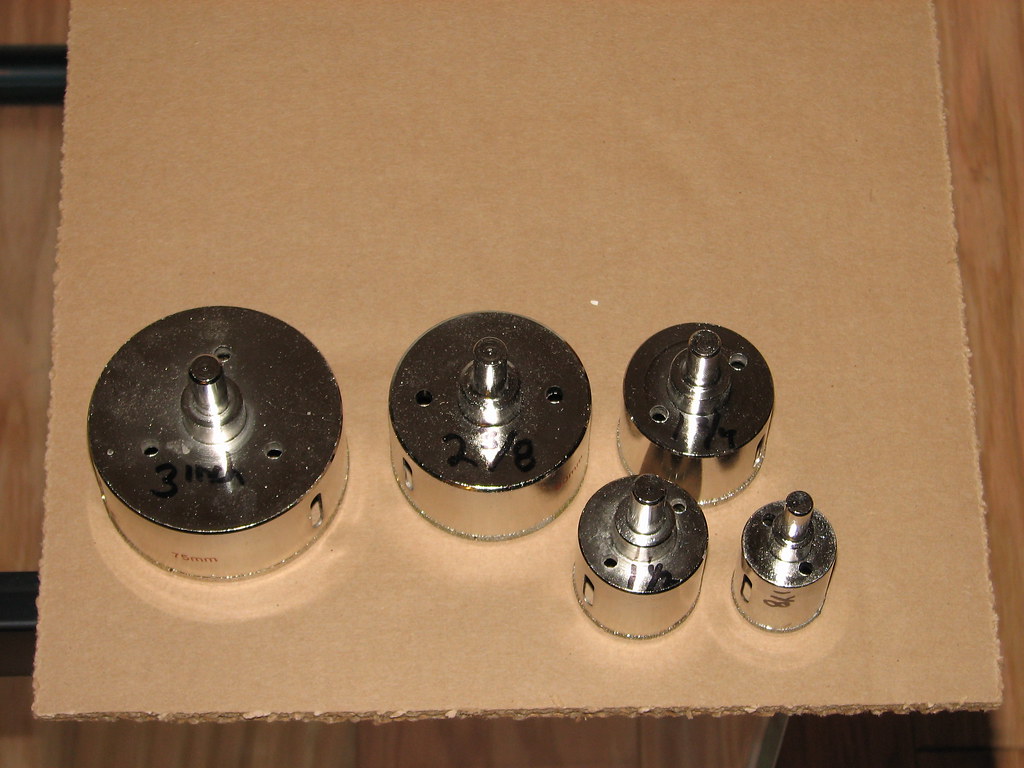
Picked up this set of glass hole bits on ebay from a guy down in Florida to drill this frag tank with. $59.99 + Free shipping for the set of 5. Took only 3 days to get them.
Includes a
3"
2 3/8"
1 3/4"
1 1/2"
1 1/8"
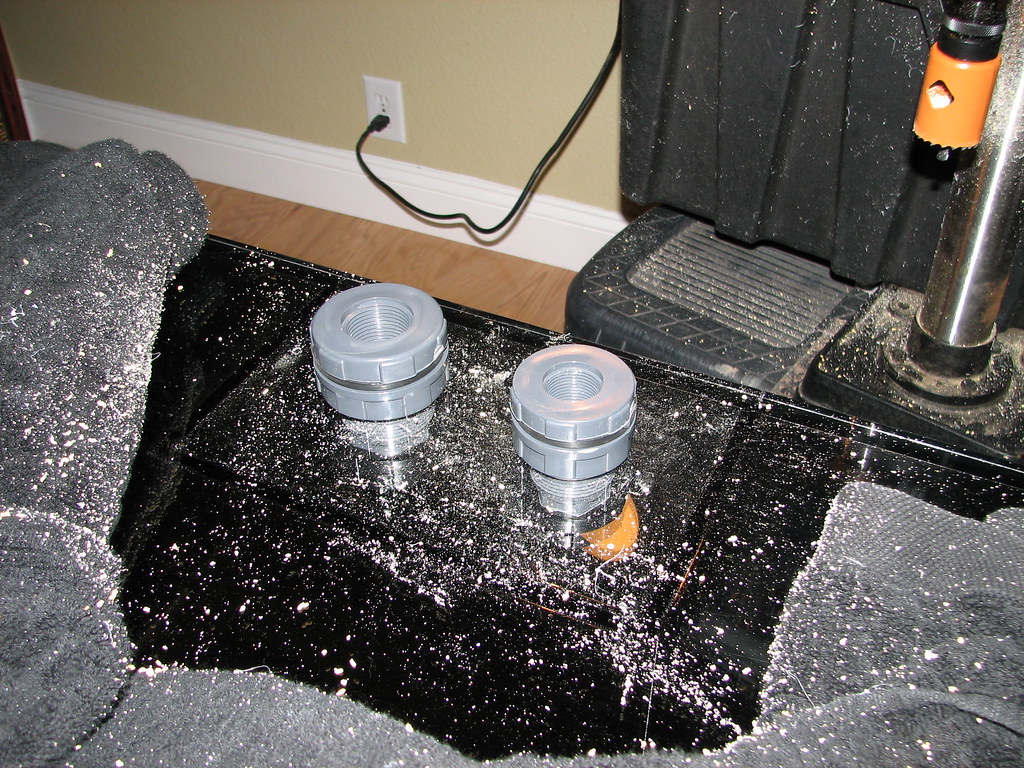
Will be drilling the back of the tank for a 3/4" return and 1" drain; using the 1 3/4" and 1 1/2" bits.
Includes a
3"
2 3/8"
1 3/4"
1 1/2"
1 1/8"
Will be drilling the back of the tank for a 3/4" return and 1" drain; using the 1 3/4" and 1 1/2" bits.

Well I thought I'd do an update... 8)
Tank has been doing very well... Over the last couple months my perameters have been steady and in range.
pH :arrow: stays between 8.06 and 8.27
Temp :arrow: stays between 77 and 78 degrees
Nitrates :arrow: are staying around 5ppm with weekly 10% (20 gallons) water changes and heavy feedings
Alk :arrow: continues to hover right around 10
Salinity :arrow: a consistent 1.026 or 53.0 via pinpoint reading due to ATO
Haven't been testing for mag and calc regularly :quest: but the few times I have done they've been pretty close to common reef aquarium targets.
The skimmer cup on the ASM G-3 fills up with a nice dark skimmate about once a week.
My 20 gallon L ATO tank has to be completely refilled about every 7-8 days
I've had a little hair algae in the frag tank only... |( as the new black eggcrate is leaking some phosphates I think.
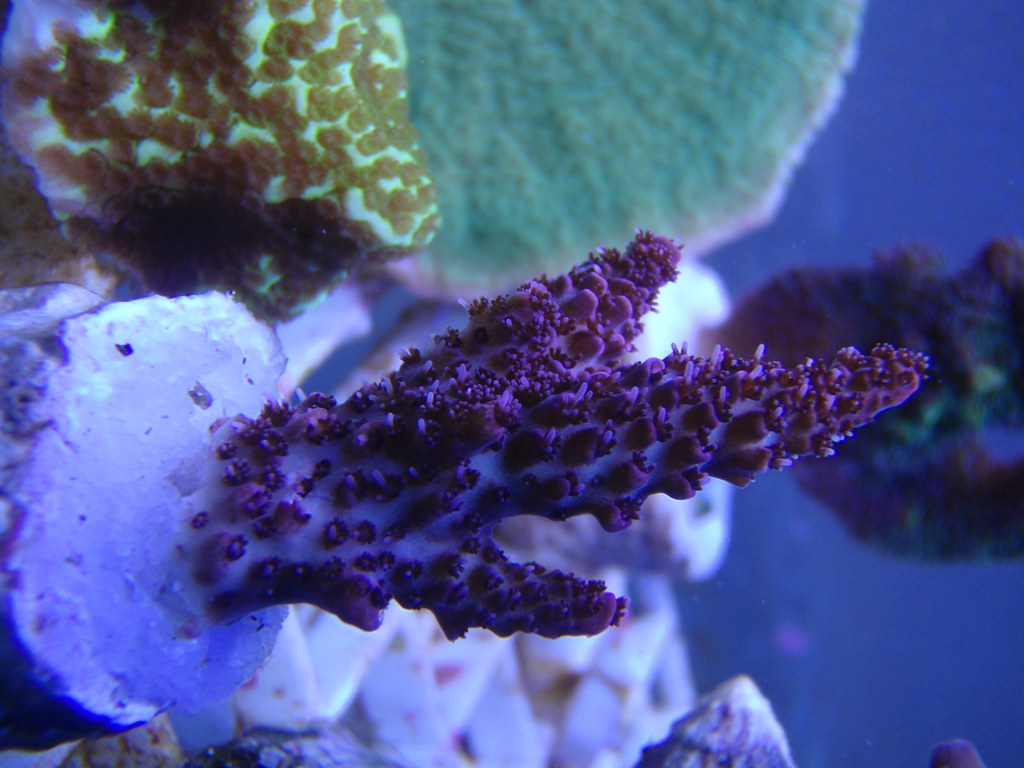
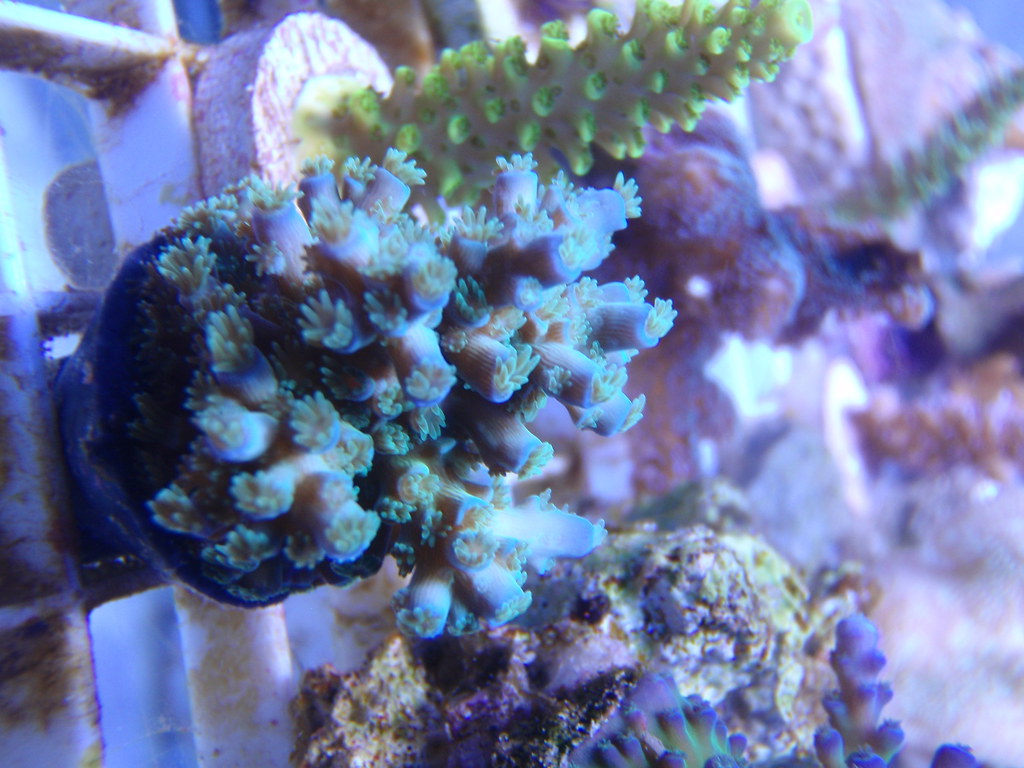
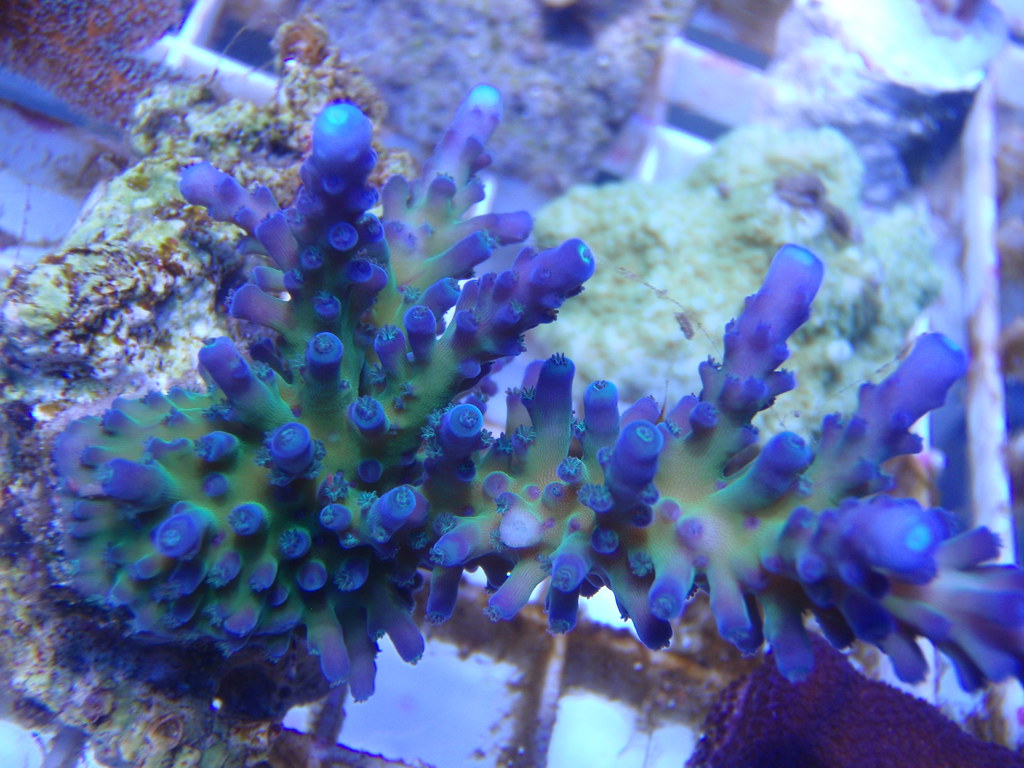
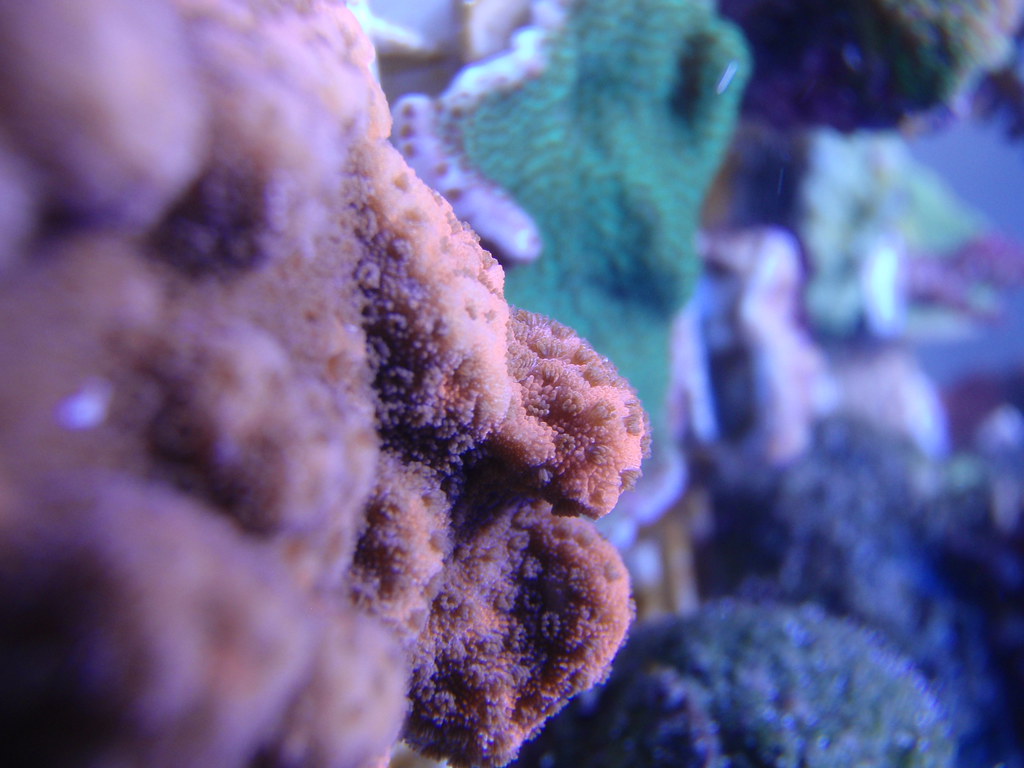
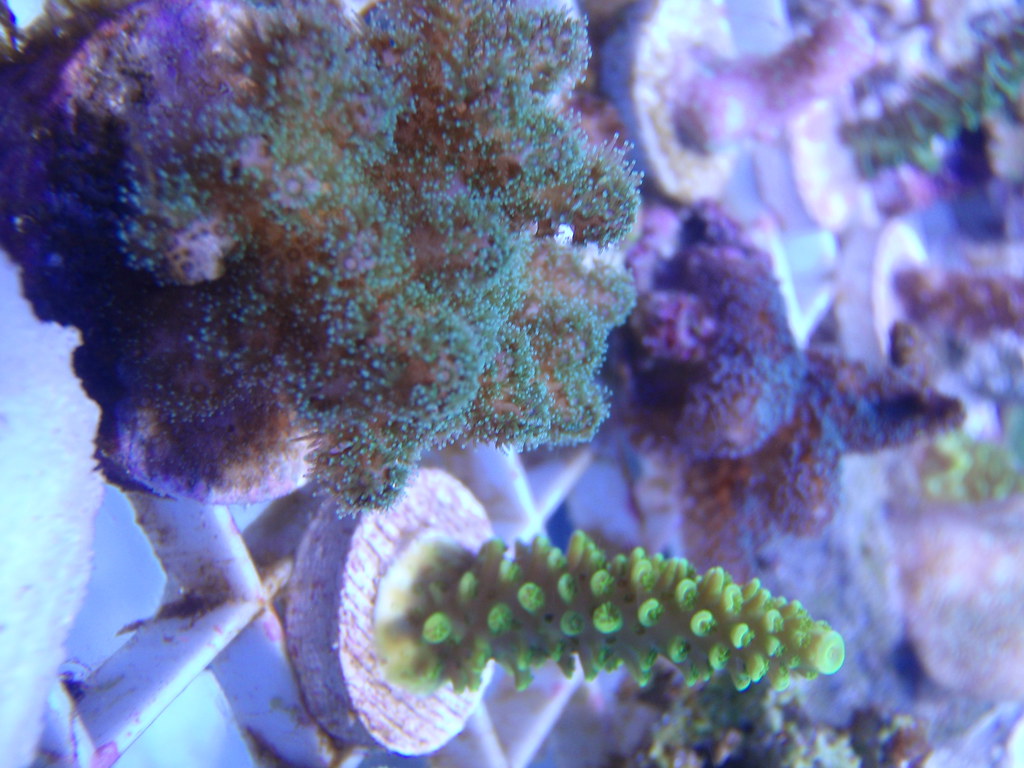
All of my SPS corals are experiencing noticable growth. My LPS growth has slowed a bit for some reason though...
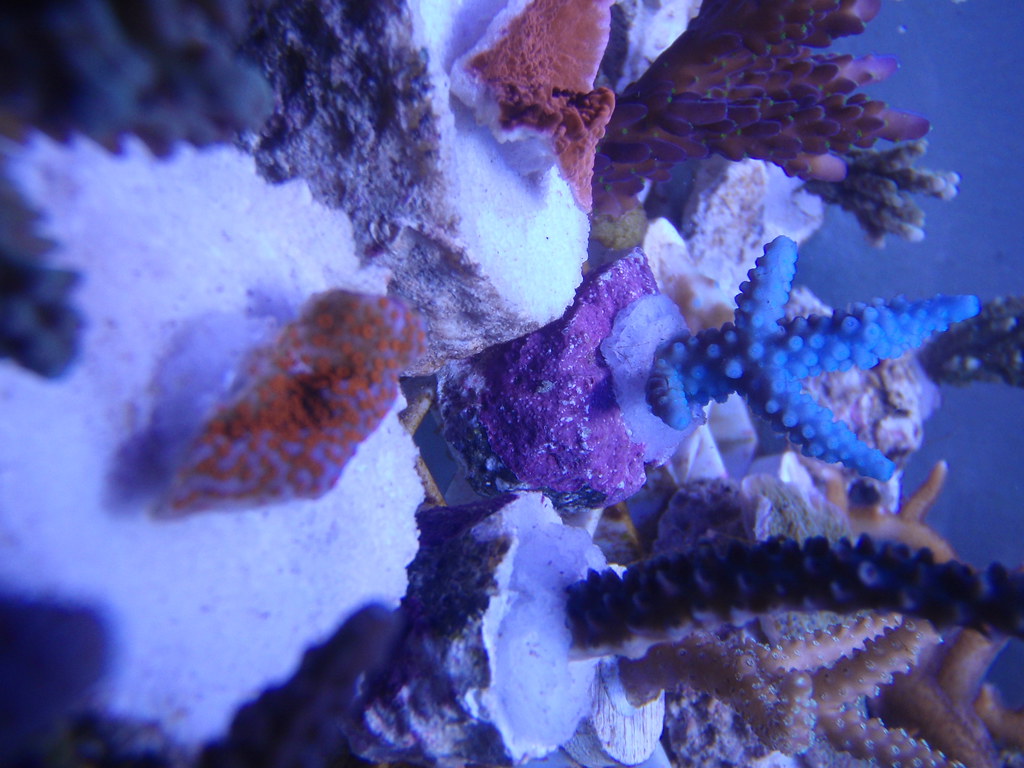
I'm loving my new lighting (ballast and bulbs) all of my SPS is putting on color I didn't realize it could reach... very impressed with it.
I added a Blotchy Anthias and three Dispar Anthias I picked up from Max at AS a few weeks back and everthing has adjusted without issue and are eating very well.
The six line in my frag tank did it's third head dive out of the tank a couple of weeks ago... :| except this time I wasn't there to put him back in.... Looked like a piece of fruit roll-up stuck to the floor when I found him the following morning. :Sp I have since put in a yellow coris wrasse and some eggcrate covers on the two ends of the frag rack to avoid the jumping issue in the future.
During the time between the sixline and the yellow coris I spotted a couple of tiny red flat worms... :O (thanks phong for your keen eye)... I think the yellow wrasse is now taking care of the little buggers the six line was previously keeping under control. I plan on hitting the tank with FWE this weekend to make sure I'm good going forward.
...and the primary reason there are so many emoticons in this post is because they are new and I just wanted to try them... S)
zambavi said:...and the primary reason there are so many emoticons in this post is because they are new and I just wanted to try them... S)
:bigsmile: 8) I love emoticons :Sp :love:
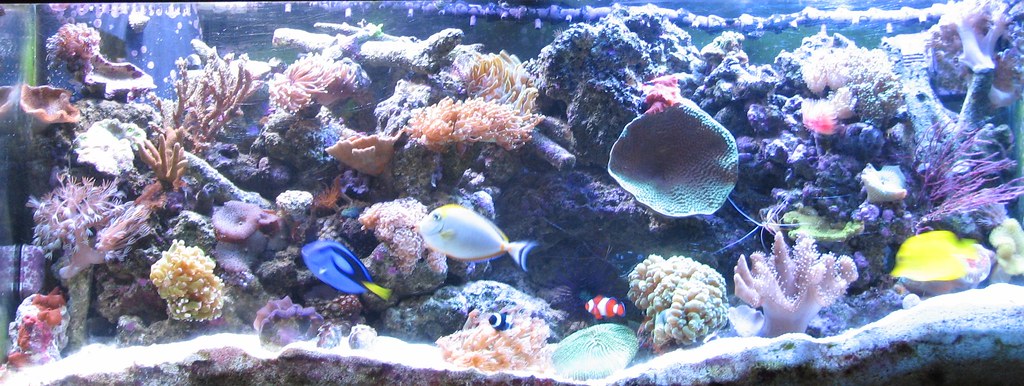
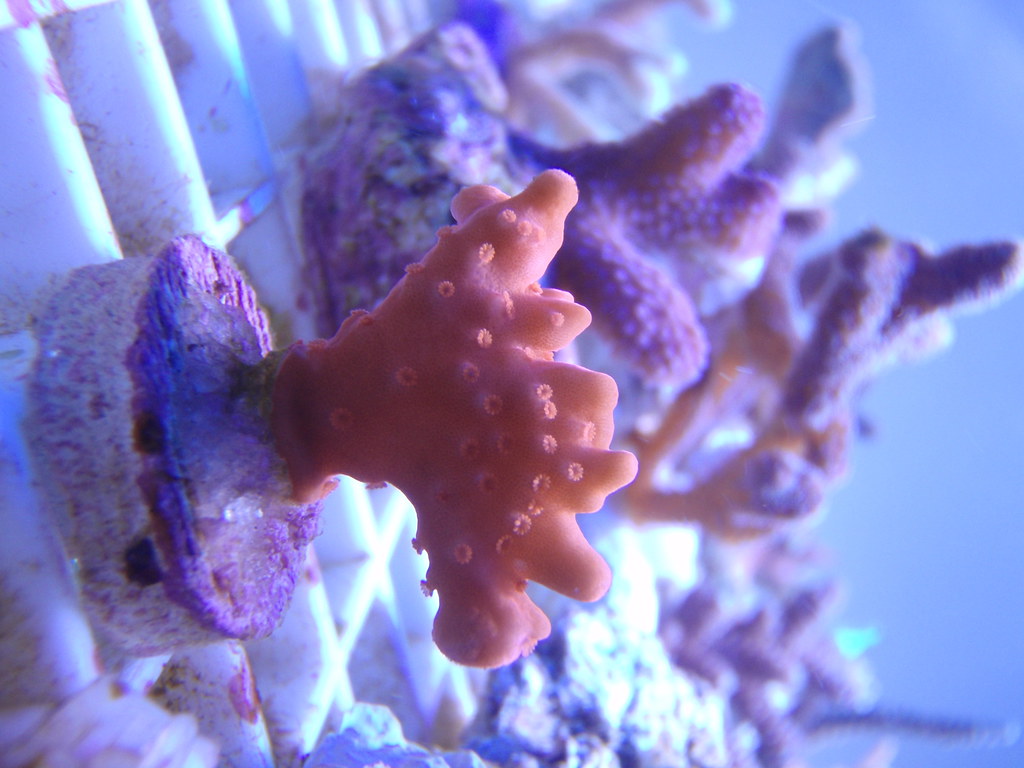
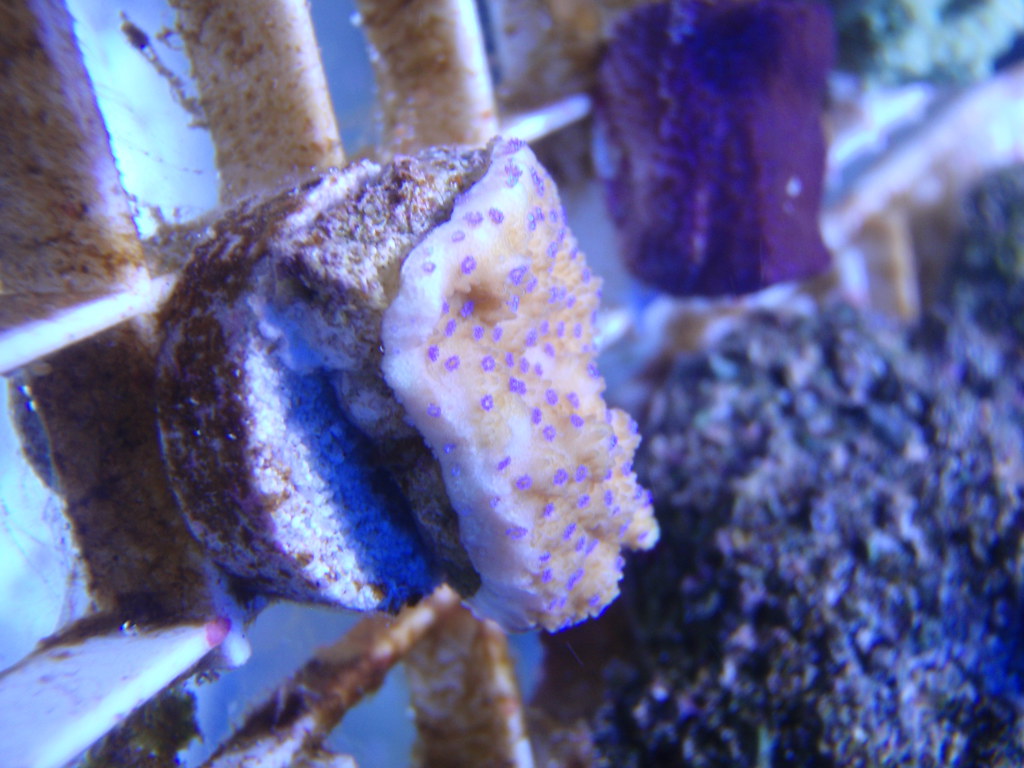
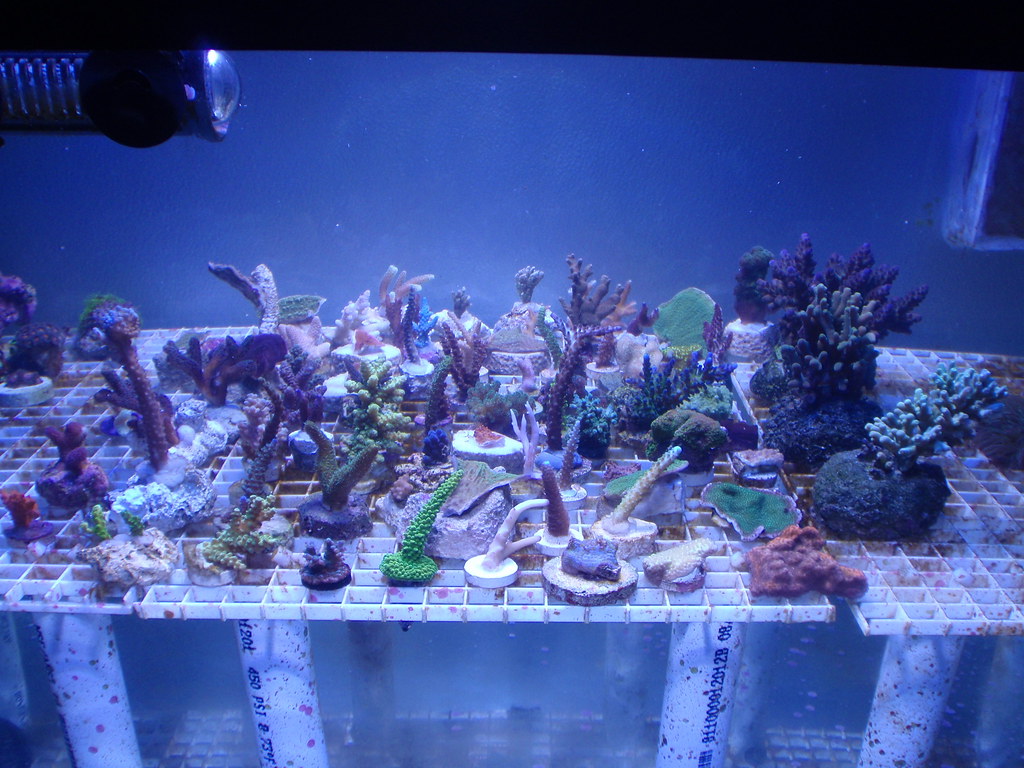
An update... tank is doing well. About 3 weeks ago I had some minor RTN'ing hit 4 different Colonies. Luckily it stoped on each about 1/4" up on the base. They are all doing fine now and starting to grow over the dead sections.
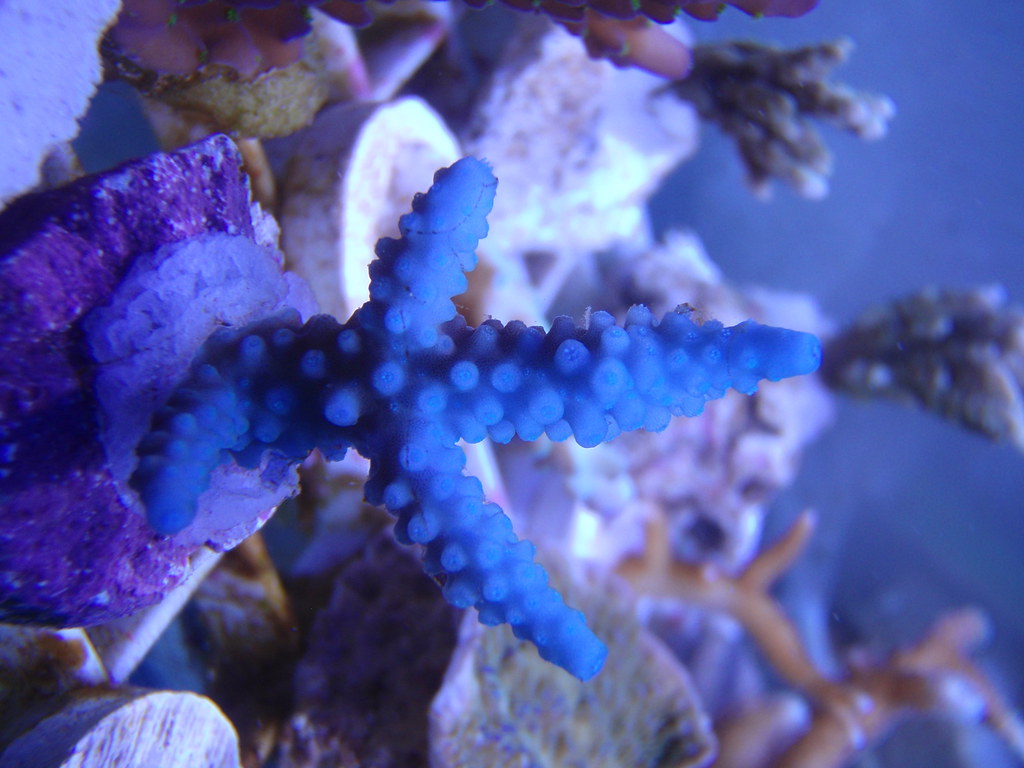
Picked this Spider Sponge up from Max's a few weeks back. It stayed completely closed up the first week or so and the color wasn't great at first.... but it has been looking awsome lately... especially over the last two weeks. Thought I'd post a pic of it...

Picked this Spider Sponge up from Max's a few weeks back. It stayed completely closed up the first week or so and the color wasn't great at first.... but it has been looking awsome lately... especially over the last two weeks. Thought I'd post a pic of it...

I'll give an update here. It's been a couple months since i've been on BAR due to range of others issues going on in my life but things are leveling out and coming back to normal. As of today my tank is looking well but it did go through a pretty tough period about a month back that had me biting my nails and little time to do anything about it. I did loose more colonies than I care to think about but still ironically have a tank full of nice looking coral. My apoligies to my lack of response to messages i've received over the past couple months. Don't see that as a problem moving forward. I look forward to attending the August swap and hope to have some nice frags to bring in to contribute. I'll post some updated pics this weekend when i have a little more time to breath!


