You are using an out of date browser. It may not display this or other websites correctly.
You should upgrade or use an alternative browser.
You should upgrade or use an alternative browser.
Leemar Starphire 290
- Thread starter Kmooresf
- Start date
Hey Levi,
Most Sump / Fuges flow over the baffles. Robert wanted to flow under to ensure the flow goes through the fuge as he has seen many with somewhat stagnent water...........requiring additional power heads. i think he just wanted to make sure this didnt allow any surface skim to build up and added that just in case. I like it because it seems large enough to be effective if needed, however small enough to keep the majority of the flow going through the bottom / middle of the fuge. I have never seen a flow design like this, but I dont know if he saw it somewhere else? What do ya think?
Most Sump / Fuges flow over the baffles. Robert wanted to flow under to ensure the flow goes through the fuge as he has seen many with somewhat stagnent water...........requiring additional power heads. i think he just wanted to make sure this didnt allow any surface skim to build up and added that just in case. I like it because it seems large enough to be effective if needed, however small enough to keep the majority of the flow going through the bottom / middle of the fuge. I have never seen a flow design like this, but I dont know if he saw it somewhere else? What do ya think?
I like it. I'm trying to build one myself and the fuge is what keeps hanging me up. I have not had the time to search through the forums so i might be lazy and just start a new thread  I just dont know how far i want to take it you know. Do i go with just chaeto or do i go with mud/sand and mangroves... cant decide. In the past i've been a big feeder so I'd like the extra nutrient export.....
Yeah, I hear ya. My current fuge was on my FOWLER and the design did not allow a sandbed. I am excited this will allow up to a 6" bed, but I haven't decided if i am using mud or sand yet........that is the next decision I guess. Dont know much about mud. I understand the concept of leaching nutrients.....just dont know how well it works, does it need to be sifted, can it go bad, etc?
Good point.... wouldn't that cause back preasure?Elite said:Does anyone think there would be an issue with the skimmer return that low?
LeviT said:Good point.... wouldn't that cause back preasure?Elite said:Does anyone think there would be an issue with the skimmer return that low?
I agree that is a possibility. One of my suggestions I have already sent to Robert was to place the skimmer return in the Fuge chamber........not because of back pressure, but because of bubbles........however it seems that would fix both problems as it would likely be at least 10" up to be above the sand bed and into the main flow. Do you think it would need to drain above the water line? That is how all of my skimmers have been set up.
Hi Ian,
It is the concrete floor of the basement / garage. The section the room is on is level and raised onto 2x4's resting directly on the concrete. I pulled the wall out around the base just to make sure, so the weight should be spread onto the concrete. I had planned to shim up as needed, but was surprised to find that area level and already on the concrete.
It is the concrete floor of the basement / garage. The section the room is on is level and raised onto 2x4's resting directly on the concrete. I pulled the wall out around the base just to make sure, so the weight should be spread onto the concrete. I had planned to shim up as needed, but was surprised to find that area level and already on the concrete.
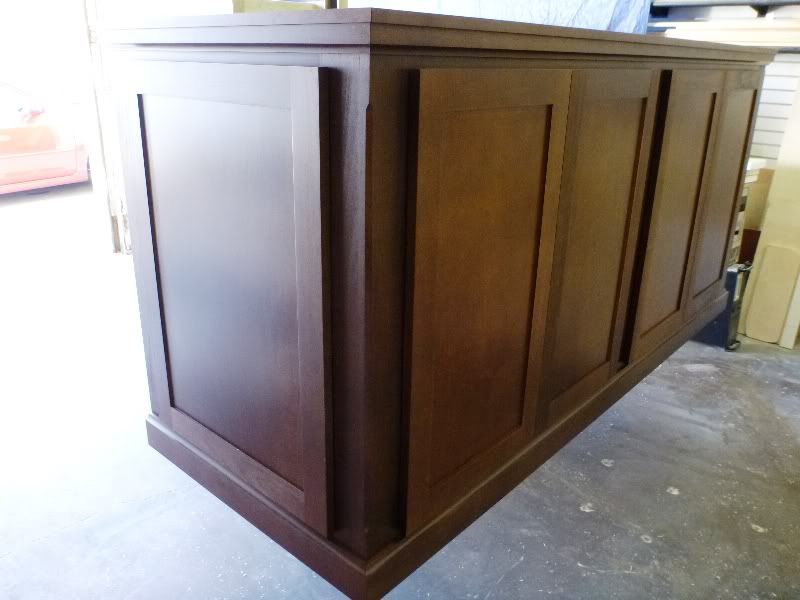
Got a message from Robert at Neptune............the stand is done! It turned out beautiful! I haven't seen it in person yet, but it is exactly what I was hoping for.

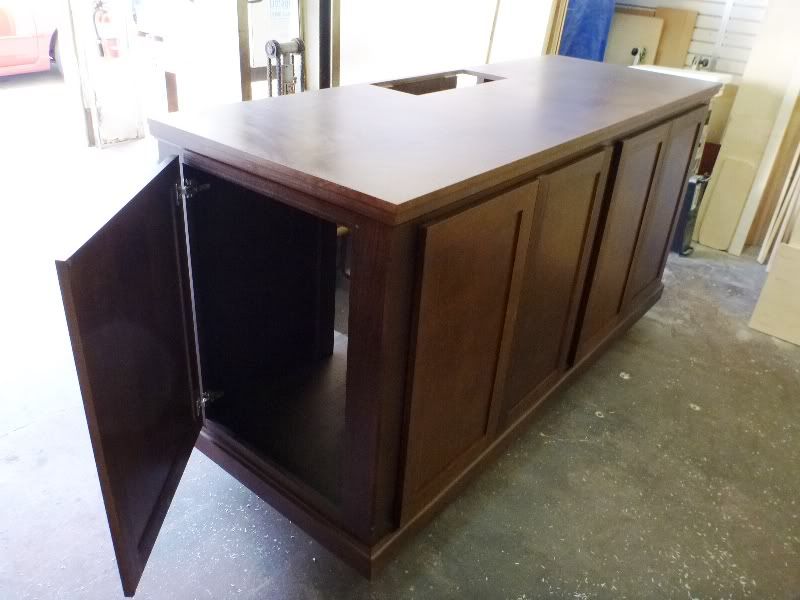
Had a door added to the side to put in the sump and give a little extra access.

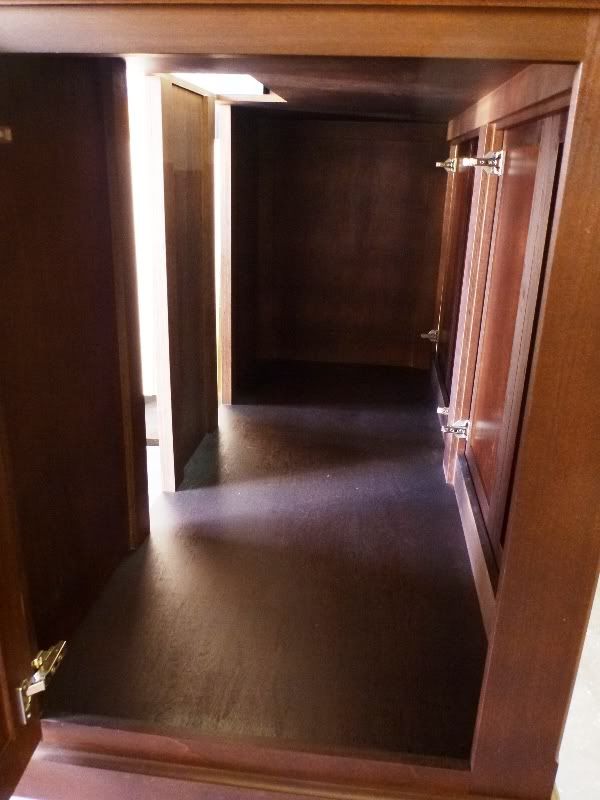
Lot's of room!!!

Pretty much the same dementions of the tank as I have a VERY narrow door to put them through. 84" long x 31" wide x 38" tall. Had to cut a few inches from the tank height, so added some to the stand height.

Had a door added to the side to put in the sump and give a little extra access.

Lot's of room!!!

Pretty much the same dementions of the tank as I have a VERY narrow door to put them through. 84" long x 31" wide x 38" tall. Had to cut a few inches from the tank height, so added some to the stand height.
Kensington Reefer
Supporting Member
Side door access...brilliant!
Ummmmmmm...........
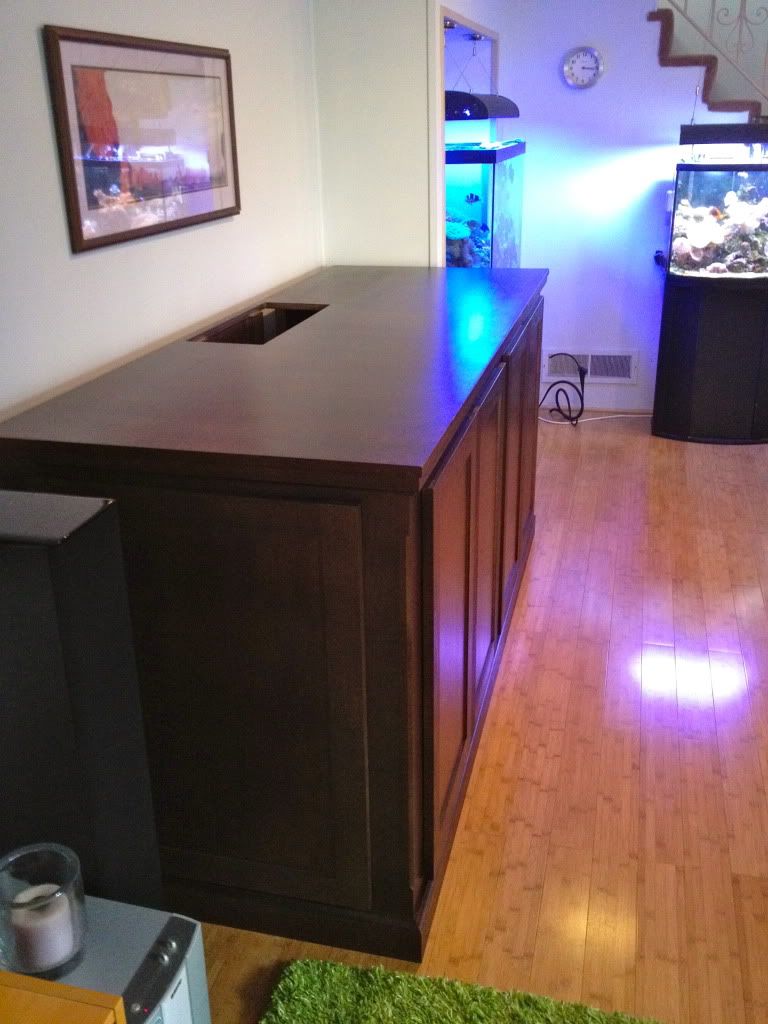
HOLY %$&#!!!!!!! This is a MONSTER! :O LOL! Looks MUCH bigger in the house.
Ended up being a bit taller than I had expected, (40" instead of 38") but I'm lovin it! It will be almost at eye level with the tank on it, so no bending over to see it. Although I will have to be on a step stool to clean it. Ha!

I have a LOT of head room while working under the tank. I am actually pretty stoked about that. My pup is happy she can come with me.

Tons of real estate for aquascaping! 31" wide!!!!!

Now I just need that thingy that holds the water and the fishies!! Yay!
HOLY %$&#!!!!!!! This is a MONSTER! :O LOL! Looks MUCH bigger in the house.
Ended up being a bit taller than I had expected, (40" instead of 38") but I'm lovin it! It will be almost at eye level with the tank on it, so no bending over to see it. Although I will have to be on a step stool to clean it. Ha!

I have a LOT of head room while working under the tank. I am actually pretty stoked about that. My pup is happy she can come with me.

Tons of real estate for aquascaping! 31" wide!!!!!

Now I just need that thingy that holds the water and the fishies!! Yay!
Coral reefer
Past President
Awesome. Totally excited to see it put together!

