Our mission

Better than nothing 90gal

This build is awesome! Love Homer, and love seeing the buisiness side of the tank. You have some very cool idea's. I'll be tagging along for sure.
 
You just have to love Christmas in January! These were waiting for me when I got home from work today. :D
2htp.jpg


Since there is still work to be done on my canopy, I needed test them elsewhere.
uyjh.jpg


Based on a previous breakout board I made a couple of years ago and a reference image I found on Neptune's support forum, I quickly lopped a head off my favorite cat-5 cable and got DIY'ing. Soldering is fun... I know, I need to get out more. ;)
awv8.jpg


I'm not sure what the pin orientation of the "stock" Kessil cable is, but this worked out to be Var1=Color & Var2=Intensity. I think I will open the stereo jack back up later and cover the connections with either hot glue or dielectric grease to prevent corrosion.

On a side note, anyone interested in building a DIY breakout board for Apex var-speed ports, here are some old pics.
varport1.jpg


I included both terminal blocks for playing with 0-10v and Tunze style female jacks for use with an old male to male AT keyboard cable. All of it is built on a Radio Shack breadboard.
varport4.jpg


I tried to keep most of the ugly on the bottom.
varport5.jpg
 
Last edited:
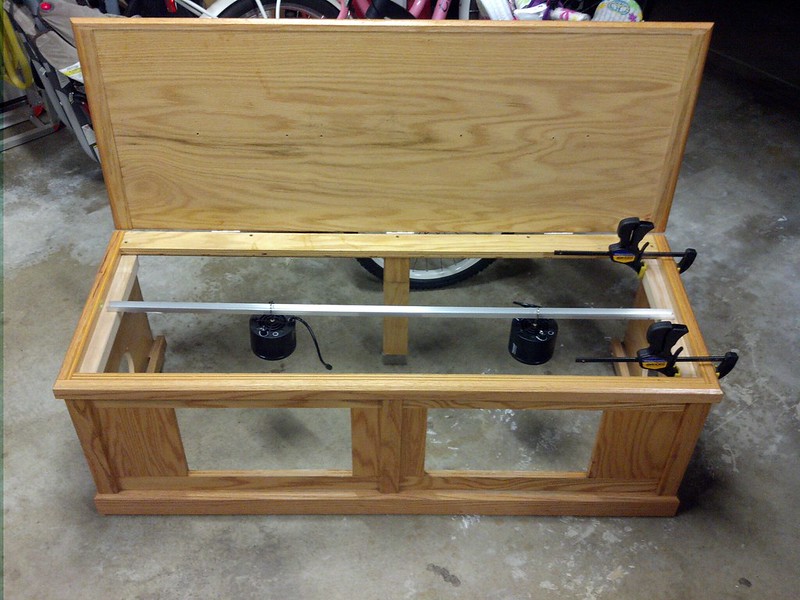
I've decided to keep my canopy. At least until I can figure something else out. This gives me a basic finished structure to work with. After walking around the hardware store for at least 2 hours trying to decide how to hang my Kessils, I decided on using a 4 foot length of "L" shaped aluminium fixed to the lid of the canopy with 3/4" standoffs. I would have to calculate a fixed depth, but would be able to slide the Kessils along the "key-ring" left and right. When I got all the bits and pieces home, I found the aluminium bar was slightly to large for the included key-ring loop. This forced me to reevaluate my design.

This is what I came up with after another hour of pacing in the store. (Note: The longer you aimlessly walk around a store, the more the employees think you are shoplifting. :))
16754083322_3343108f96_c.jpg


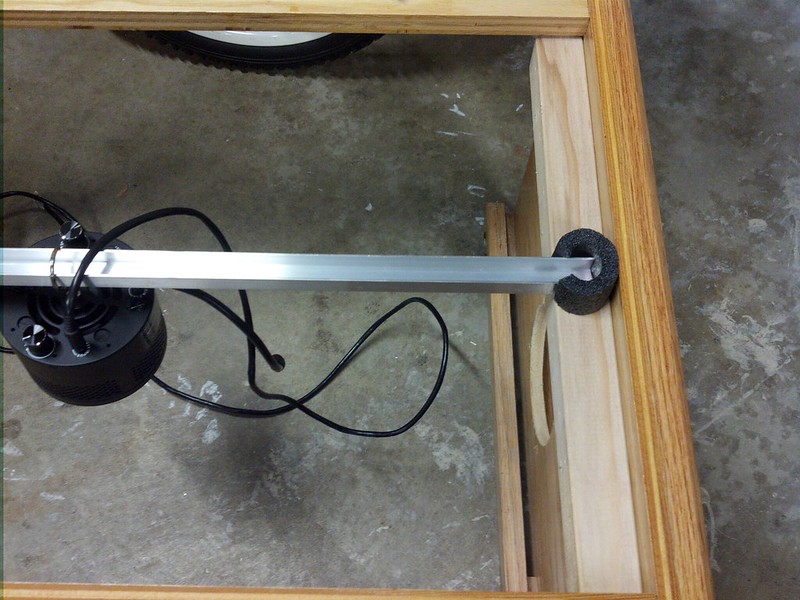
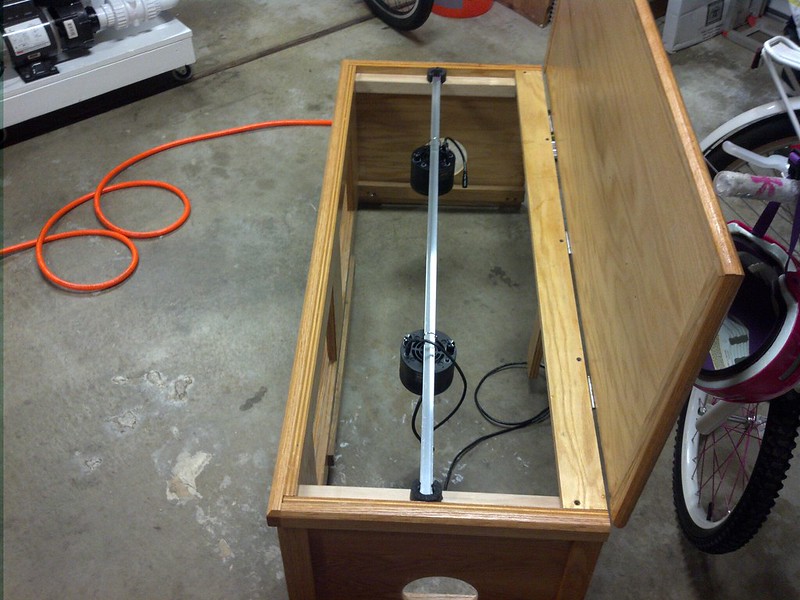
Using 1" x 1" wood mounted to the sides, about an inch lower than the edge, allowed just enough clearance for the new 4 foot length of open box aluminium slide to adjust depth. The internal width of the canopy was 49" so I some slack on either side. I originally planned to drill holes into the aluminium at the ends and permanently mount to the new wood sides, but ultimately decided on foam doughnuts. Not only do they fill in the gaps on the side, but I cut them slightly taller than the lid clearance. This allows the lid to compress the foam a bit, holding it in place.
16547880587_400eb2a5b1_c.jpg


The results.
16755146485_ef1ccac776_c.jpg
 
Last edited:
Wired up and mounted.
vk8p.jpg

8ey0.jpg

3h76.jpg


From the back.
k70a.jpg


My crappy phone camera does not do this justice. It actually looks AWESOME!
8w0p.jpg


BUT, now I have a heavy "V" shaped shadow being cast down from my center brace. :mad:
qnms.jpg


Has anyone come up with a fool proof way to remove/replace the center brace on older glass tanks?
 
Wired up and mounted.

BUT, now I have a heavy "V" shaped shadow being cast down from my center brace. :mad:


Has anyone come up with a fool proof way to remove/replace the center brace on older glass tanks?

Sure. Take hammer, hit front of tank hard, buy new tank! :)

Sorry, couldn't resist. The center brace is part of the structure. Removing it is risky.

How about sliding the lights a bit closer together to see if that helps?
 
I was hoping that the directional nature of LEDs would minimize the effect, but no dice. I'd like to replace the center brace with acrylic or glass. I've seen some successes and some failures. Just wondering if there is a tried and true method.
 
I have a clip in brace on my crappy tank and once I snapped it off (tank was full of course) and that was one of the scariest experiences I had with my tank; the front panel literally popped out at least 1/4" the second the brace let go and this is on a bow front with curved corners so the front panel wraps around the sides I was ready to hear a crack but fortunately nothing happened and I quickly pushed the glass back to where it was & snapped the brace back into place. I'm never touching it again.

I will never buy a tank that has a black plastic center brace.
 
I would try moving the lights a bit closer, looking at the picture it looks like the edge of the cone of light is what clips that center brace, move your lights down 2 more inches might be all that's necessary.

Or if you just want to see if that will work, since you already have hangers on, simply slide the lights outward. This is only a temporary solution but it will give you an idea of how much the lights might have to move so you don't see the shadow V
 
Thanks for all the advice on getting rid of my center brace shadow, but almost no combination of left, right, front, or back seems to get rid of it. The Kessils are already 11" from the surface of the water. The instructions recommend 1-2 feet. I think that excludes the ability of lowering them further. I'm starting to think I should have gone narrow instead of wide. I may try to install some simple deflectors to reduce the light cast on the brace.

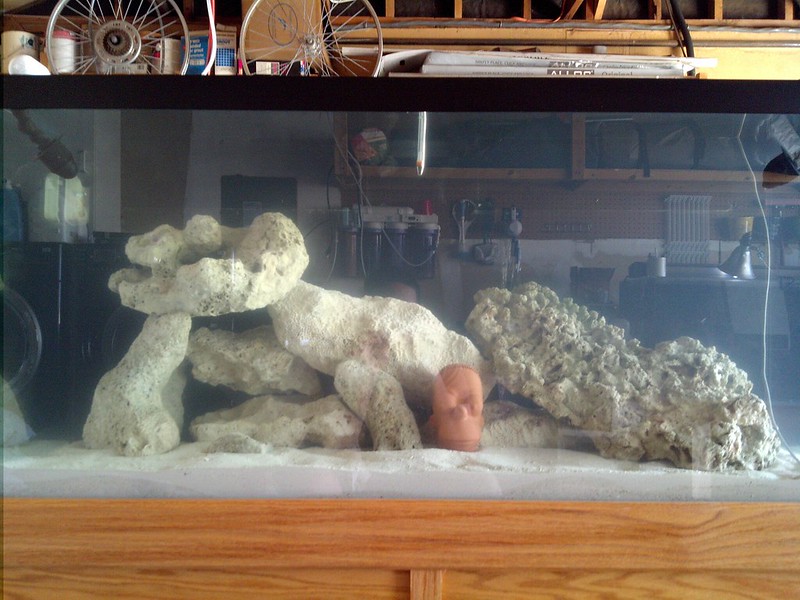
Today I tried my hand at a bit of aquascaping. In other build threads I've seen meticulous planning, drilling and puttying. They mask out an area representing their tank and get to work trying different stacking combinations until they get it just right. These folks have a fantastic ability envision their ideal recreation of the ocean and bring it to life with acrylic rods and aragracreate. I am not one of these gifted people. I'm more of a Tetris player. I just keep shifting things around and hope things come together in the end.

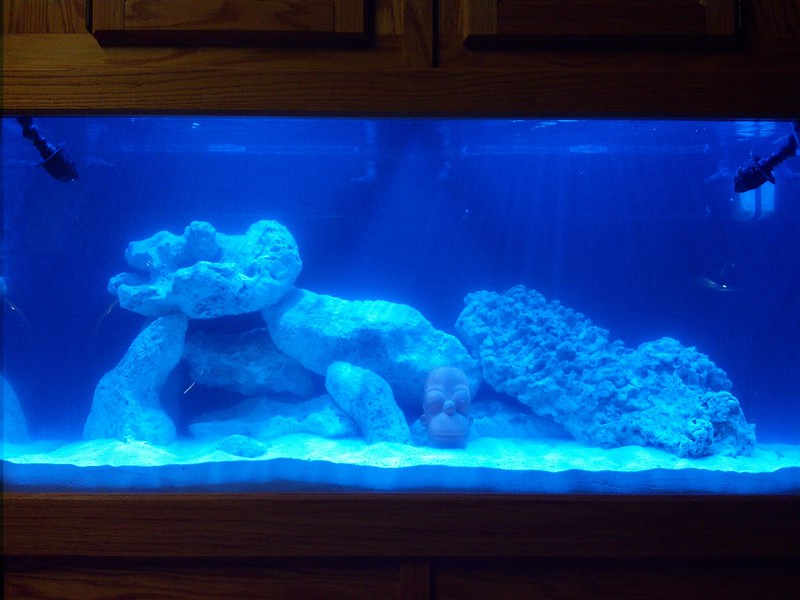
Here is version 1.0. I know it looks like a rockslide waiting to happen, but each rock is pretty well locked into the next. I tried to create shelves at various depths to satisfy different corral's lighting requirements. There are plenty of caves and places for docile fish to hide. There is still about 40-60 lbs. of rock to transport from my 55gal once everything is cycled (pulled the rotten shrimp and added Dr. Tim's O&O today as well).
16753969251_4b113643ec_c.jpg


At night with lights on. I adjusted the Kessils so the brace shadow on the left casts down on a rock shadow. Not much to be done on the right side until I have more rock to work with.
16753965101_b85196c093_c.jpg


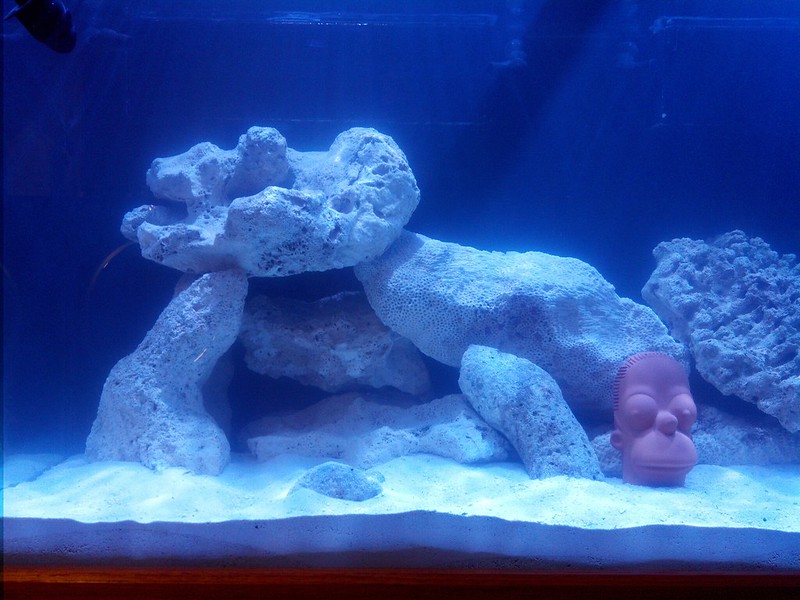
Close up of the left side.
16135202113_f79931fe81_c.jpg


Close up of the Right side.
16135201303_f00bbea8e8_c.jpg
 
Last edited:
I have a clip in brace on my crappy tank and once I snapped it off (tank was full of course) and that was one of the scariest experiences I had with my tank; the front panel literally popped out at least 1/4" the second the brace let go and this is on a bow front with curved corners so the front panel wraps around the sides I was ready to hear a crack but fortunately nothing happened and I quickly pushed the glass back to where it was & snapped the brace back into place. I'm never touching it again.

I will never buy a tank that has a black plastic center brace.

I'm going to have nightmares for life about squeezing a full tank!

Sent from my LG-E970 using Tapatalk
 
I last measured my water parameters on day 10 of Dr. Tims O&O fishless cycle. On day 1, I removed the starter shrimp and dosed Dr. Tims ammonium chloride to 2ppm. As of 2 days ago, my ammonia is 0ppm, but my nitrites are 5+ppm. :( I've tried both several small and one large water change, no dice. Started to think I had a faulty kit, but my established tank tested 0ppm nitrite. I'm at a loss. Not sure what to do at this point. I've emailed Dr. Tim, but have not yet received a response.

Any thoughts folks? Can anyone with O&O experience chime in and let me know if I'm just being impatient?
 
I missed your post about the kessils casting shadows. I would say you should feel comfortable dropping the kessils a little more. I keep mine 9" off the glass at 100% and I have narrows that are VERY intense. I have corals growing 5" under water and they are LOVIN it! I think with the wides you should feel ok about dropping them a bit. If you are keeping SPS, you could run them at full power, but if you want LPS then you just turn down the intensity a bit. Probably make your lights last longer anyway. Just a thought. Tank is lookin nice.
 
I think I'm more concerned about the making sure the warranty stays intact. I'll probably ping Kessil about it to see what they have to say.
 
Last round of testing shows my tank is cycled. To assist with the subsequent algae bloom, I bought a couple of mexican turbos... worth every penny! They are like the Roomba of the sea. Where every other snail leaves slime in their wake, these massive guys leave polished white rock (no coralline algae yet).

Next step is a decent water change and the addition of a few sand sifters. I have used nassarius snails in the past, but they are slow going. Is there a more effective sand mover that will not decimate my sandbed? Diamond gobies and the like seem good at turning their territory, but leave everything else untouched. A conche maybe?
 
Last edited:
my Conch is always turning the top 1/2" of sand bed, ever since I put him in the tank I keep noticing patches of bright white sand in different places. Also I've added a serpent sea star who does a good job at picking off food that falls onto the sand bed.
 
I picked up a conche last night. Just last nite it turned a far amount of sand.

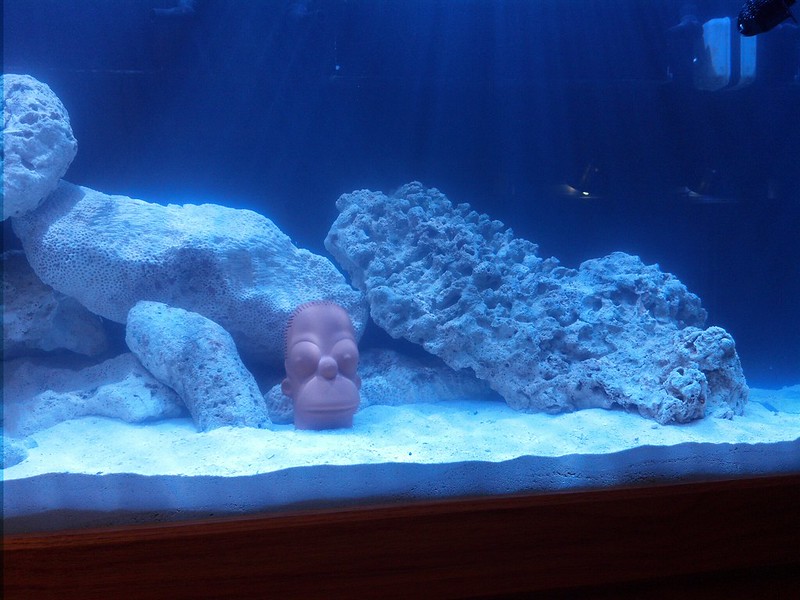
On a side note, Homer received new tribal war paint thanks to an algae bloom and my turbo snails.
16753952961_54b1a49b94_c.jpg
 
Last edited:
Back
Top