
I am currently working on a new 30 gallon setup and thought I'd post a DIY thread for the foam rock wall that I put together for the tank. I don’t have pics for every step but do have the key ones. I’ll try to keep the decriptions as simple as I can so it will be an easy read.
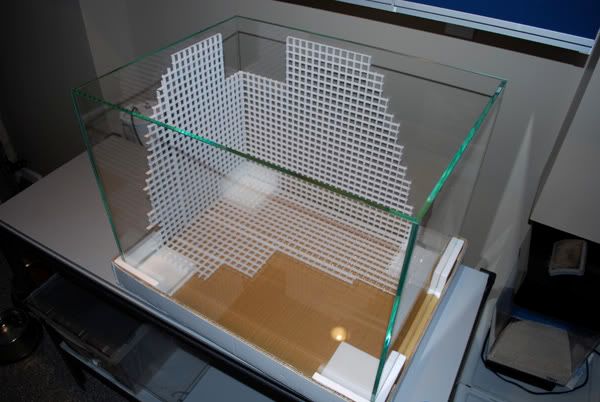
1) Purchase egg crate from a local home improvement store (I bought mine at Lowes)
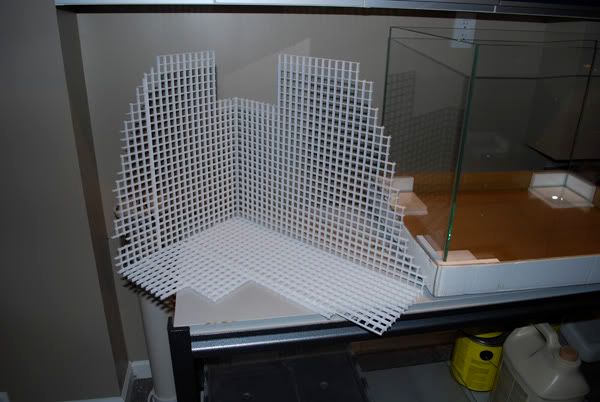
2) Take measurements of the inside of the tank and decided how wide/tall you want the rock wall structure to be
3) Tie strap the egg crate together and cut out the desired shape with wire cutters
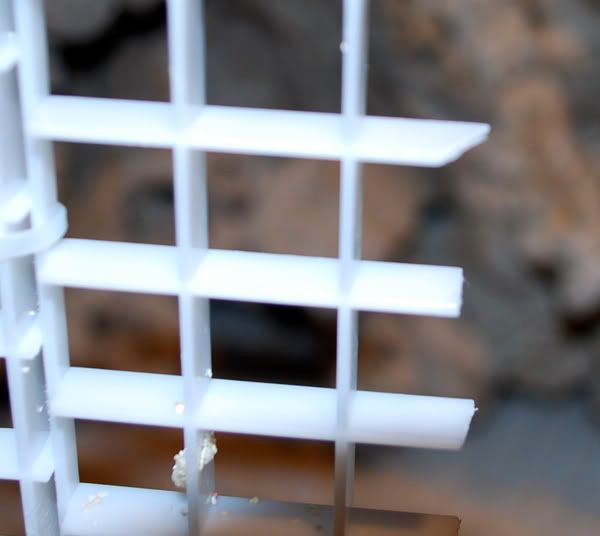
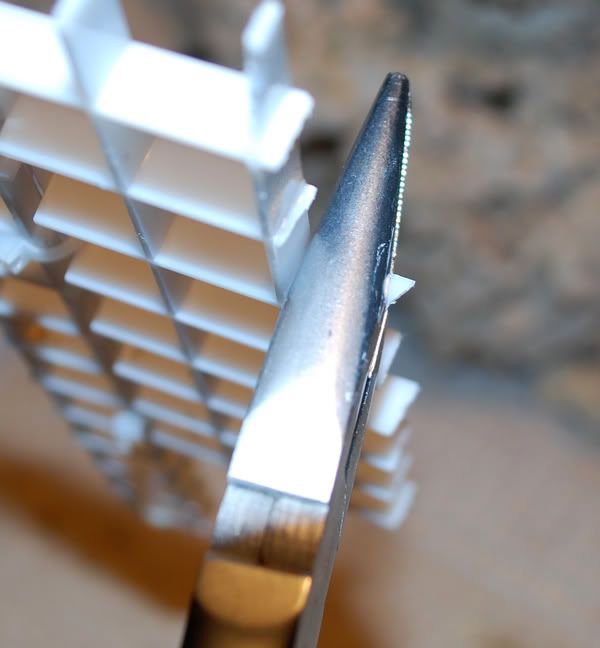
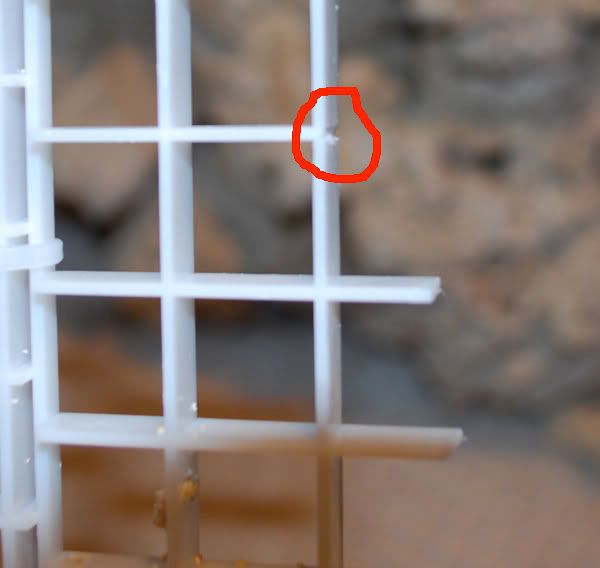
(TIP) After cutting there will be a bunch of left over sharp chunks of the egg crate still attached to the main piece. This stuff can scratch you up pretty bad while you work/move the wall around so try to remove as much of it as possible. To clean it up, use a pair of pliers, grab as much as you can, bend and snap off.
4) After cutting, test fit the egg crate in the tank to see if you are happy with the shape and over all look
5) Tie strap your rocks to the egg crate structure. I used a masonry bit to drill holes where I needed to for the tie straps
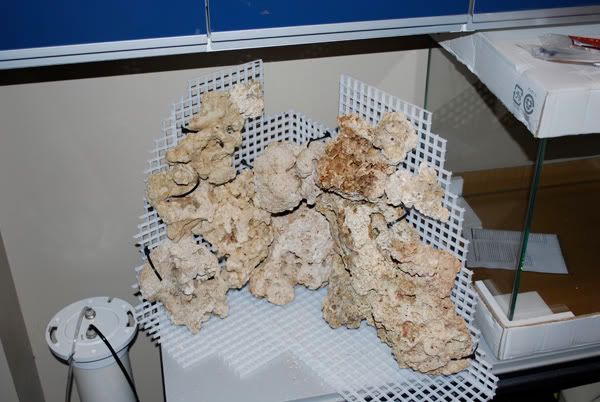
(TIP) Start with the base and work your way up. Turn/flip the rock while test fitting to get the desired look you are after. When you are happy with your selected rock along with placement, strap it down and move onto the next piece. Use as much rock as possible or your structure will float like a boat when the tank is filled with water.
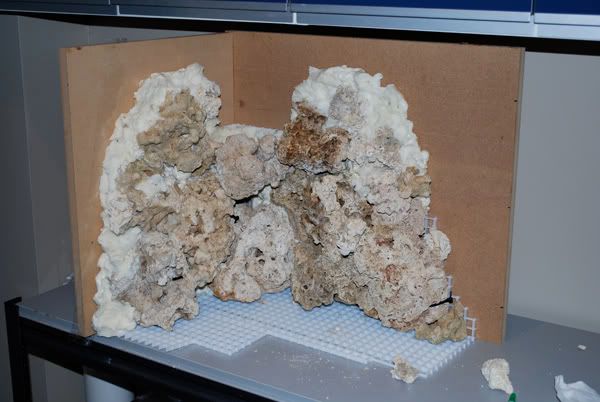
6) When all the rocks are in place you will need to foam the wall/gaps. Prior to foaming, the structure will be fairly flimsy but after the foam is applied and has cured it will become much more rigid. I used “Great Stuff” foam (red can) I purchased at home depot.
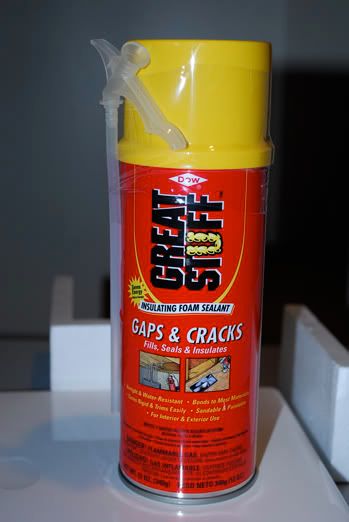
(NOTE) I strongly recommend you wear latex gloves while foaming. This stuff is super sticky and very difficult to wash off.
7) Rock wall foamed and trimmed. The foam dries within a couple of hours and can be trimmed off.
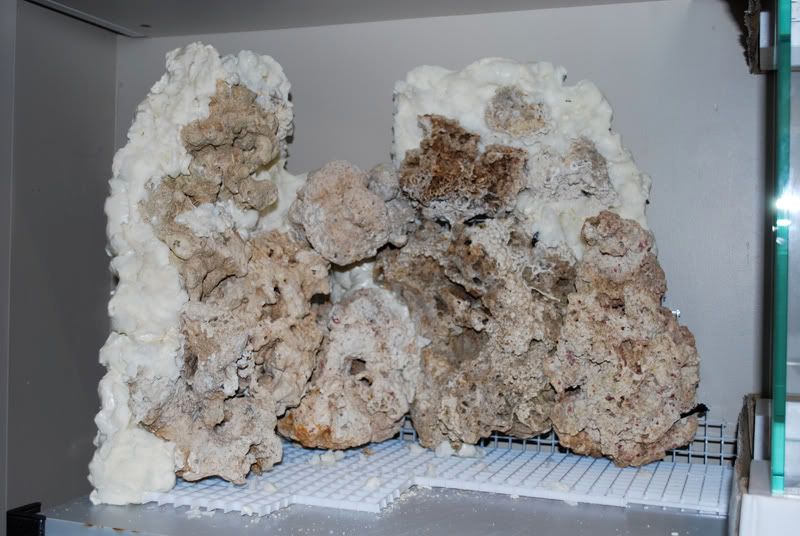
(TIP) Use a pair of needle nose pliers to trim/shape the foam…..just grab, twist and rip off. You can also use your fingers to pinch and pull it off but I found it to be difficult to do until most of it was done with the pliers. I used a long bread knife to cut off the excess that squirted out on the back of the crate.
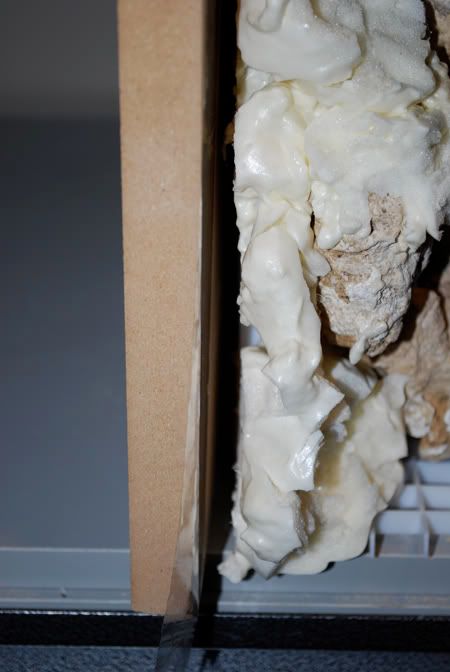
(NOTE) I encountered a problem when I foamed the wall and did my first test fit in the tank. The weight and strapping of the rocks caused the egg crate to sag and twist a bit pulling it out of vertical alignment. This created a large gap between the back of the crate and the glass. I had to build a jig and re-foam the gaps. You will need to tape up the jig with packaging tape so the structure will not bond to the wood or in my case, the mdf board.
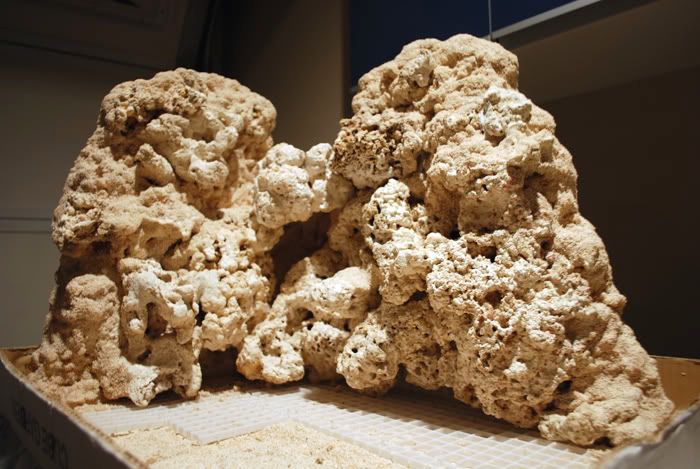
8) The last and final step is to apply an epoxy finishing resin to the foam and cover it with sand or crushed coral.
- purchase a bunch of cheap paint brushes (about a $1 each at HD or Lowes)
- mix the two part epoxy and paint onto the foam making sure to get into all cracks and crevices
- sprinkle with sand/crushed coral and let it cure
- Do some final touch up for spots missed (I waited until the next day)
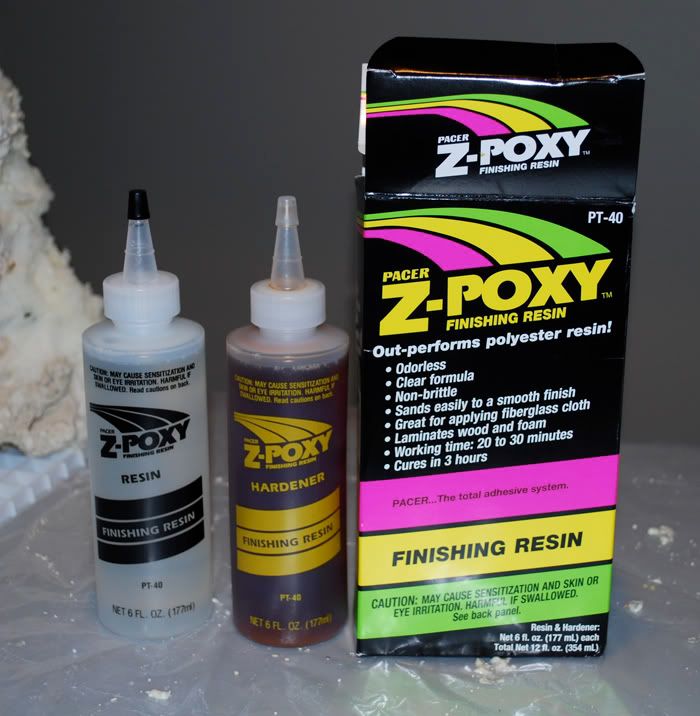
(NOTE) The sand will stick to the resin and help blend in the foam. It will also protect it from the UV emitted by the lights (unless you use pond foam which I’ve read is UV resistant). I highly recommend the use of pacers “z-poxy” finishing resin. It’s thin and much easier to work with then others I’ve tested.
9) My completed rock wall
1) Purchase egg crate from a local home improvement store (I bought mine at Lowes)
2) Take measurements of the inside of the tank and decided how wide/tall you want the rock wall structure to be
3) Tie strap the egg crate together and cut out the desired shape with wire cutters
(TIP) After cutting there will be a bunch of left over sharp chunks of the egg crate still attached to the main piece. This stuff can scratch you up pretty bad while you work/move the wall around so try to remove as much of it as possible. To clean it up, use a pair of pliers, grab as much as you can, bend and snap off.
4) After cutting, test fit the egg crate in the tank to see if you are happy with the shape and over all look
5) Tie strap your rocks to the egg crate structure. I used a masonry bit to drill holes where I needed to for the tie straps
(TIP) Start with the base and work your way up. Turn/flip the rock while test fitting to get the desired look you are after. When you are happy with your selected rock along with placement, strap it down and move onto the next piece. Use as much rock as possible or your structure will float like a boat when the tank is filled with water.
6) When all the rocks are in place you will need to foam the wall/gaps. Prior to foaming, the structure will be fairly flimsy but after the foam is applied and has cured it will become much more rigid. I used “Great Stuff” foam (red can) I purchased at home depot.
(NOTE) I strongly recommend you wear latex gloves while foaming. This stuff is super sticky and very difficult to wash off.
7) Rock wall foamed and trimmed. The foam dries within a couple of hours and can be trimmed off.
(TIP) Use a pair of needle nose pliers to trim/shape the foam…..just grab, twist and rip off. You can also use your fingers to pinch and pull it off but I found it to be difficult to do until most of it was done with the pliers. I used a long bread knife to cut off the excess that squirted out on the back of the crate.
(NOTE) I encountered a problem when I foamed the wall and did my first test fit in the tank. The weight and strapping of the rocks caused the egg crate to sag and twist a bit pulling it out of vertical alignment. This created a large gap between the back of the crate and the glass. I had to build a jig and re-foam the gaps. You will need to tape up the jig with packaging tape so the structure will not bond to the wood or in my case, the mdf board.
8) The last and final step is to apply an epoxy finishing resin to the foam and cover it with sand or crushed coral.
- purchase a bunch of cheap paint brushes (about a $1 each at HD or Lowes)
- mix the two part epoxy and paint onto the foam making sure to get into all cracks and crevices
- sprinkle with sand/crushed coral and let it cure
- Do some final touch up for spots missed (I waited until the next day)
(NOTE) The sand will stick to the resin and help blend in the foam. It will also protect it from the UV emitted by the lights (unless you use pond foam which I’ve read is UV resistant). I highly recommend the use of pacers “z-poxy” finishing resin. It’s thin and much easier to work with then others I’ve tested.
9) My completed rock wall
")