Welcome to BAR - the Bay Area's premier saltwater hobbyists hub!

"Giant Mini Fridge" - Red Sea E-170

Guest
Joined
Dec 22, 2013
Messages
212
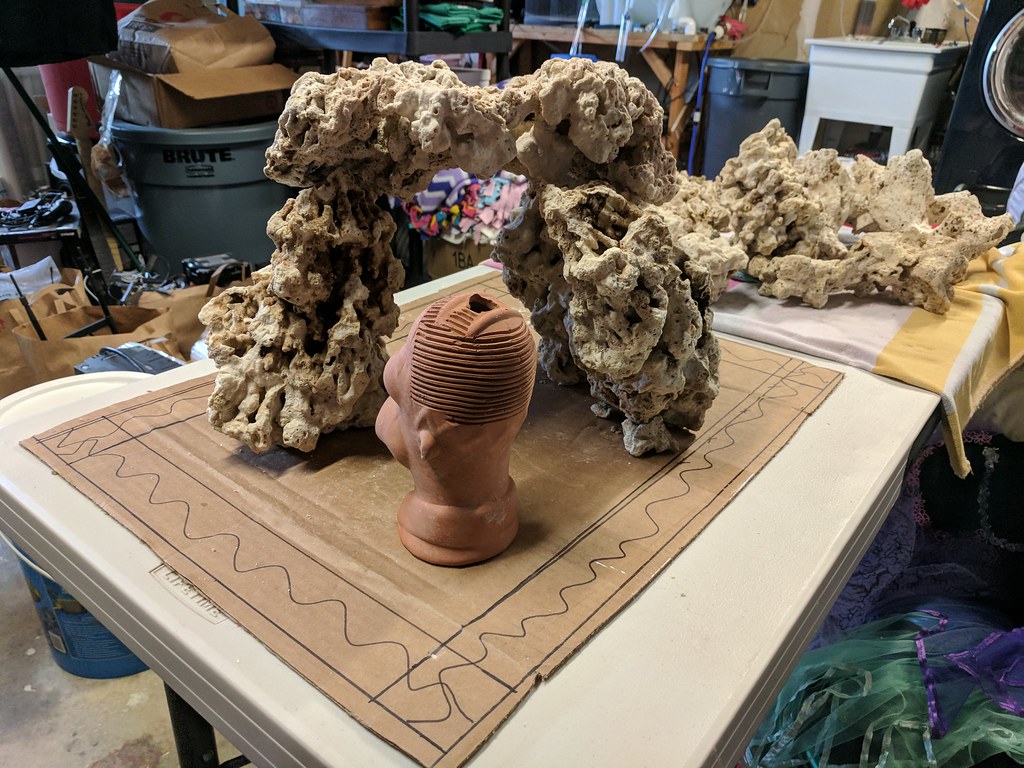
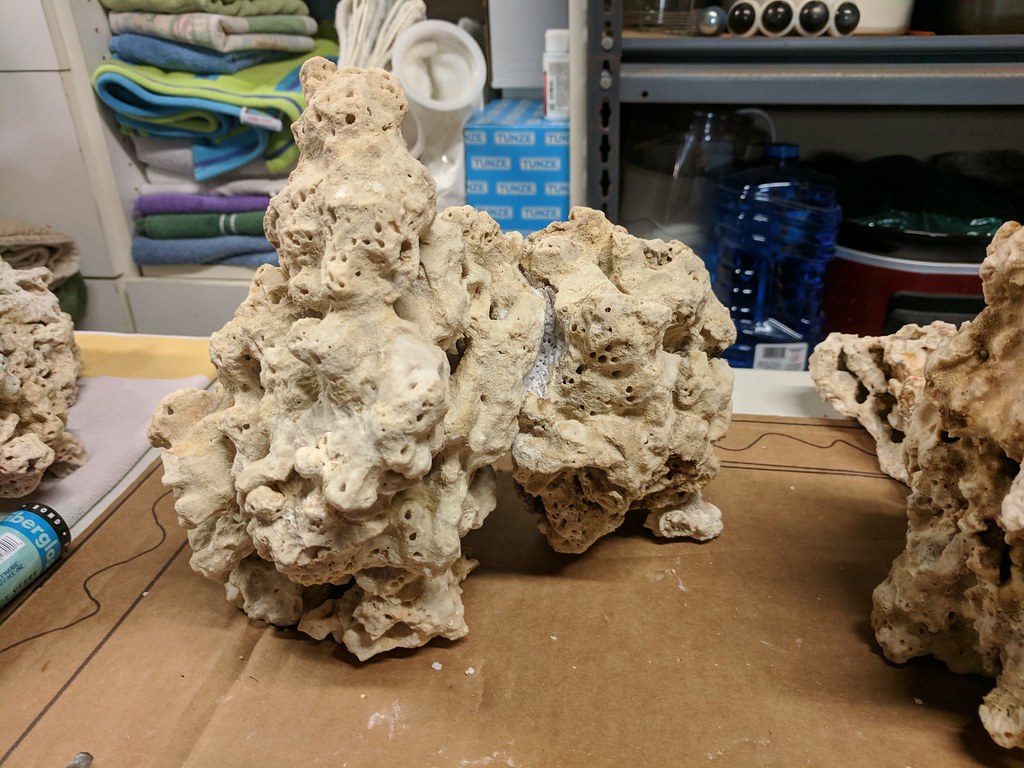
Woke up bright an early this morning to get a start on my scape. I figured I'd just stick with the epoxy putty for now. If it doesn't hold, I'll order some emarco and try again. The plan is to create 3 structures that will lean/stack lock into each other. This should keep stuff manageable if I need to shift things around later. This also means I need to rethink my "hollow mountain" stack that was pictured previously.

I started with the back left combining 2 similarly sized rocks that fit well next to each other. To add stability to the structure, I added rubble to select corners to eliminate tilting. I saw a youtube video where someone poked small divots into the epoxy to give it a more natural look and blend into the rocks.
37682693642_fffa379848_b.jpg


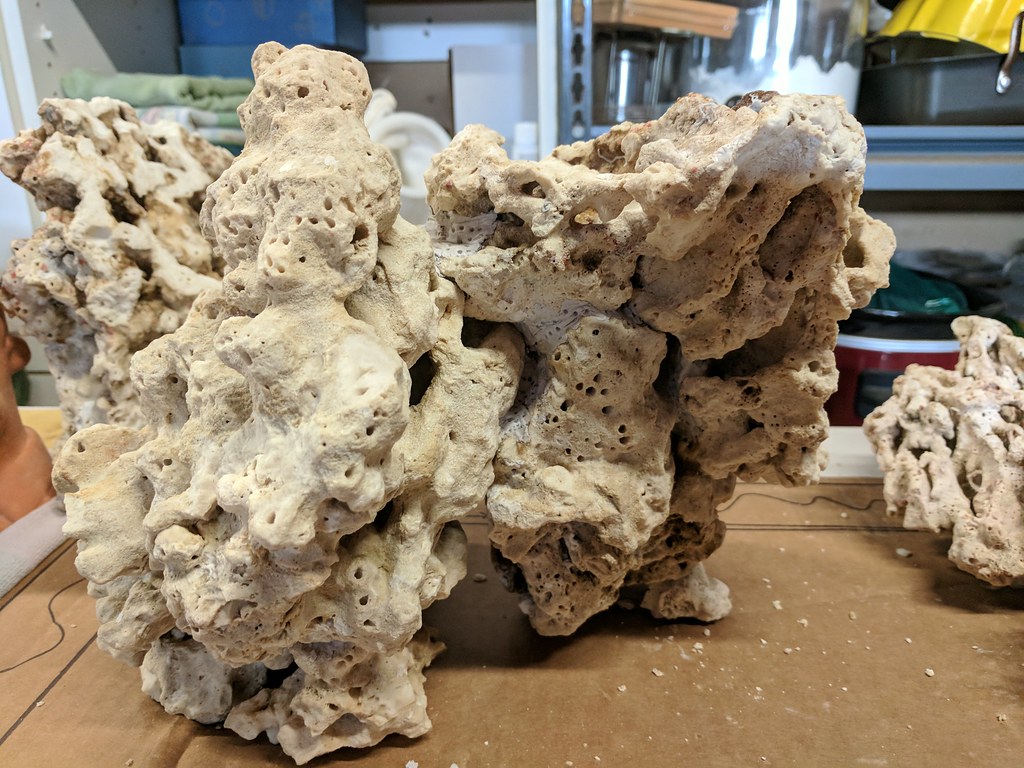
I then added a "L" shaped piece on top that gives this structure more even height along the top while creating a slight overhang toward the front. This piece required a little more effort to get everything stable. In addition to the epoxy, I super glued small bits of rubble along the back edge to keep things fixed while the epoxy cures.
37044325703_c1d6550bd9_b.jpg


So far I've used ~3/4 of 1 epoxy roll and 1 tube of super glue and everything is holding together nicely. I'll continue to post pictures as things evolve.

Software idea for any engineers out there. I'd like to 3d scan my rocks (lazy Susan and an old xbox kinect should do) and plan my aquascape on my computer. Using virtual cuts, chisels, rods, and other common tools and techniques. Bonus points for automatically recognizing mating surfaces and suggesting structures. :D Ok, I'll shut up now.
 
Guest
Joined
Dec 22, 2013
Messages
212
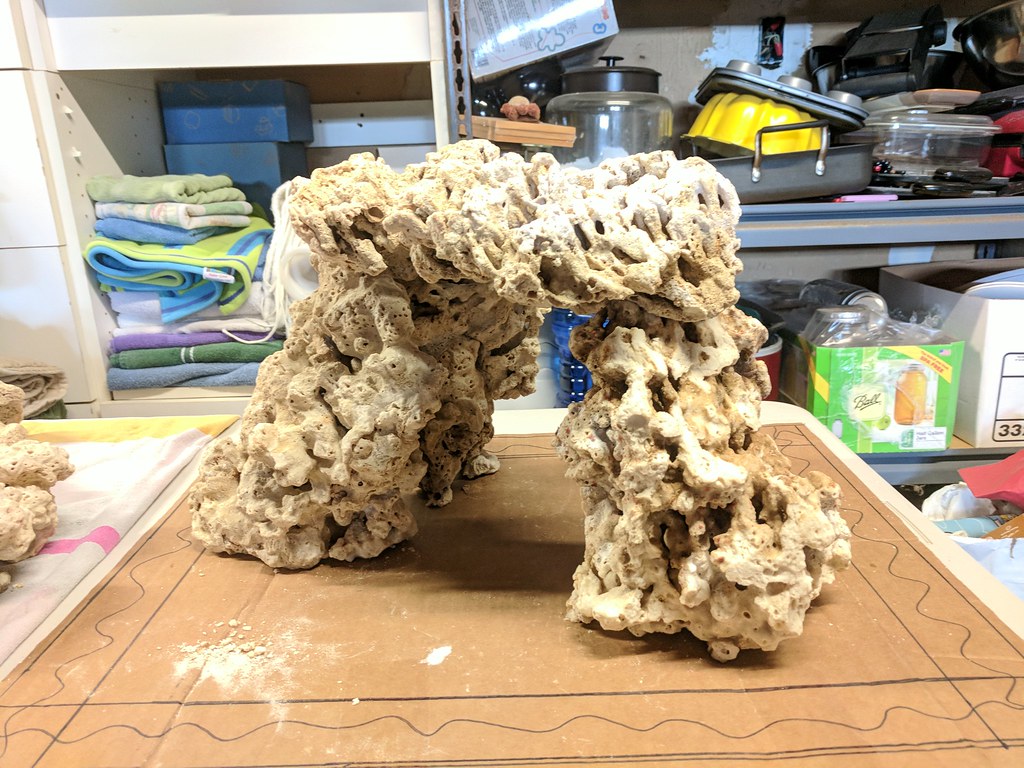
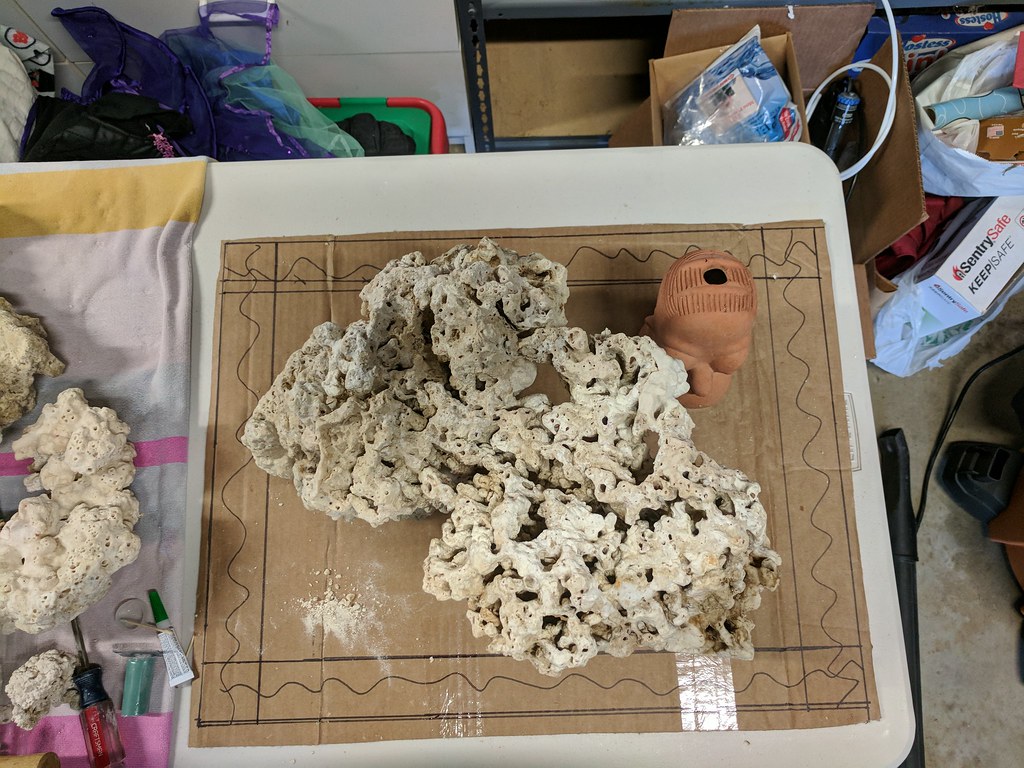
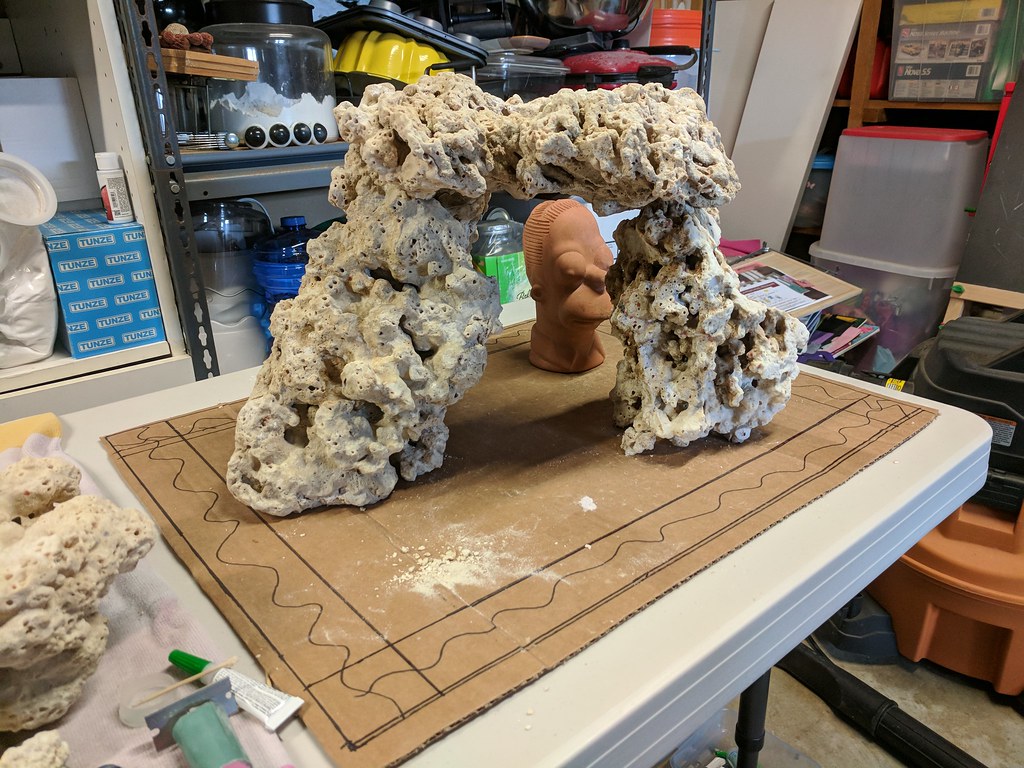
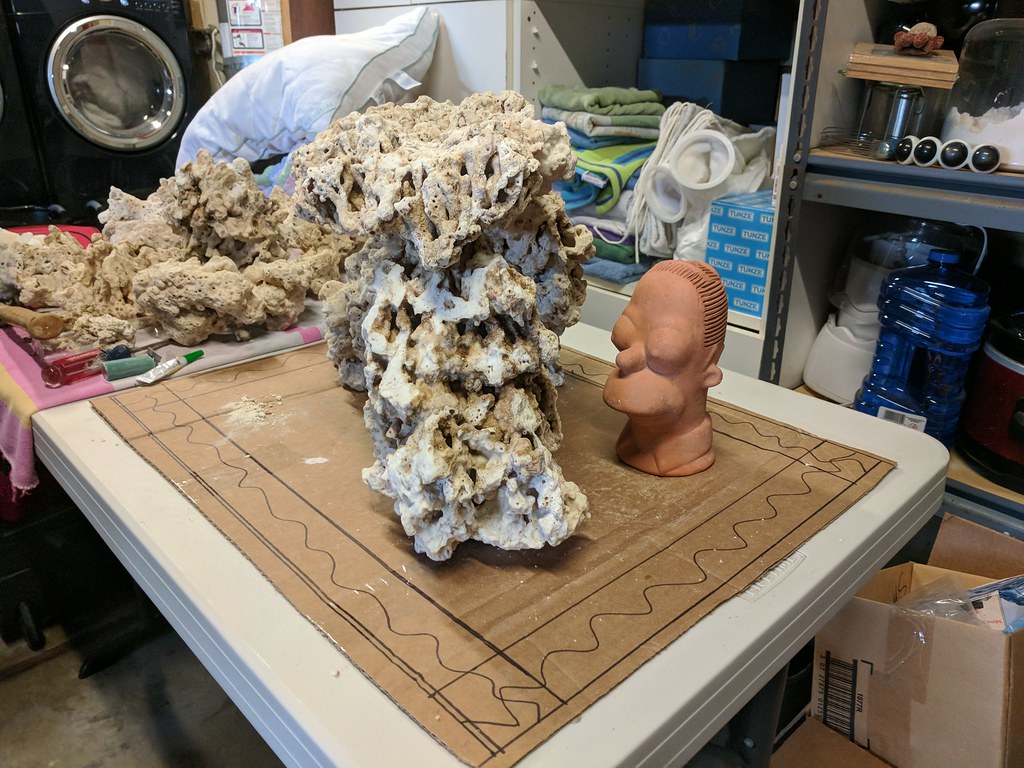
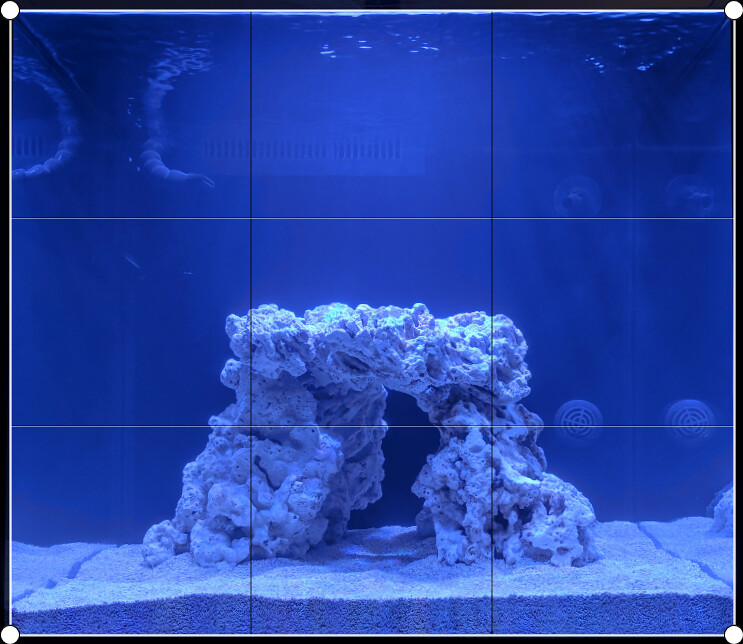
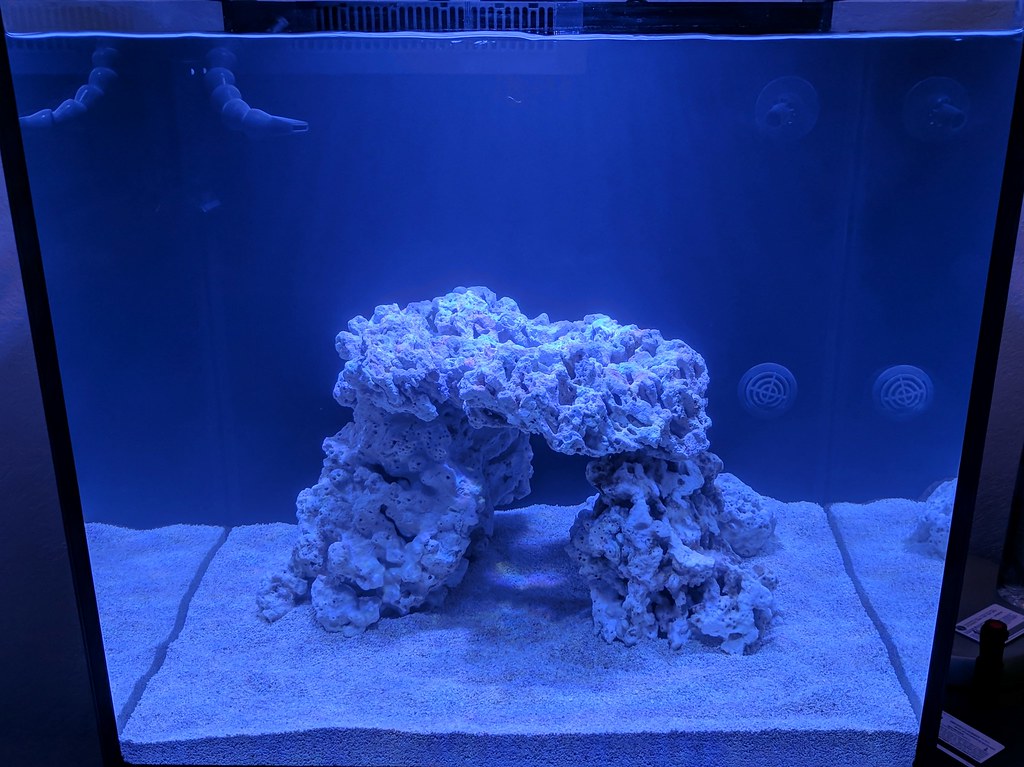
How about a flattop arch? It's tilted on the diagonal so it will fit, but I think it adds some dimension. The back of the top shelf piece locks in nicely to the epoxied tower I made. The front rests in a "V" shaped groove I chiseled out of the front tower. The front tower only has a few bits of rubble super glued to reduce rocking.

Front view:

23863990208_b778aabd98_b.jpg


Top down:

23863992648_51c6a281c6_b.jpg


Front left:

23863994948_4c435008a4_b.jpg


Front right:

23863997758_5ba8b12039_b.jpg


Rear right:

23864001078_aeca2f7e27_b.jpg


I like the openness, but I feel like I need to provide more places for things to hide. I think I'm going to drill out the back of Homer's Chia head (soon to be adorned with GSP). That would make a nice hiding place. Still open to ideas and critique.
 
Past President
Joined
Mar 26, 2010
Messages
19,015
Looks cool, but yes may need more hiding places depending on fish you will be keeping.
 
Supporting Member
Joined
Jan 3, 2007
Messages
3,793
looks really nice! epoxy will hold that well. If you drop it or hit it against something it could crack, but I think you'll be fine!

The aquascape looks good. Just let SPS grow out and define the final scape after a few years of growth ;)
 
Supporting Member
Joined
Jun 29, 2010
Messages
7,169
The good news: the waterproof DC Jack's showed up today. Nice and flexible and fit well together.

The bad news: the center pin is too small.

Pump connection on the left, new pigtail on the right.


Now I need to decide weather to cut the power supply side or the skimmer pump side. I'm leaning towards the PSU side. Thoughts?

Edit: I broke out my digital calipers (yes I should have done that in the first place) and measured the existing plug. The outside diameter is 5.5mm and the inside is 2.5mm. The DC plugs I bought are 5.5 x 2.1mm. :( I validated this with a couple of non-waterproof DC power adapters I had in my junk box. Now I know exactly what I need to order.
If anyone needs waterproof DC plugs for anything, hit me up. Free to supporting members.

I made the exact same mistake on my lights. Thought they would be standard 2.1mm - nope.
Did you ever find a good 5.5 x 2.5 mm - high current, say 16 AWG replacement?
 
Guest
Joined
Dec 22, 2013
Messages
212
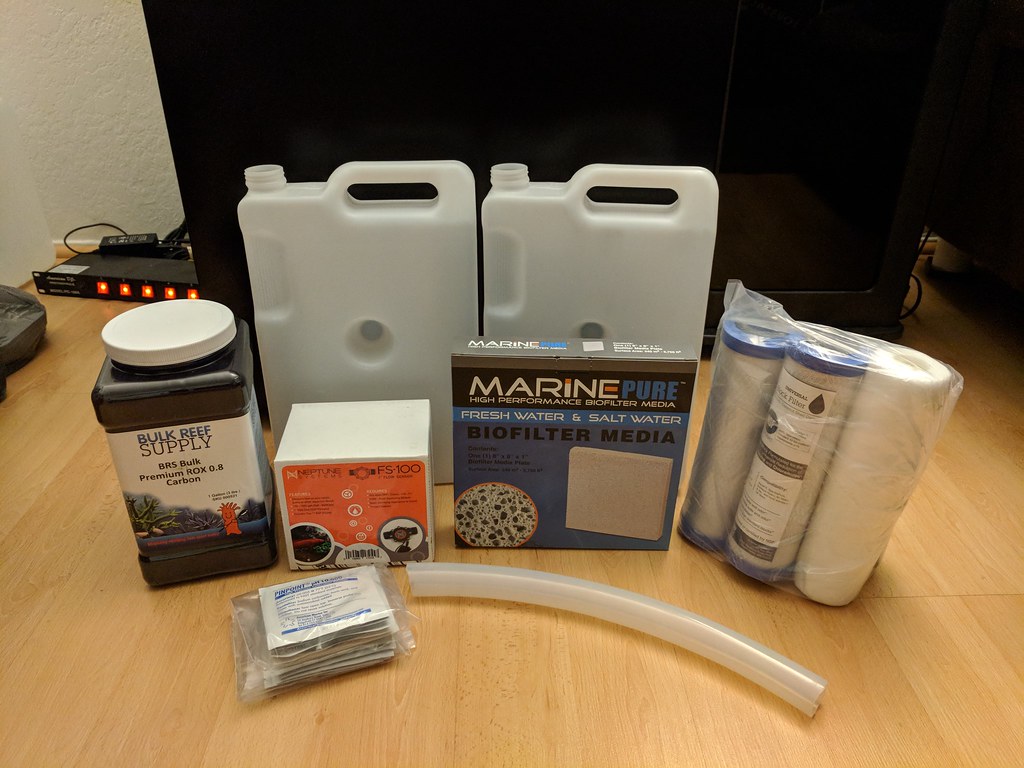
Wow, over a month since my last update. Well I still have an un-cycled (officially) tank of water, sand and rock. I've fiddled with the rock scape a bit, but nothing major. Like most of us, I bought a few things on black Friday and cyber Monday.

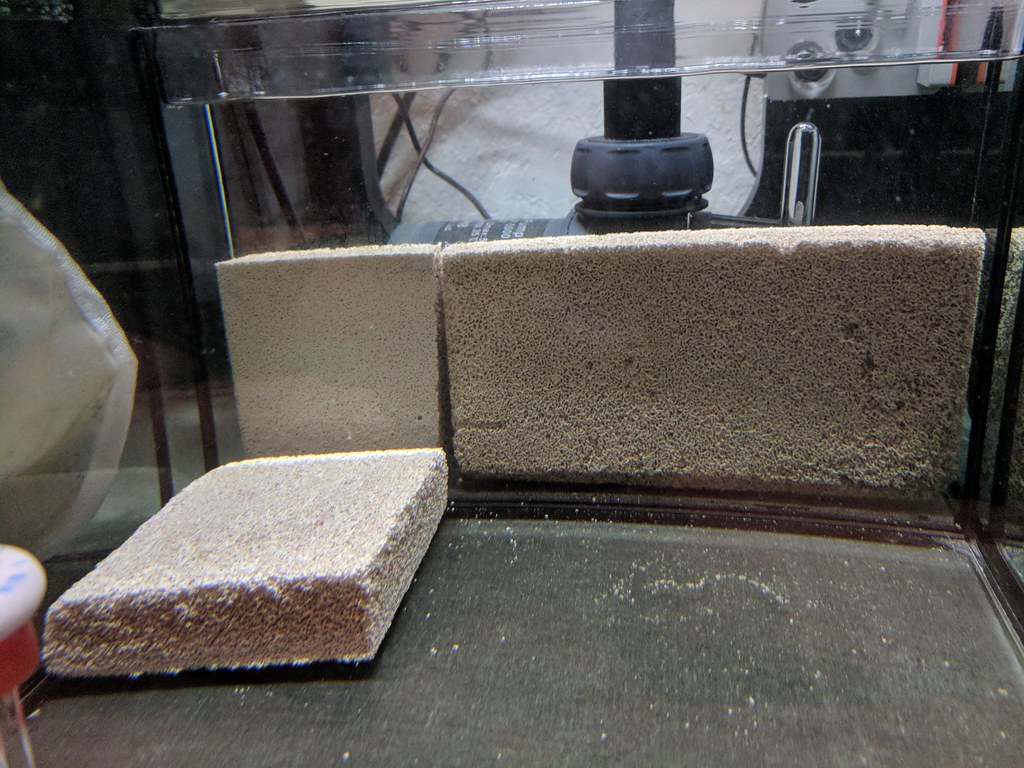
The first shipment arrived yesterday. BRS ROX carbon, 2 space saver containers, Apex FS-100 flow sensor, 1" Marine Pure plate, pH calibration fluid, 1" silicon tubing to attach my manifold to my pump, and the annual RO/DI filter pack.

27010598039_07eff6e5d7_b.jpg


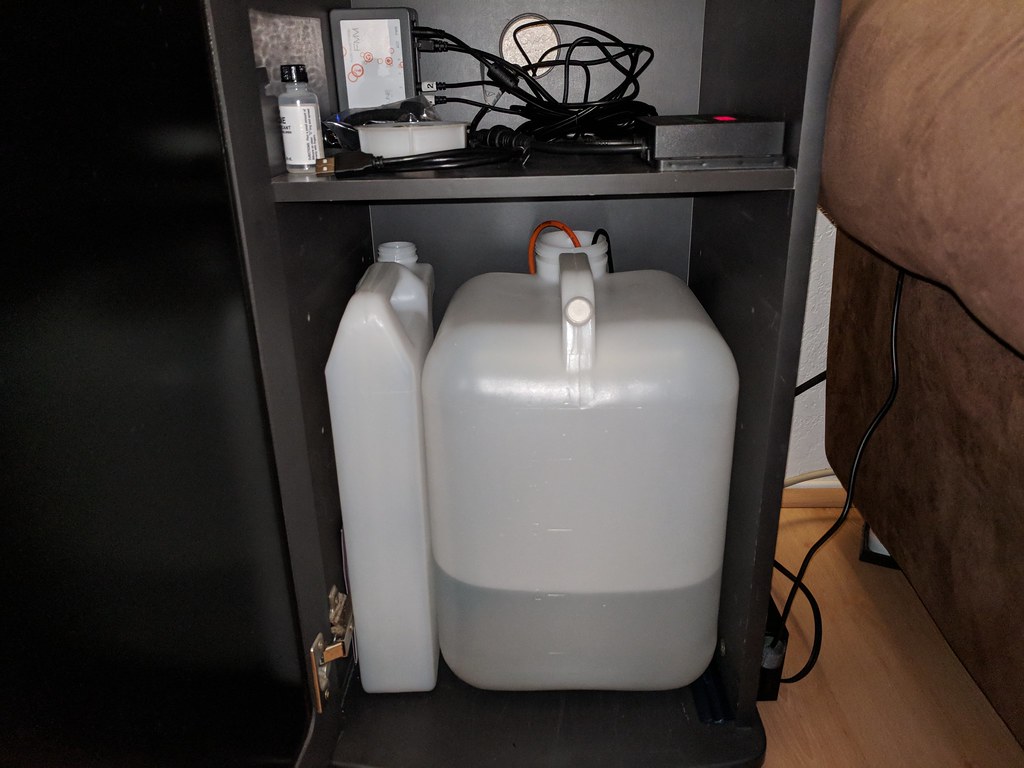
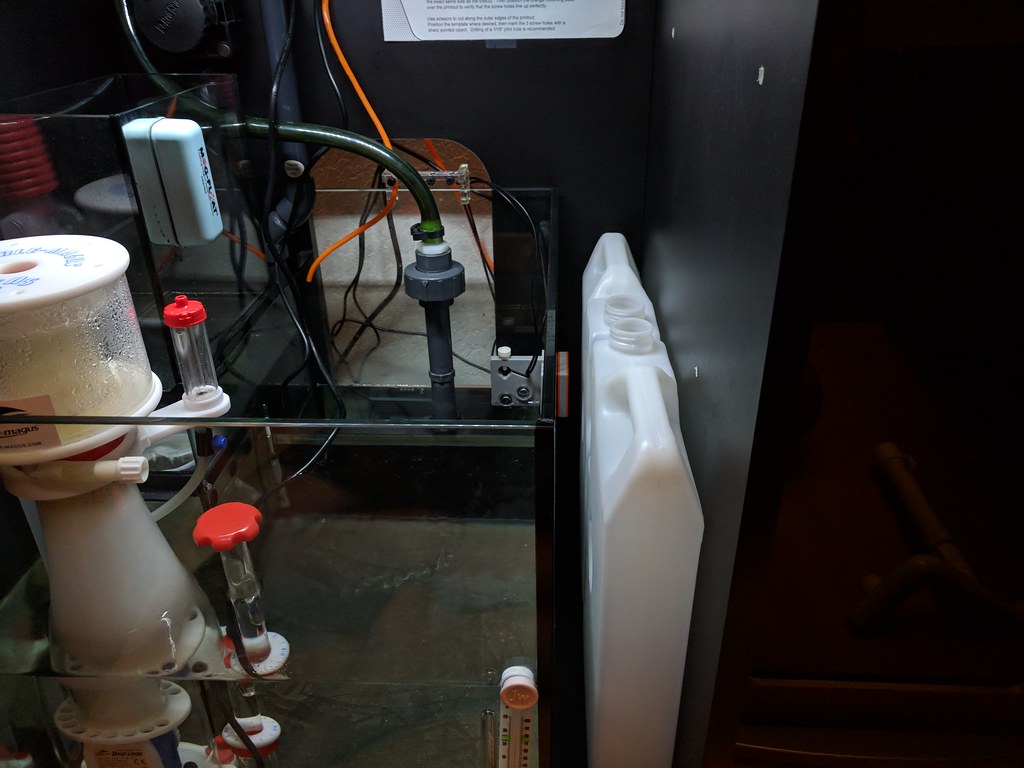
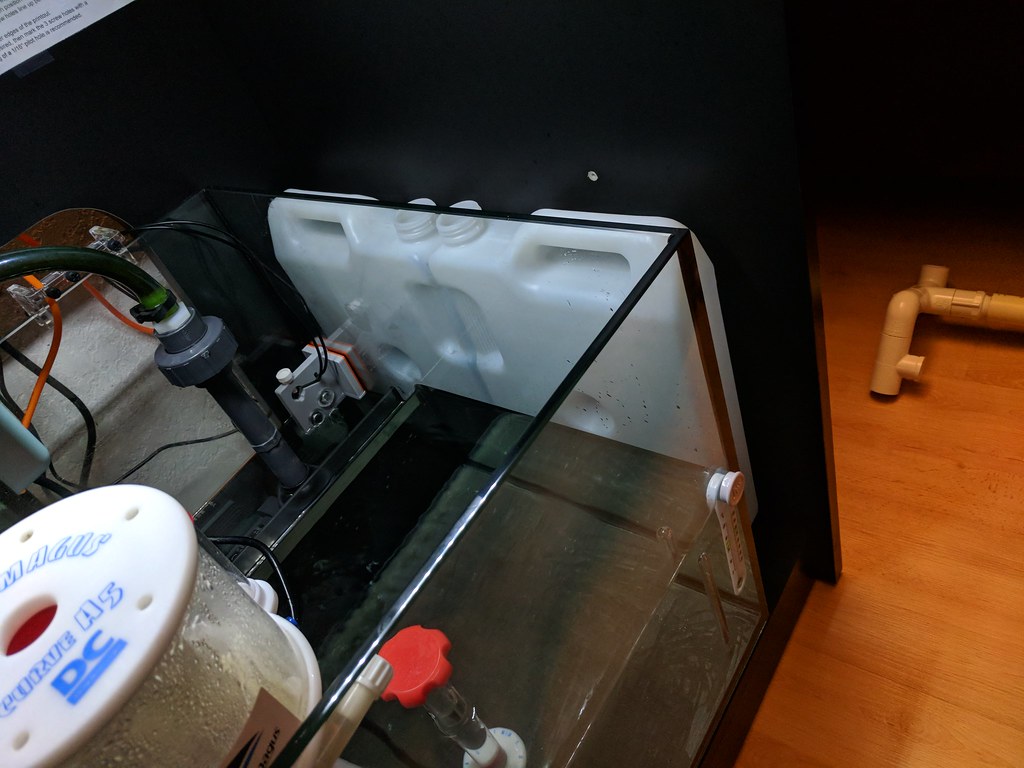
The space saver jugs are a perfect fit for the limited amount of space I have left next to my sump.

27010593949_355f542244_b.jpg


24912895998_ecae602a14_b.jpg


And by dumb luck, I can add a 3rd container next to my 5gal top off in the cabinet next to the tank.

24912897658_72f31ce728_b.jpg


On Monday, the rest of my plumbing should arrive. Once I have my manifold built and installed, I'll finally start my fishless cycle.
 
Guest
Joined
Dec 22, 2013
Messages
212
I made the exact same mistake on my lights. Thought they would be standard 2.1mm - nope.
Did you ever find a good 5.5 x 2.5 mm - high current, say 16 AWG replacement?

No, I still have not found a proper connector. I think I'm going to use a standard dry connector, the length of the power cord is long enough for me to keep the connector away from water.
 
Guest
Joined
Dec 22, 2013
Messages
212
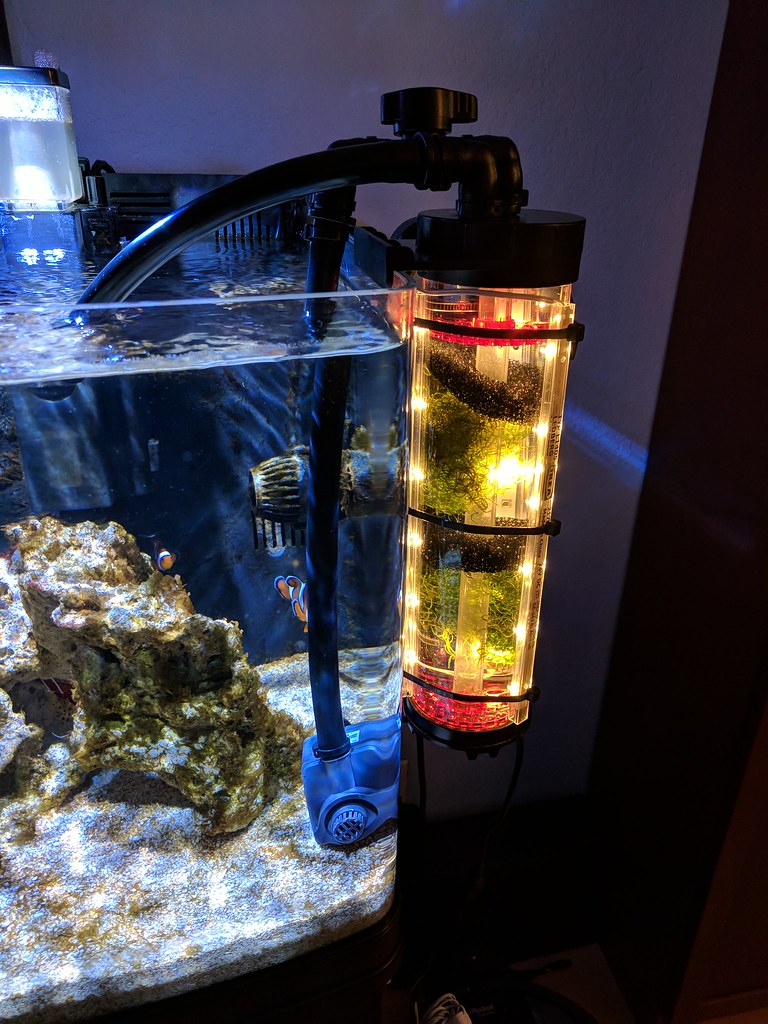
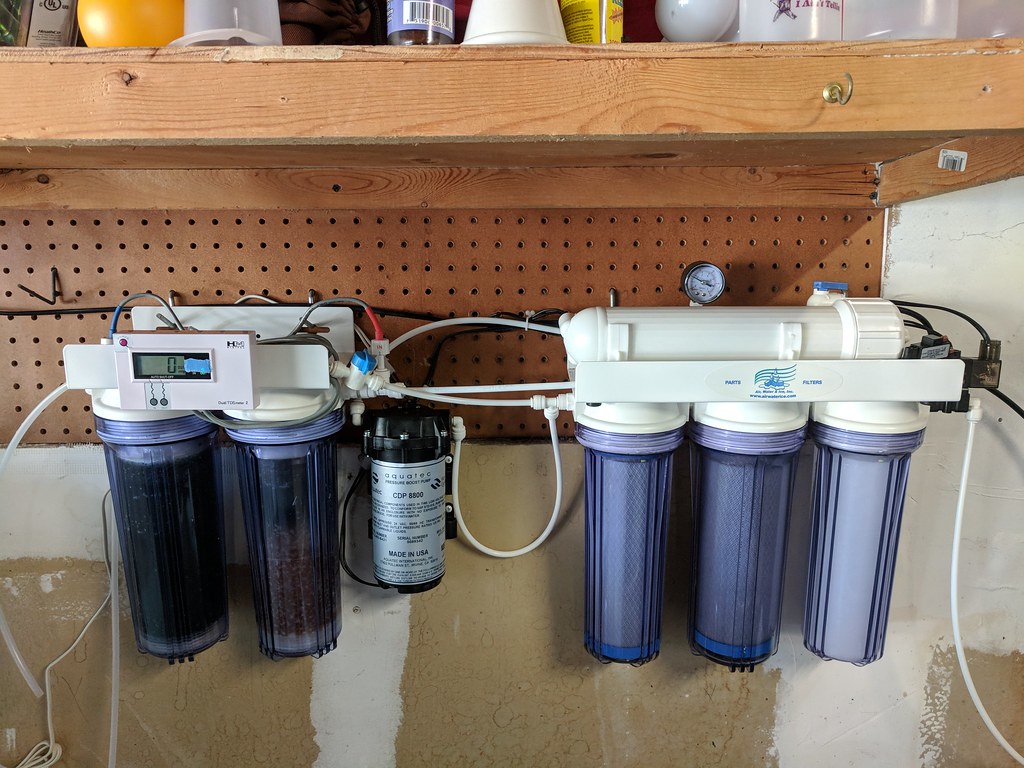
Just a little addition to my RO/DI setup. My awesome wife bought me a booster pump for my birthday. I also took the opportunity to change out my filters. Next on the list, dual membrane in a "water saver" config.

38106027644_610dfc9e98_b.jpg


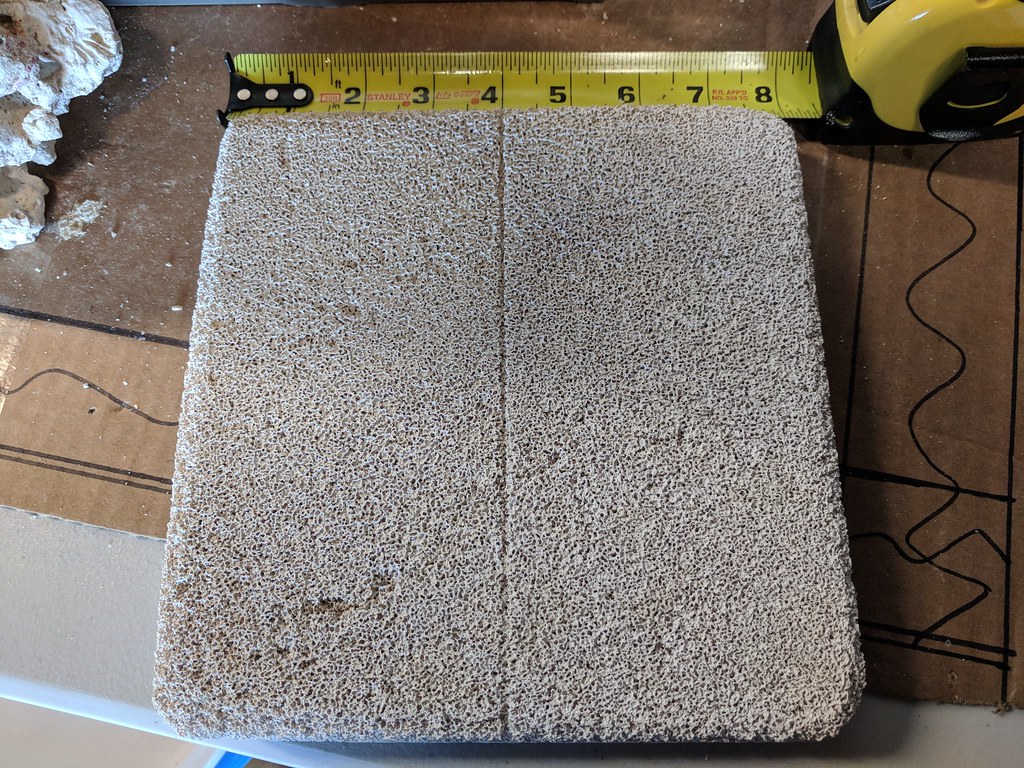
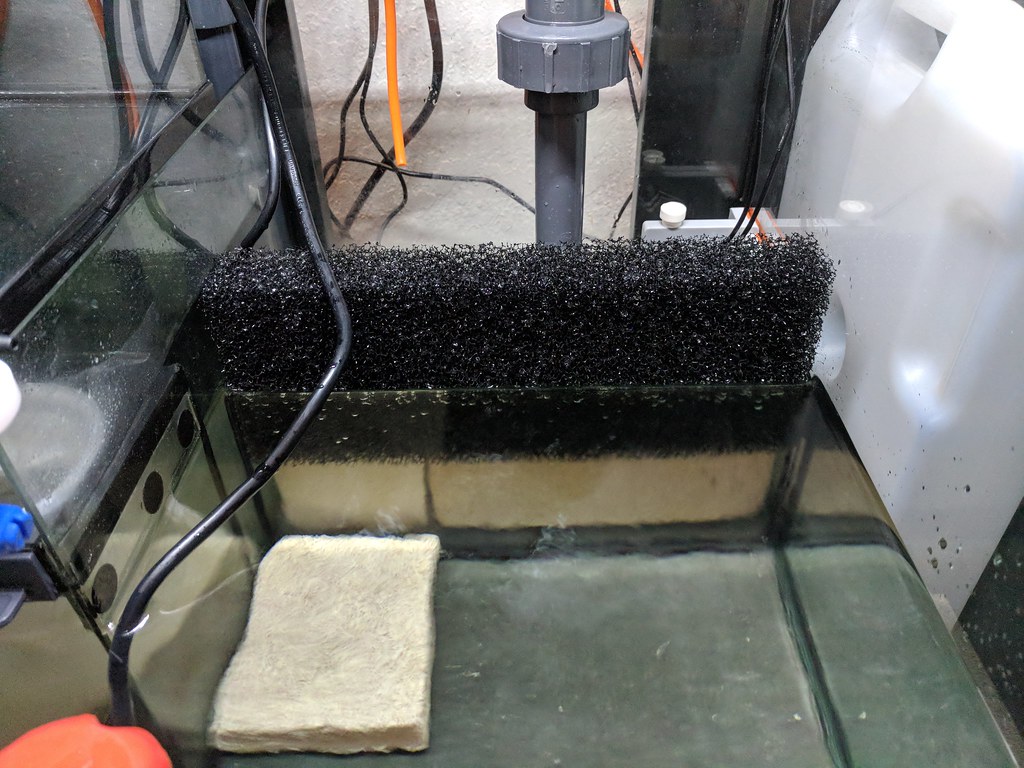
I also cut my Marine Pure block down to size to fit into my bubble trap. As most have already said, this stuff is fragile. I used a hacksaw, dragging the blade over the block with only the weight of the saw to cut it to size. Cut's like butter.

38106021084_c0caac6248_b.jpg


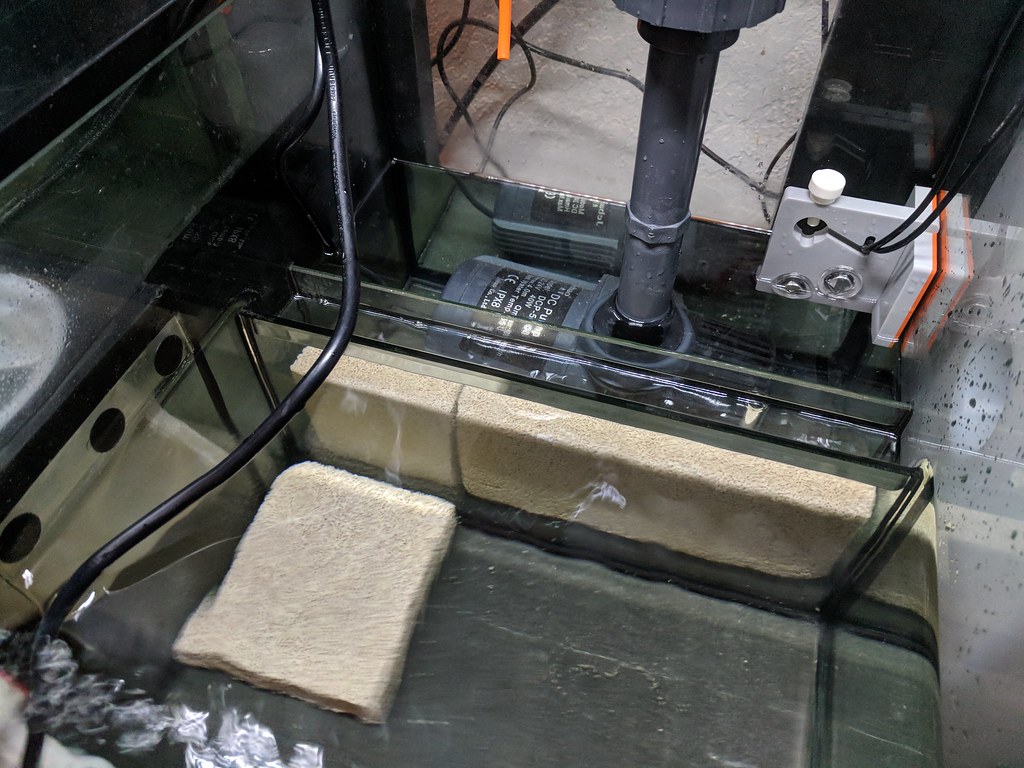
It's not a perfect fit, but I like the way it turned out.

38106024664_e9c4f51b8f_b.jpg


38821923361_5215689824_b.jpg


I decided to keep the coarse mesh filter installed over the marine pure block to catch any detritus that may cause clogs in the future.

38821926871_7a69ff3035_b.jpg
 
Supporting Member
Joined
Jan 3, 2007
Messages
3,793
Even though that bubble trap/sponge is behind layers of other filtration, just be sure you can easily rinse those things out well on occasion. My sponge in the bubble trap doesn't catch too much, but every couple months I'll squeeze it out in my just-changed tank water and it gets pretty murky.

Looking good!
 
Guest
Joined
Mar 3, 2008
Messages
2,268
It also clogs easily. I stop using it in my sump cause it cause my ATO to overfill thinking water line is low and when I lost power water was on the floor.


Sent from my iPhone using Tapatalk Pro
 
Supporting Member
Joined
Jan 3, 2007
Messages
3,793
Another piece of advice I got on the marinepure, is that seems to do more work on nitrates when it's in really low flow.

I have my marinepure plate sitting at an angle next to my skimmer:

37343292184_b7c67680dc_b.jpg


The flow on the underside of the plate is almost zero, but the flow on the top side is moderate. All my levels other than phosphates are 0, even nitrate. I'm thinking it's because of the marinepure plate having a low flow zone on the underside?
 
Guest
Joined
Dec 22, 2013
Messages
212
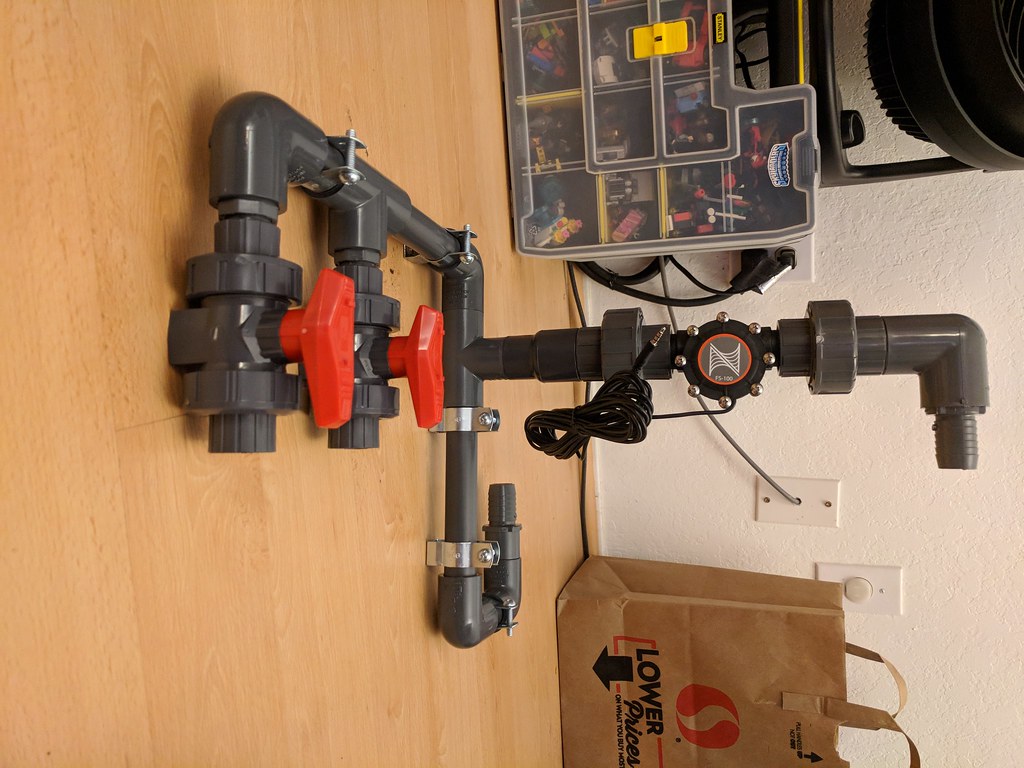
First draft at dry fitting my manifold.

38065177865_a7784ed940_b.jpg


Given the size of my stand, I think this is the best I can do with the 1-in run for the Apex FS-100. I'm thinking I'll need some type of support for the barbed end. Maybe just a zip tie loop screwed to the top?

27174548039_d1c41b3ec4_b.jpg


I was planning on a 3 valve manifold, but 2 seems to fit better while allowing me to keep the stock ATO container in place (not sure what to do with it yet)

38065175145_a250f7cc06_b.jpg
 
Past President
Joined
Mar 26, 2010
Messages
19,015
How come you went with schedule 80
For all that? Seems like an expensiveness manifold!
 
Guest
Joined
Mar 2, 2015
Messages
4,004
Fittings is fine but SCH 80 pipe has smaller ID than SCH 40.


Sent from my iPhone using Tapatalk
 
Guest
Joined
Dec 22, 2013
Messages
212
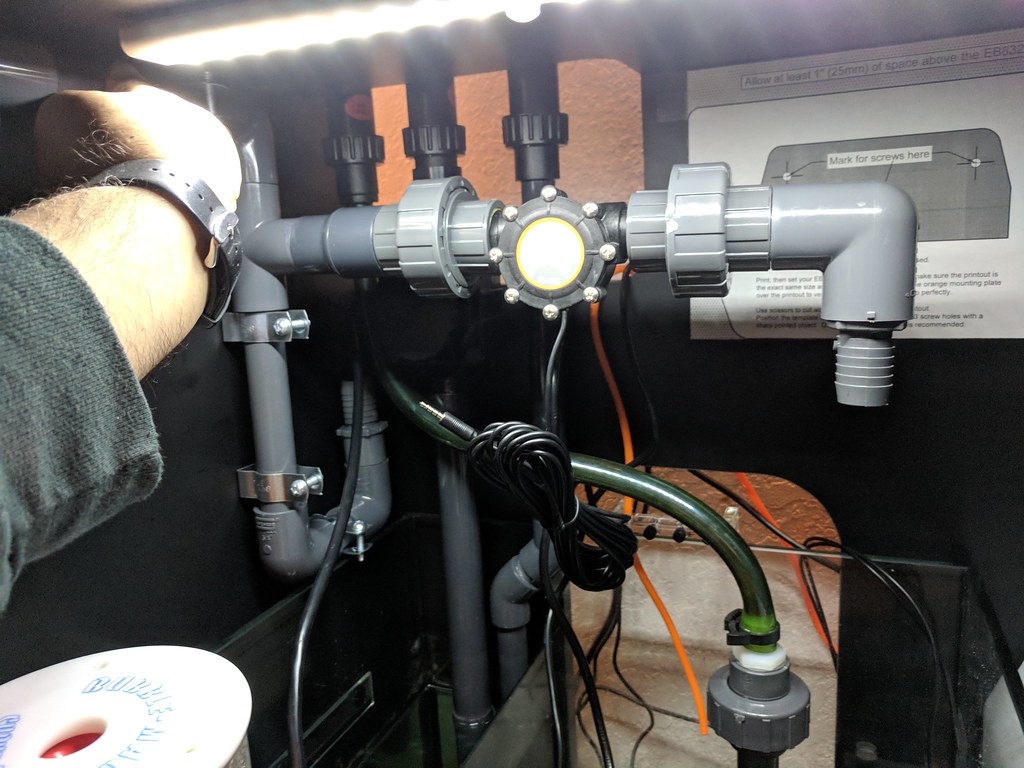
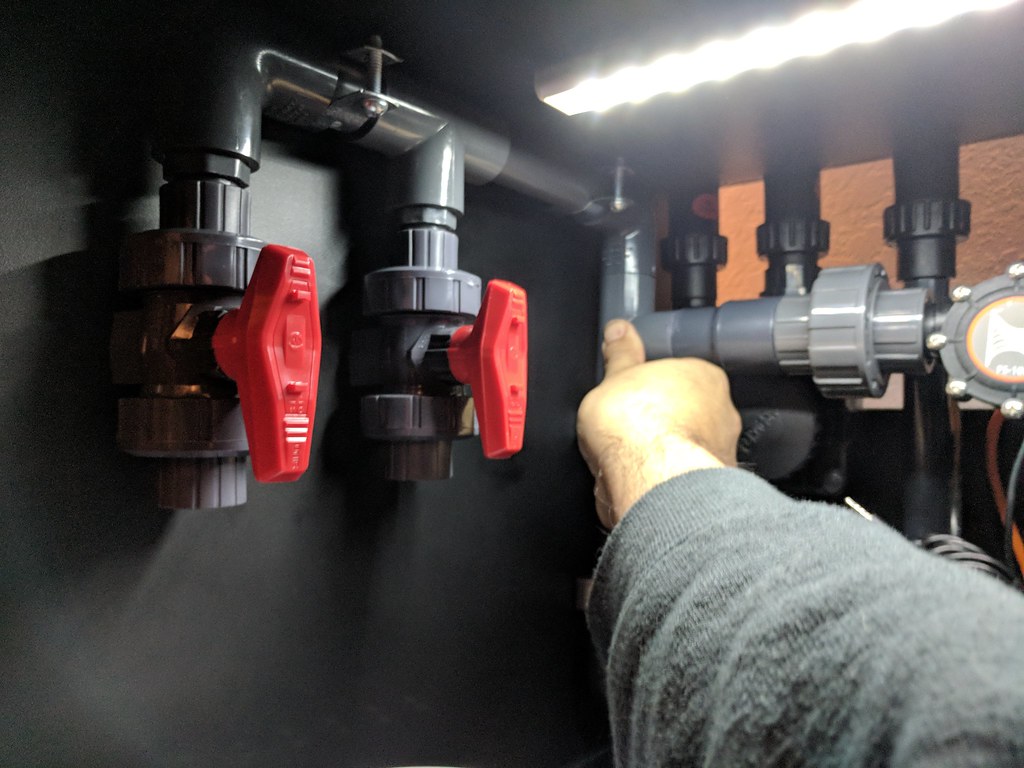
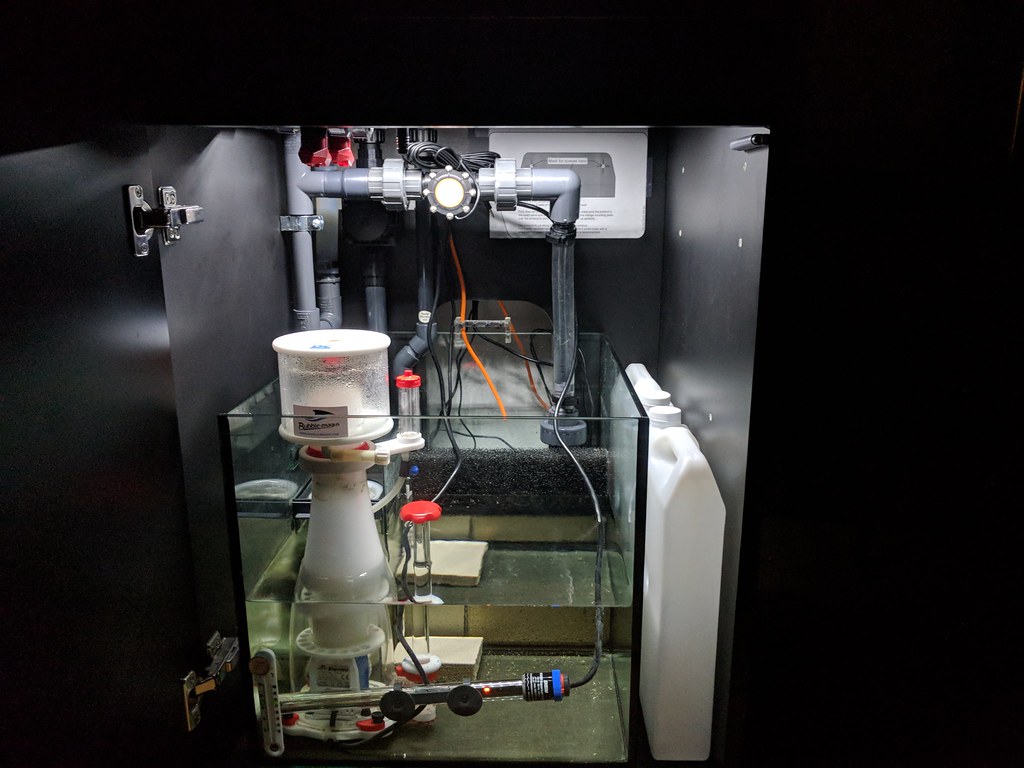
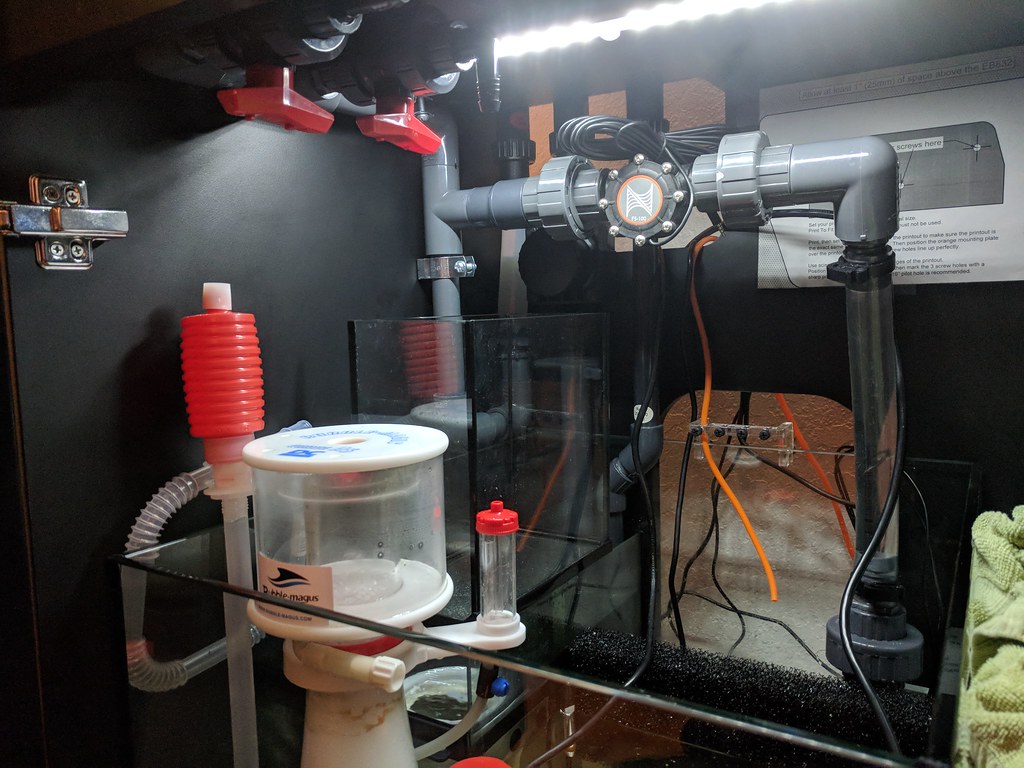
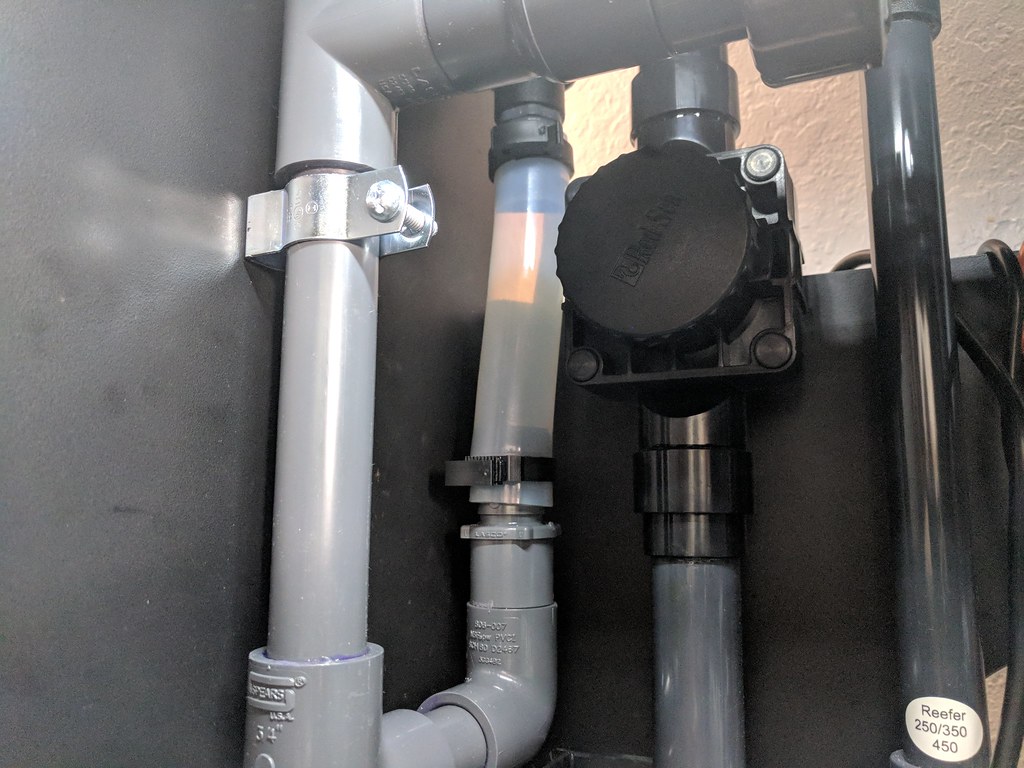
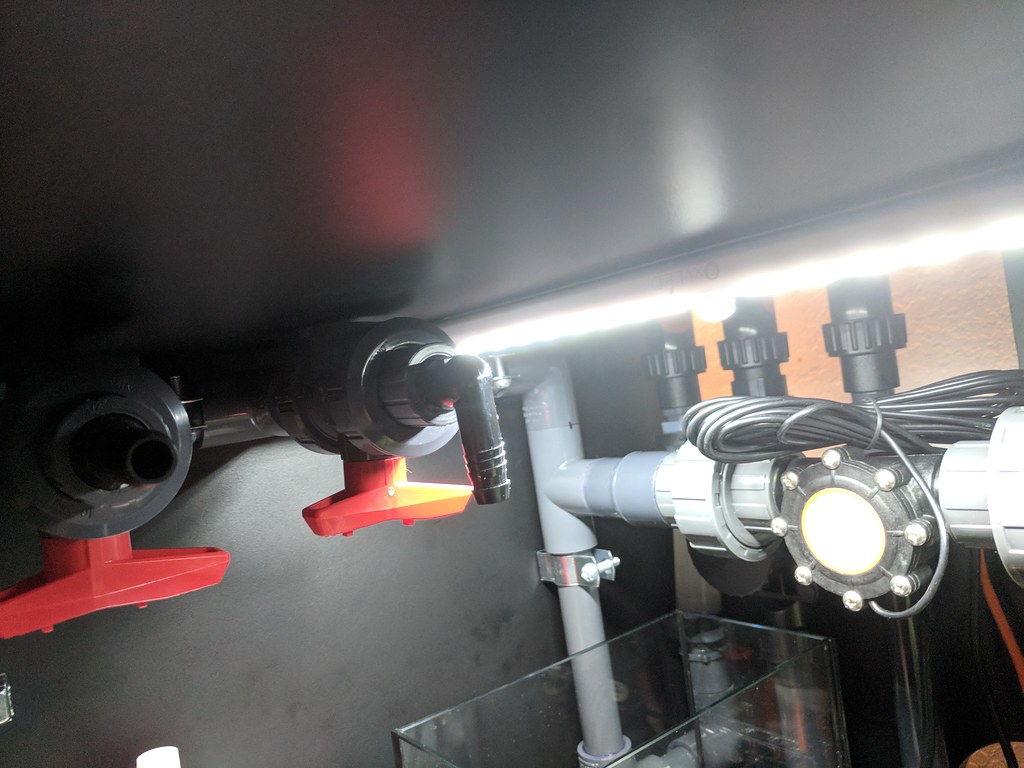
I finally got around to gluing and mounting my manifold.

24288953747_9f4eb9f105_b.jpg


When everything was said and done, I still have access to the primary drain diaphragm valve and the stock top off container still fits.

38440934194_48fef24761_b.jpg


A small section of silicon tube isolates the manifold from transferring any vibration to the cabinet wall.

27370930629_3764c8efe0_b.jpg


I opted to run my reactor valves along the top of the inside of the stand. This leaves extra room on the left wall to mount more junk in the future.

27370959639_2096cb9597_b.jpg
 
Top