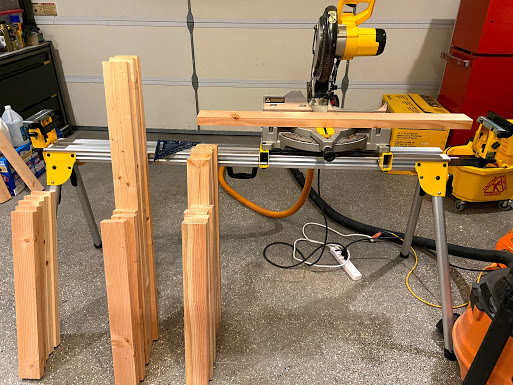
Hello all! I'm just getting back into the hobby after a very long break and wanted to share my build journey with all my fellow local reefer nuts! The decision was made to get back into the hobby a few months back when I came across a used 150 gallon Crystal Dynamics Tank on CL and decided to move on it. The tank measures 48x30x24, euro-braced with low iron glass, and equipped with a 16" Synergy shadow overflow. I purchased the stand along with the tank but decided to go a different route so I gave it away and decided to build my own. I did some research and came across some aquarium stand build videos on YT and decided to go with a 2x4 stand because it provides an undeniably sturdy structure for the tank to sit on, 2x4's are super easy to work with, and it's very friendly on the wallet  . I'm not going to go into all the details of the stand build (tons of videos on YT on that) but wanted to focus more on the mistakes I made along the way and provide some nifty tips that I came across that some may find useful. I started off by cutting all the pieces that I needed for the stand before assembly. Having a chop saw with a stop makes the job much faster and gives you more precision with your cuts but your standard miter box will also work if you don't have access to the power tools. *****DON'T make the same mistake I made and purchase regular 2x4's! Make sure you purchase "kiln dried" 2x4's. It's usually marked with a "k" on the tag/description and is around a $1 or so more then the regular ones. I had no idea 2x4's came kiln dried until a buddy told me about it. Not using the kiln dried ones caused some issues that I will get into later.

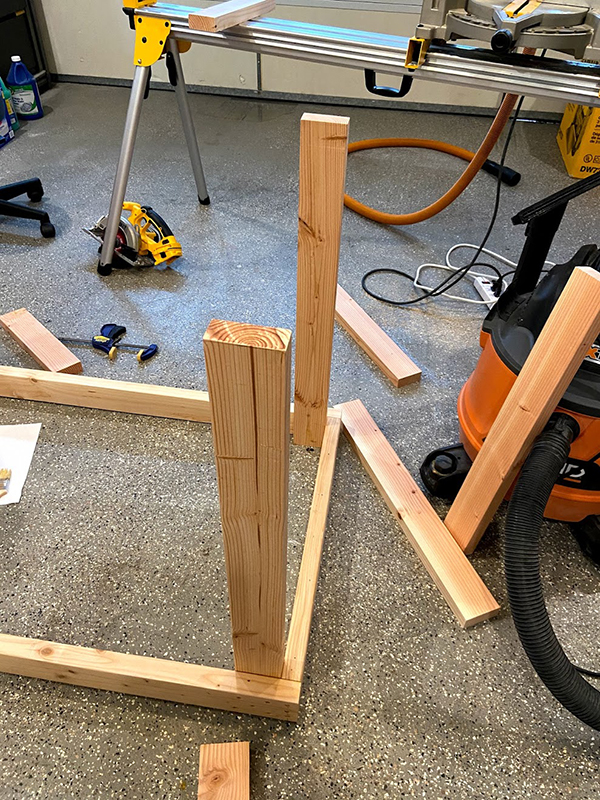
Assembly was pretty straight forward...screw, check square, rinse and repeat. The total assembly time with cutting took me around 1.5 hours. Along with the screws, I also applied wood glue to the surfaces that made contact with one another. You don't need the glue but I had it on hand so why not.


The wood glue between the pieces tend to make the pieces glide on one another while trying to screw them together so the use of a clamp keeps it from moving

Here is the stand all assembled

I used a light weight body filler I picked up at O'reilly auto parts (U-POL Fantastic) to fill in the screws and any imperfections I noticed in the 2x4's. I think it was around $20 for a almost a gallon of it. It's easy to work with and sands easily with a electric palm sander. I don't recommend using general purpose BONDO. That stuff is hard to sand!

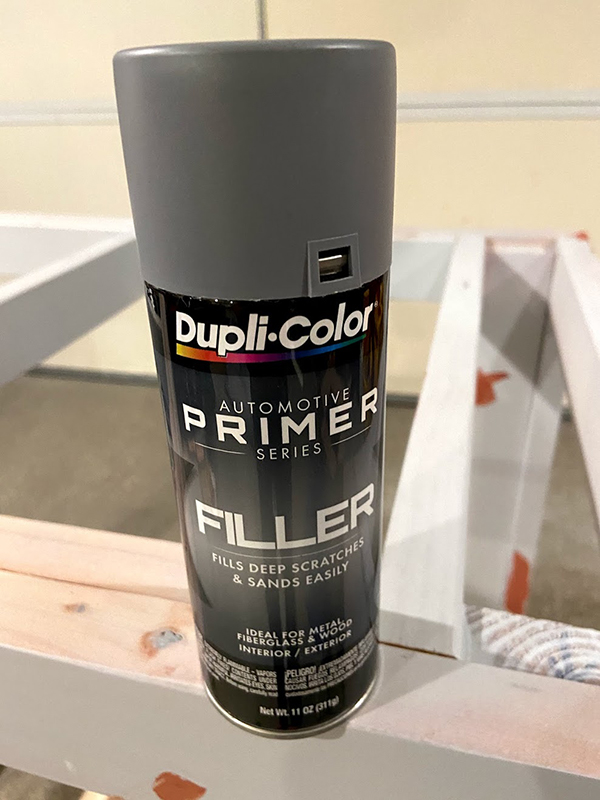
I used Dupli-Color automotive paints in a can for the finish. Years ago, I built a stand and a buddy of mine that owns a body shop painted it for me. The finish was super durable so I decided to go the same route here but went the rattle can route. Here is the stand primed with it. After the primer, I filled in any missed spots with 3m Glazing Putty...those are the red patches you see in the pic.

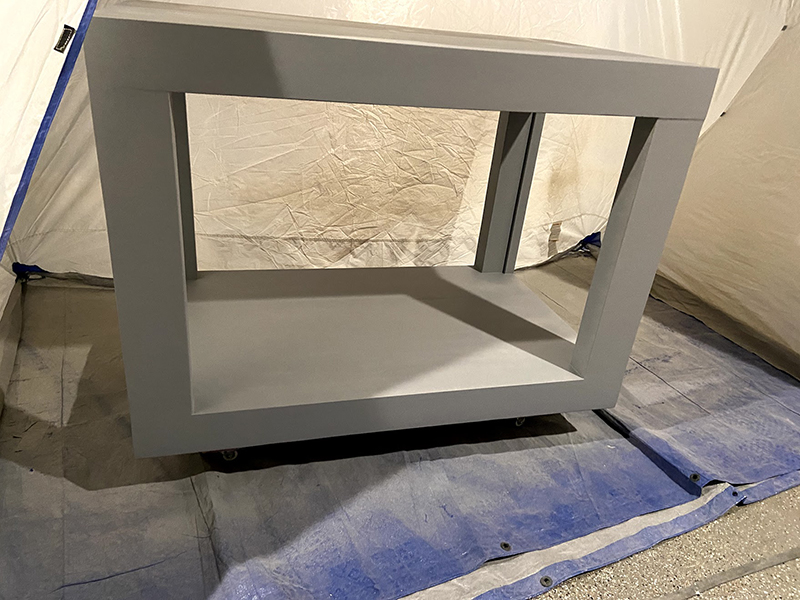
The first coat of primer was white. I recommend using gray instead as it shows the imperfections better. Here is a pic of the final primer coat


I wanted removable panels for easy access and installed magnets I purchased on amazon to hold the doors in place. Here I'm test fitting my panels on the stand and trying to figure out the placement of the magnets. One thing to note, the placement of the magnets have to be directly aligned with one another on the door and the stand. They will center themselves every time with barely any wiggle room. If the magnets are not aligned, your doors will not align properly so prefect alignment of the magnets is a must! I achieved this by taking a small drill bit and drilled through my door and into the stand to mark its location. This left a small on hole on both where I later used a forstner bit to drill out the hole for the magnet placement. I then filled in the small hole on the face of the panel with body filler...not a big deal for me since I was going to paint it anyway. Make sure to label your panels (front left door, left side, etc) so they match the magnet placement on the stand. I applied Gorilla Glue two part epoxy to the underside of the magnets to hold them in place along with the screws it came with for attachment. The screws are pretty small and the magnets are strong! I wanted to make sure they don't come off when removing the panels. ***NOTE*** The magnets I purchased (4 boxes total) all had different polarities! I found out the hard way and ended up pulling more then half of them off and reinstalling new ones since most of them broke when trying to remove them.


I wasn't planning on covering up the magnets with filler but had to since removing the magnets with the wrong polarity really did a number on the stand. It ultimately gave me a cleaner look, but I would've installed the magnets right after stand assembly if I was planning on covering them up. I had to use the body filler, sand and primer again...what a pain that was. Here are the results with the final coat of paint and leds installed.

I anxiously waited 3 days for my buddy to come over to help me lift this tank onto the stand. The day finally came...I was giddy with joy...haha.

The next morning I noticed something was terribly wrong! WTF! It's getting late...time for bed...I'll post more later today.
Assembly was pretty straight forward...screw, check square, rinse and repeat. The total assembly time with cutting took me around 1.5 hours. Along with the screws, I also applied wood glue to the surfaces that made contact with one another. You don't need the glue but I had it on hand so why not.
The wood glue between the pieces tend to make the pieces glide on one another while trying to screw them together so the use of a clamp keeps it from moving
Here is the stand all assembled
I used a light weight body filler I picked up at O'reilly auto parts (U-POL Fantastic) to fill in the screws and any imperfections I noticed in the 2x4's. I think it was around $20 for a almost a gallon of it. It's easy to work with and sands easily with a electric palm sander. I don't recommend using general purpose BONDO. That stuff is hard to sand!
I used Dupli-Color automotive paints in a can for the finish. Years ago, I built a stand and a buddy of mine that owns a body shop painted it for me. The finish was super durable so I decided to go the same route here but went the rattle can route. Here is the stand primed with it. After the primer, I filled in any missed spots with 3m Glazing Putty...those are the red patches you see in the pic.
The first coat of primer was white. I recommend using gray instead as it shows the imperfections better. Here is a pic of the final primer coat
I wanted removable panels for easy access and installed magnets I purchased on amazon to hold the doors in place. Here I'm test fitting my panels on the stand and trying to figure out the placement of the magnets. One thing to note, the placement of the magnets have to be directly aligned with one another on the door and the stand. They will center themselves every time with barely any wiggle room. If the magnets are not aligned, your doors will not align properly so prefect alignment of the magnets is a must! I achieved this by taking a small drill bit and drilled through my door and into the stand to mark its location. This left a small on hole on both where I later used a forstner bit to drill out the hole for the magnet placement. I then filled in the small hole on the face of the panel with body filler...not a big deal for me since I was going to paint it anyway. Make sure to label your panels (front left door, left side, etc) so they match the magnet placement on the stand. I applied Gorilla Glue two part epoxy to the underside of the magnets to hold them in place along with the screws it came with for attachment. The screws are pretty small and the magnets are strong! I wanted to make sure they don't come off when removing the panels. ***NOTE*** The magnets I purchased (4 boxes total) all had different polarities! I found out the hard way and ended up pulling more then half of them off and reinstalling new ones since most of them broke when trying to remove them.
I wasn't planning on covering up the magnets with filler but had to since removing the magnets with the wrong polarity really did a number on the stand. It ultimately gave me a cleaner look, but I would've installed the magnets right after stand assembly if I was planning on covering them up. I had to use the body filler, sand and primer again...what a pain that was. Here are the results with the final coat of paint and leds installed.
I anxiously waited 3 days for my buddy to come over to help me lift this tank onto the stand. The day finally came...I was giddy with joy...haha.
The next morning I noticed something was terribly wrong! WTF! It's getting late...time for bed...I'll post more later today.

