Guest
- Joined
- Dec 22, 2013
- Messages
- 212
- Thread Author
- #41
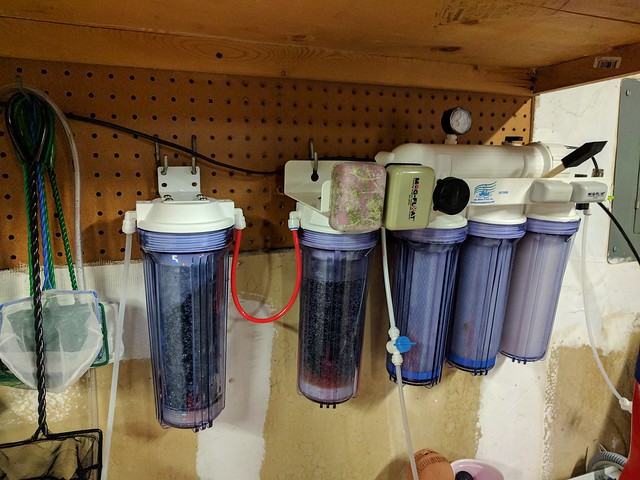
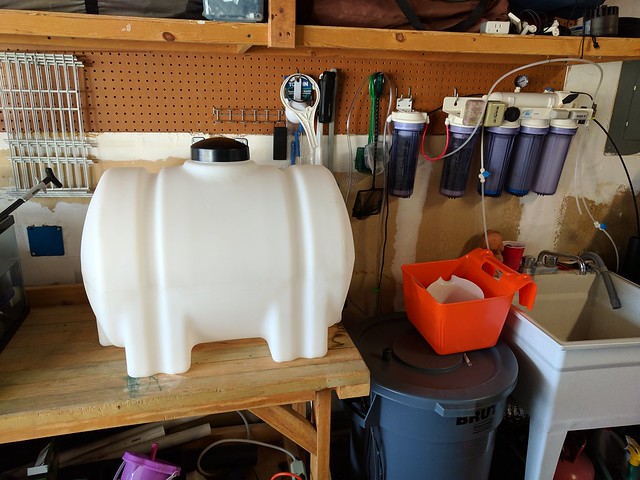
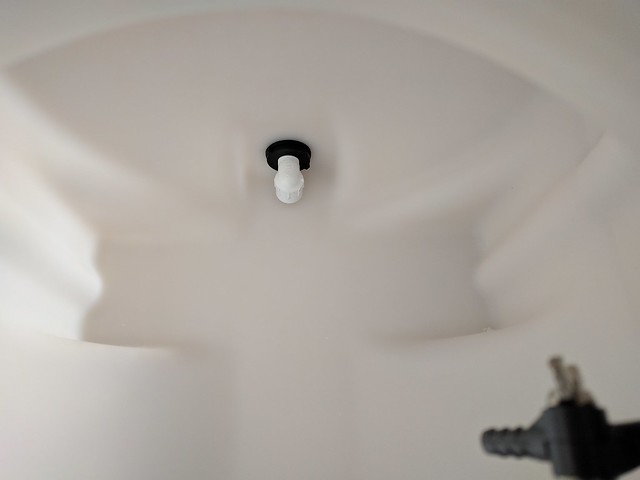
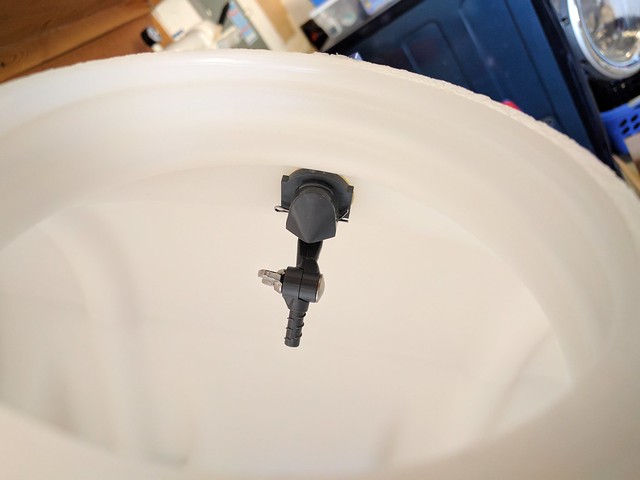
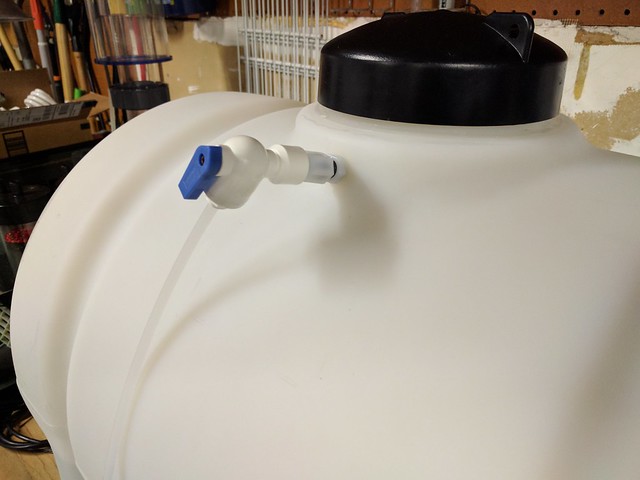
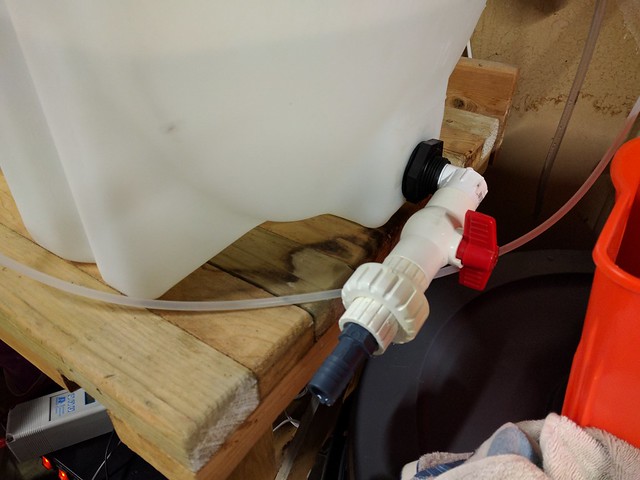
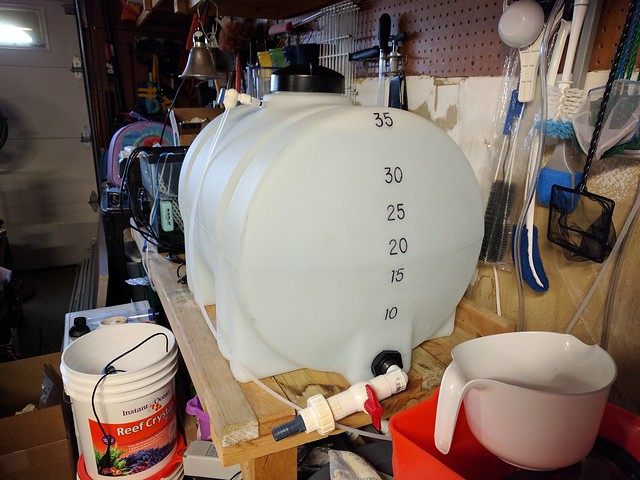
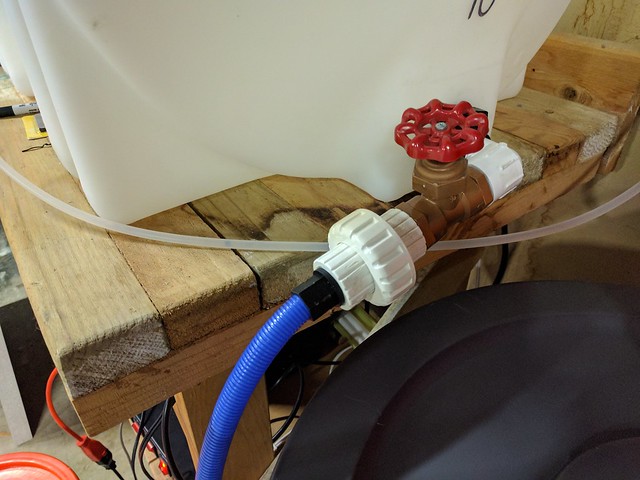
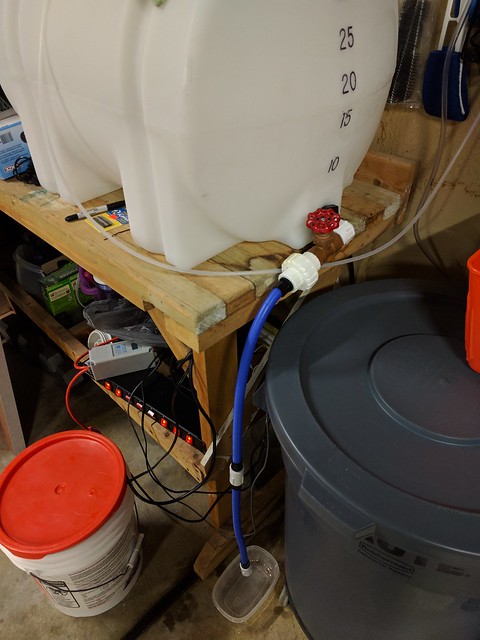
My ATO is a mishmash of things. As it stands today, I'm using a Tunze Osmolator Universal for water level sensing. When the water level is low, the Osmo triggers a 12v automotive relay. This causes the relay to bridge 2 poles that are connected to my Apex break out box. When the Apex senses that switch port is "closed" it powers the PMUP on the 24v port on my EB832. Once the water level is reached, the Osmo kills voltage to the relay, the Apex switch port opens, and power is killed to the PMUP.
This rube goldberg machine can be greatly simplified if Neptune would release the optical level sensors they use in the DDR as a general purpose sensor.

This rube goldberg machine can be greatly simplified if Neptune would release the optical level sensors they use in the DDR as a general purpose sensor.