Cali Kid Corals

Mike's Machination

Yanno when you have one of those moments... where in your mind everything fits together perfectly but the reality is you screwed up on a calculation... well this is one of those times. No not the stand bit, my calculations there are flawless ;)

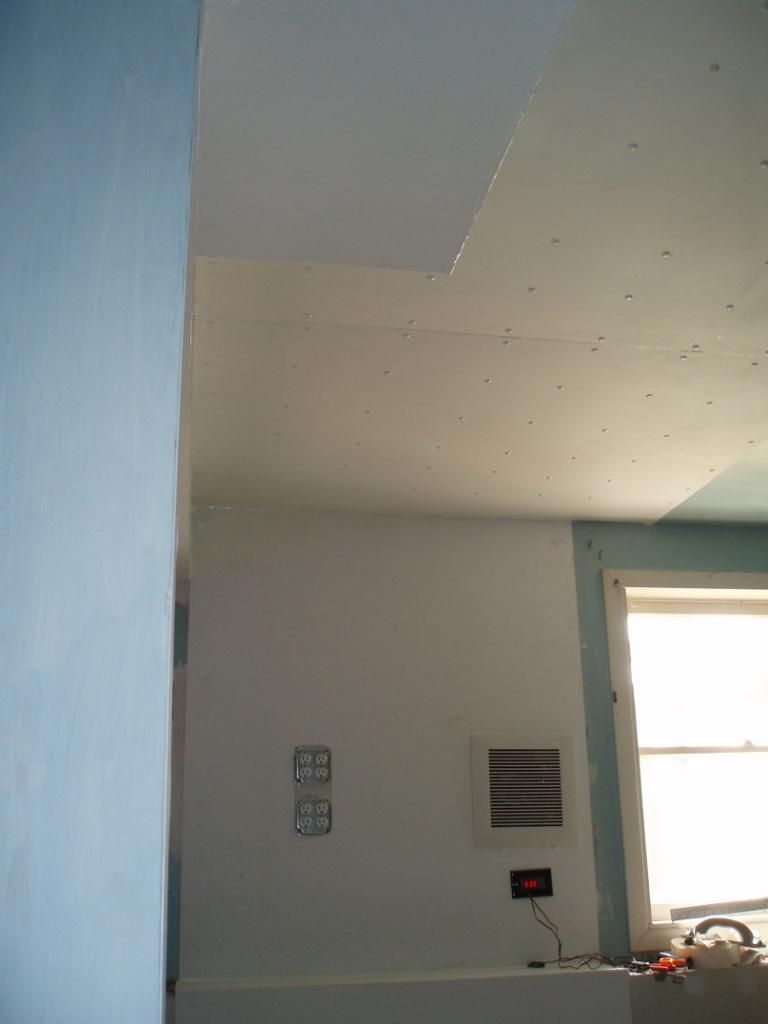
No it was the drywall portion, my mindset was that from the floor to the top of the halfway surrounding the foundation (where the green piece is temporarilly screwed into) it's a little more than 3 feet, well on the other wall it's a little more than 4 feet. So in my mind, drywall is 8 feet long, so I cut the 3 foot section, and I'll have plenty left for the 4 foot section. Then measuring the length of the wall, about 16 feet in one direction a little more in the other, so that means I only need 2 sheets and a few scrap pieces sitting around for the extra... yeah I figured on the drywall being 8 feet long and... 8 feet wide too apparently. So I need more drywall. BUT not critical now since I have enough to do the actual tank area, just I'll need to turn the prius into a sandwich later again (although I won't need plywood.. hmm) for the rest of the room.

Of course I just realized this morning I haven't done my taxes yet, so maybe I'll get on that before I get too wrapped up in the downstairs :D
 
Of course I just realized this morning I haven't done my taxes yet, so maybe I'll get on that before I get too wrapped up in the downstairs :D

Hope your calculations are better on the tax forms! :)

It wouldn't be a DIY project if you didn't have to visit the plumbing/lumber/electrical supply at least two times. In fact only two would be a personal best for me! ;)
 
Well I use Turbo Tax, so just enter the W2 forms and answer all the questions it asks me.

But I wouldn't complain about plumb/lumber supplies, but getting that drywall home was not terribly fun (messing with the forever tangled rope was the worst!), plus I kept the drywall dent free due to being sandwiched between plywood, won't need to buy more plywood, I guess I could do a similar effect with 2x4s but eh... Murphy's law states whenever you put something on the roof of the car will be the day there are higher than usual winds that kick up right as you leave.
 
Minor update... drywall up (remember that jigsaw of pieces? yeah lots of joints to tape), mud, sand, mud sand, mud sand, ahh screw it good enough since I'm putting a plasticized mold inhibiting panel on it. Similar to FRP but not quite as rigid (and way easier to cut). Installed fan, installed humidistat, now I have humidity control! Took a bit of finagling to get it all to work, had to fabricate a bracket so I had something to screw the faceplate into.... ehhh whatever it works now damnit!
 

Attachments

  • P1010011.JPG
    P1010011.JPG
    72.5 KB · Views: 300
*bang bang bang* Just doing as much as I can physically and mentally can do at a time.

Paneling done for inside the tank area. My neck is still on strike for all those ceiling rivets though. Still need to frame around the outlets, ran into a bit of a "WTF" problem, when I realize that by using those gangboxes and attaching the plugs as I did, there's no way to get a decorative faceplate on it (that usually covers all the trim stuff... oh well I got a plan to purdy it up ;)
P1010014_zps75d3e5b1.jpg


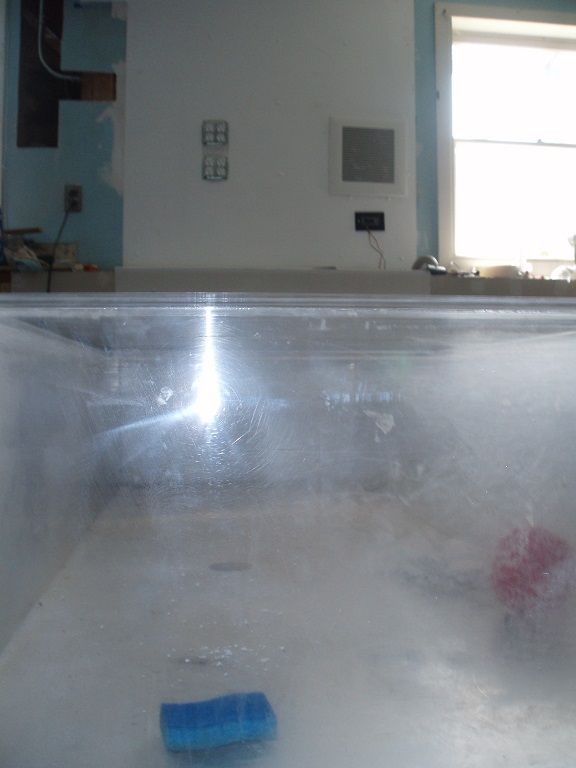
And there is a confirmed sump sighting! No just to make it a bit less opaque :D
P1010017_zpsa8099ec7.jpg
 
MAN DOWN, MAN DOWN!!!!

Ok not quite as dramatic as that is, I was cutting acrylic for the dividers between the skimmer/fuge/return areas (wait for it...) unfortunate the acrylic was old (wait for it...) and the damn paper is stuck on there pretty good. So in my attempt to roll it off of course it rips, but I found on some pieces I could actually rub the glue/paper into a roll... unfortunately at the cost of a massive blister on my thumb ... *grumble* If the paper came off cleanly, and to be honest I didn't expect it to, I would have had an operation sump by today. Sorry, no gore of lost finger tips, just a blister :D Pieces are small enough (longest one is only 22 inches) so I'm having them soak in a utility sink and hopefully that'll remove some stuff.


Spent most of the past few days trying to remove scratches in what will be the viewable pieces, upside of having a large sump is I can lay down in it and don't have to bend over an edge jacking up my back! Unfortunately after vigorous sanding with paper 400 through 1500 and finishing it off with novus and a buffer, some of the deeper scratches are still there. I'm getting irritated at them to the point where I might say "screw it, it's a refugium who cares if there's a scratch"... but the anal retentive part of me wants them bitches gone now.

Other fronts, I calculated how much old sand I have, and I'll have enough for maybe 1/3 of an inch when all is said and done. Guess I'll be on the lookout for those looking to toss old sand ... no way I'm going to buy sand though, a quick calculate shows I'd need about 100 pounds to get an inch deep (which is about what I think I'll stick at.
 
Hehe Bob... it's an odd thing, some days I feel like I'm full of spit and vinegar and I'll just crank through a bunch of work, other days I run through everything that needs to be done in my mind and I don't have the desire to physically do any of it. Or worse, I'm ready to do something... then forget there are 20 other things I should do before that. I mean I could have the stand completely built and the tank on it, but I realize that accessing the sump/fuge area will be a bit more difficult so why not just work on that until that's done, then I'll go one.

Carrie: Thank you :) If there's one thing I believe a lot in, it's entertaining... unfortunately I can (tend) to be quite verbose as a result I can imagine there's a lot of "TL;DR" going on in people's minds.
 
Happens to us all mike. corals all seem fine , even the ones that weren't doing so well seem to still be hanging in there. I still hate saying cause I don't to jinx it but Im treating them as if they were my own
 
Ok soaking acrylic w/ paper in water didn't seem to effective, so I busted out plan B. Heat gun to loosen the glues and peel off the paper as I could, and then WD-40 to take off the gunk that's left on, followed by a hot soapy bath to remove any WD-40 residue. Took a lot longer than I thought, still have half of one piece left but I got tired and I'm done for the night. TOMORROW, There will be sump!
 
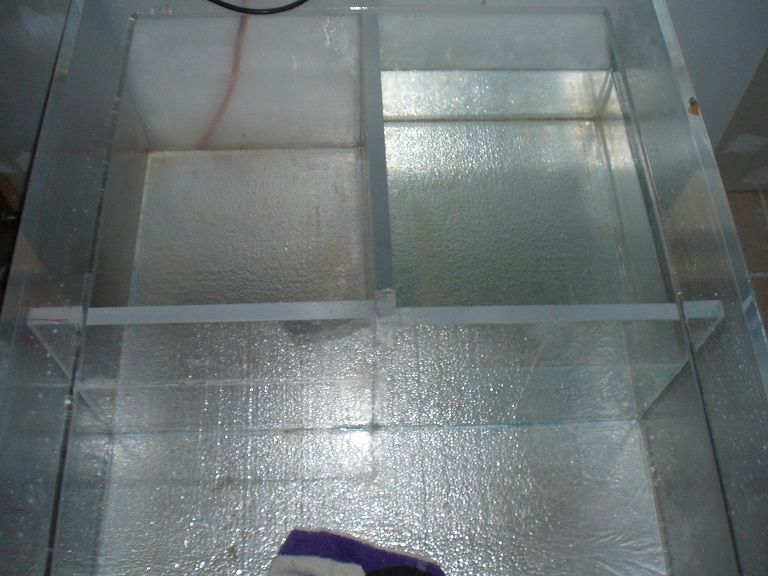
So what do you do when you have a bunch of 1" thick acrylic slabs that are not wide enough to make a tank? You make some baffles! And yes they hold water! (And are actually quite a bit straighter than it looks in the picture :D)
sump-Chambers_zps1cc1a715.jpg

Chamber on the left is going to be the skimmer chamber, chamber on the right is the return chamber, both are about 24 gallons in volume, I'm standing in the refugium chamber.

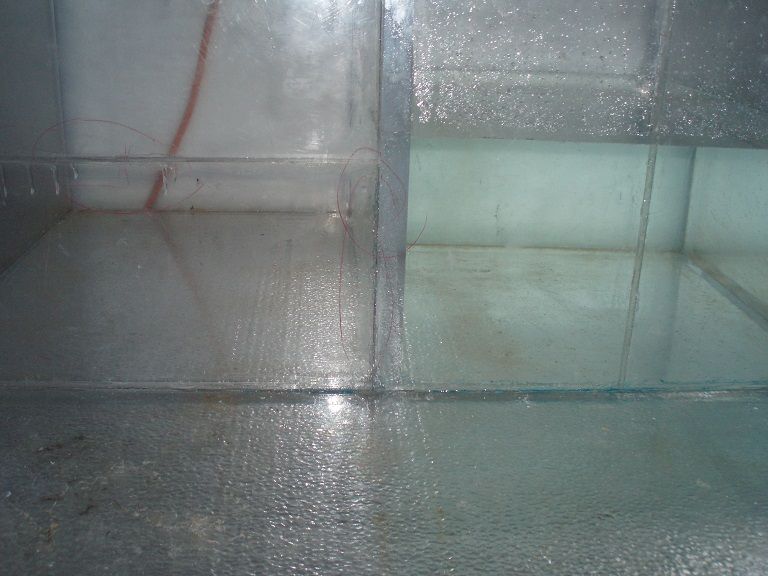
And what do you do when you find out the tank is not perfectly square (or your acrylic pieces aren't perfectly square) you whine, moan, and use liberal amounts of gap filling solvent :D
sump-gaps_zps15704280.jpg

Only way I'd actually stack and slap two of these guys together like this is if the stuff was thick. I figured I could go to tap plastics and probably pay $130 on some 1/2" material or $80 on quarter inch since the height differential shouldn't be too large, or get lucky in their scrap bin (but those are fricking pricy too!) so I decided to use what I have.
 
Hmm, not sure those baffles will be strong enough. :)

Getting close, exciting!

I know what you mean as far as lots of ideas in your mind, but no time or energy to get them done.
So typical.
 
Back
Top